Hello my internet friends! How are you all? I can't believe it's been 2 weeks since my last post! What up with that? Unfortunately, this isn't going to be a super unique post either as I have made yet another Archer shirt, but in my defence, I made it in some pretty awesome fabric, so there's that. And you get to see some dorky photos of me goofing around, so yay! I don't really have much to say about this pattern that I haven't already said. It's a really great TNT for me, and one of my favourites to see. I'm also having fun dreaming up different variations and fabric combinations. I sewed this shirt up in between some Ginger jeans, and I found it incredibly soothing and relaxing. Not only do I love wearing button up shirts, I really do love making them too.

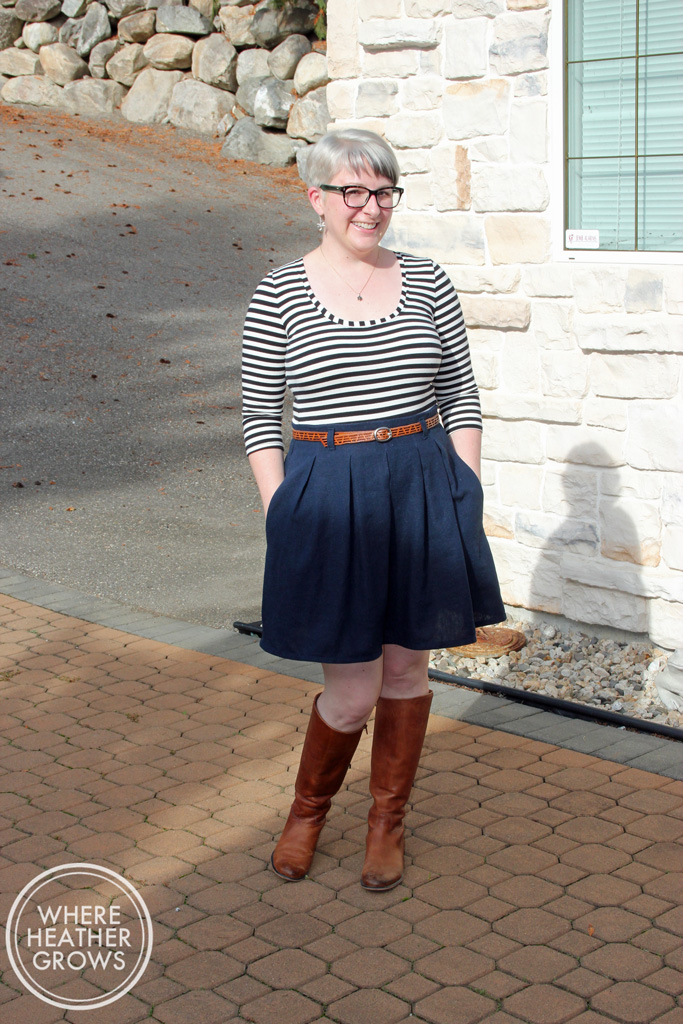
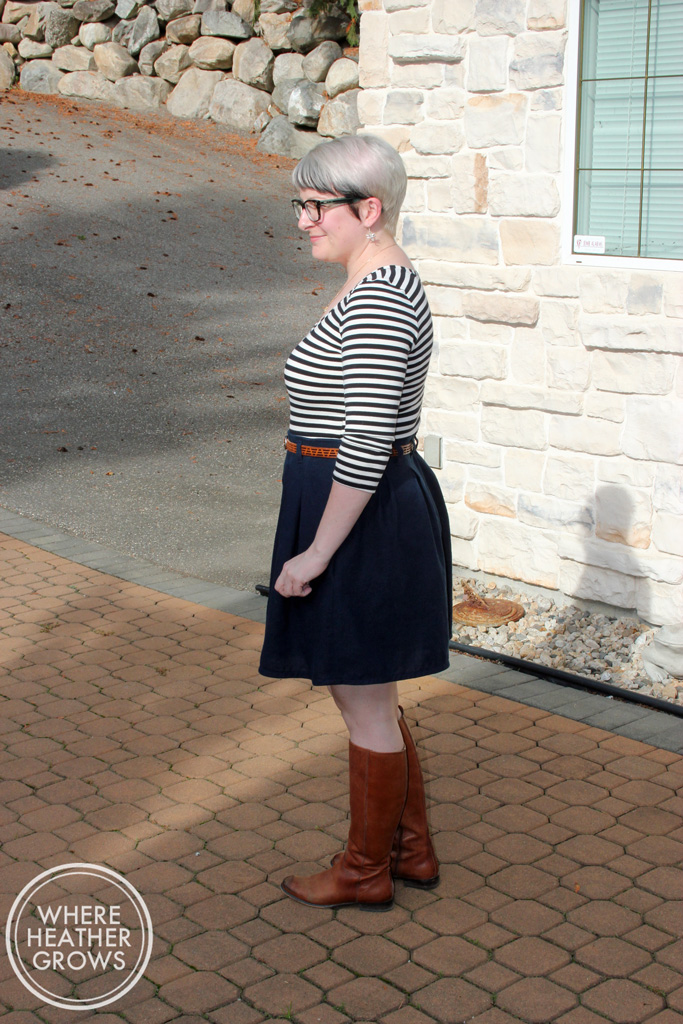
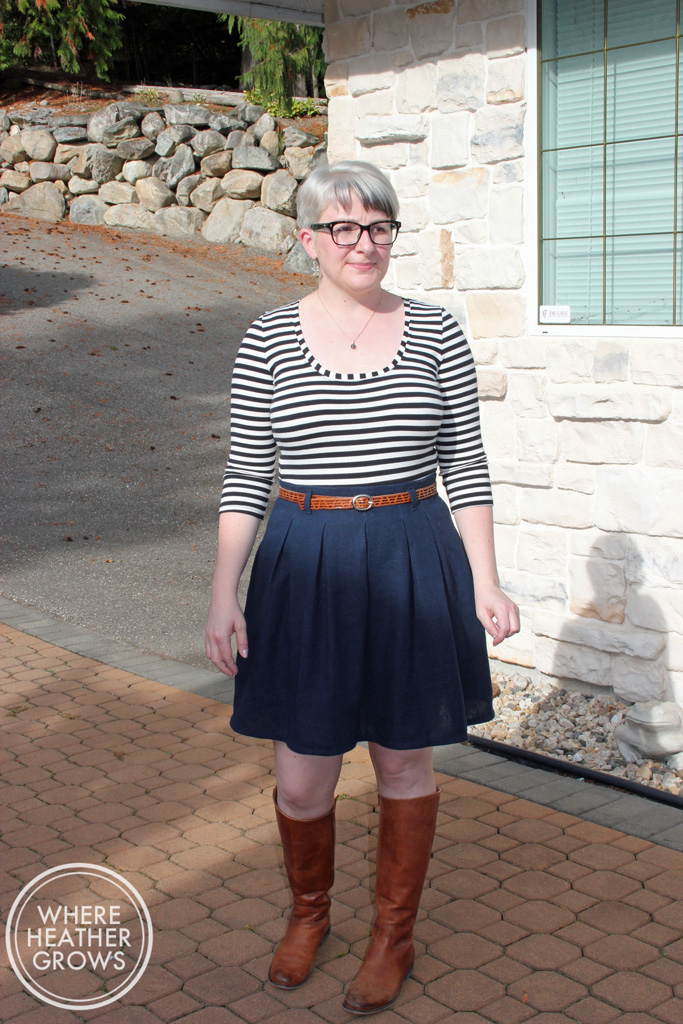
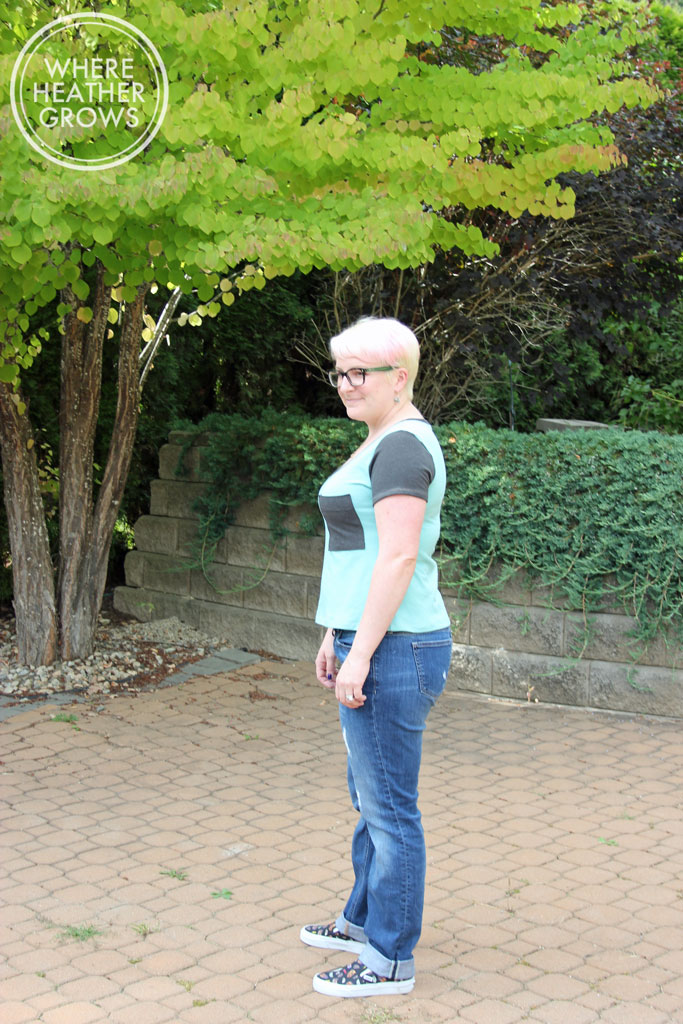
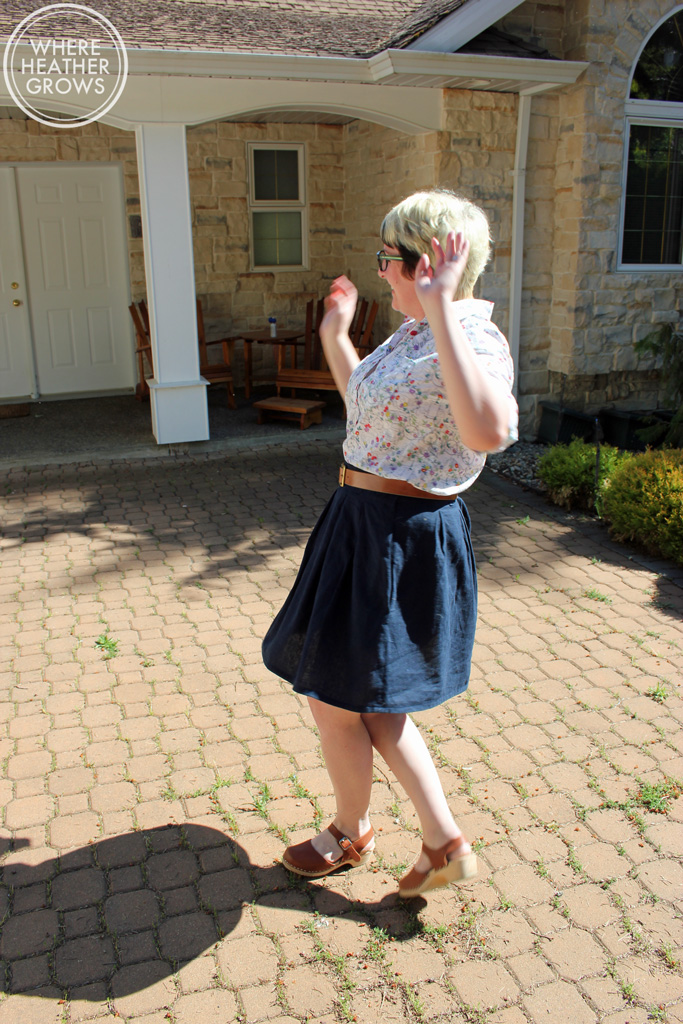
For something a little different, I've paired this top with my linen Chardon skirt. I think it works well, although this combo does feel a bit office-y for this work at home girl.

I'm such a goof! John and I were having fun and I was super excited when we took these picture because I had just finished my first ever jacket (but more on that later).
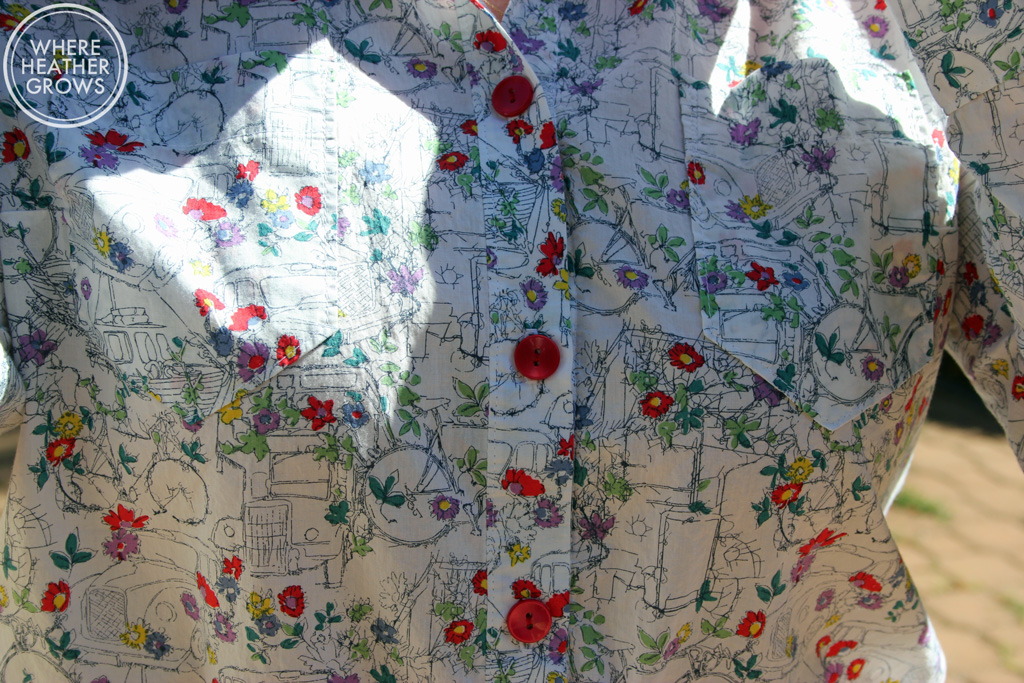
This fabric is a gorgeous Liberty print that John picked out for me at Raystitch, when we were visiting London last year. I believe it's called Travelling Threads, and I love it! It has taxi cabs, buses, boats and bikes on it, with little flowers for pops of colour. It's a dream to wear and sew with too! I know everyone raves about Liberty fabric, but it really is amazing, and worth the splurge.

I decided to do tower plackets for the sleeves of this shirt. I have made them once before on my Crazy Cat Lady Archer, and they worked out really well again. I really love the look of tower plackets, so professional (although it looks like mine need a better press than I'd given them here.) I used self fabric for these ones, but they look super cool in a contrast fabric too.

If you want to give tower plackets a shot, then I recommend this tutorial. It's got lots of great pictures and it's easy to follow. Once you go through it and make one once, it really only takes minutes to do.

And because I can't wear a skirt without twirling around, here are some more derpy photos of yours truly. I try not to take myself too seriously. Can you tell?
Well that's it for now. I am quite behind in blogging as I have been favouring my spare time to sewing, rather than taking photos and writing. I do have a number of things to share with you including some tips for sewing jeans, a #sewingdare, and 3 more Archers. You can hardly wait right? Hope you all are having a lovely week!