The Greenwood Tanks

Hullo everybody! I feel like I have been trying to write this post for days, and it just hasn't happened. Writer's block or laziness? I'm not sure. Life just seems to get in the way sometimes, and it seem that the blog gets sent to the back burner. But I have been finding lots of time to sew, and to fit so I have lots to share. I have been going further down the rabbit hole with fitting, and having some success in some things, not so much in others. But with every step, and every thing I try, I learn a little bit. Not just about sewing and fitting, but also about myself and my shape. I'll save my introspective findings for another post though. For now, let's get on with the Greenwood tanks I recently made.IMG_7062Have you seen this pattern yet? It's a great wardrobe staple from Straight Stitch Designs. I first spotted it on Meg's blog, and then my good friend Katie recommended it to me too, so I had to give it a shot. I'm not really one for tank tops on their own (I usually use them as a layering piece), but we've been spending a lot of time in BC this summer and it has been really hot. Heatwave anyone? Anyway, a simple tank really fits the bill to stay cool - well that and air-conditioning. The pugs and I could not live without it. And slurpees, let's not forget about slurpees. But I digress.... IMG_7063
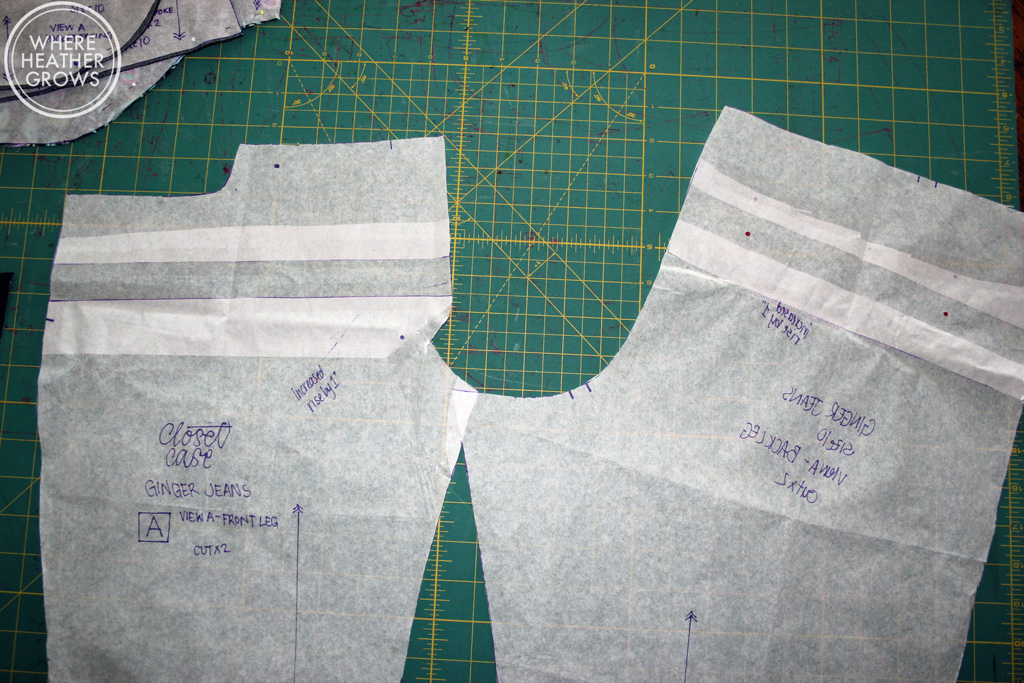
I quickly whipped up a size 12 tank based on my measurements, and discovered (of course) that it was too big in the shoulders and pretty much all over. It was okay across the chest, but it just didn't feel right. The straps kept sliding down - not cool. So I took your guys' advice from my post about my shingle dress, and decided to do some adjustments to make this tank fit right. I chose my bust size (an 8) based on my high bust measurement, and then I graded to a size 14 from the waist to the hip based on my waist and hip measurements (also I didn't want a super tight fit across the belly fit). Then I did an FBA of 1.25". But doing the FBA created a dart, and I really didn't want to have a dart so I used this tutorial by Maria Denmark to remove it. Sounds a bit tricky, but really it's easy. It just involves a lot of cutting and taping.

IMG_7064
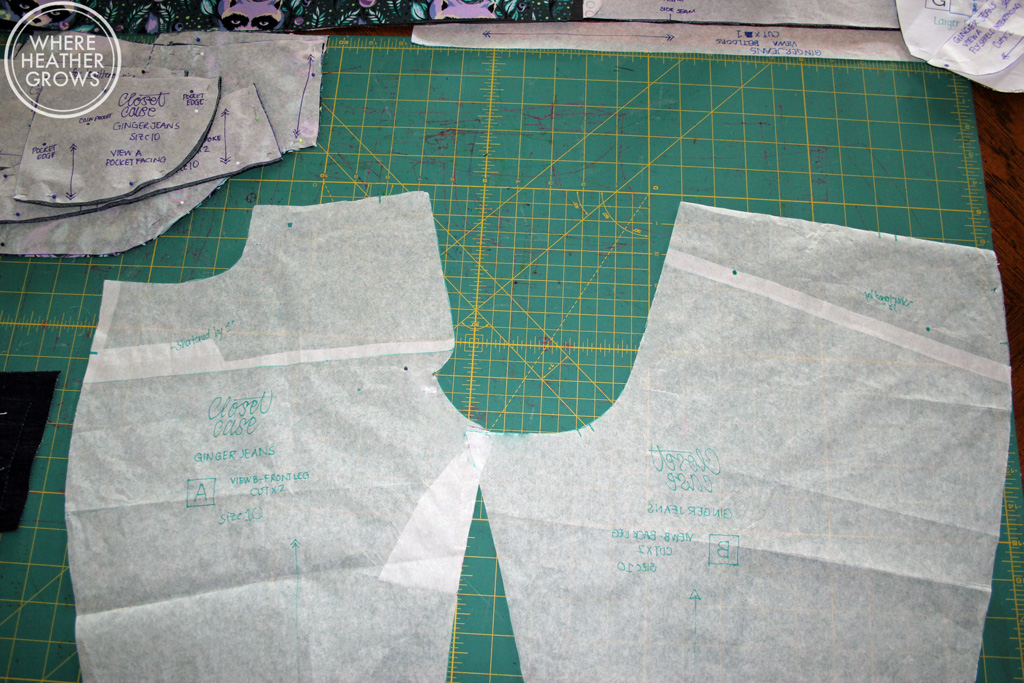
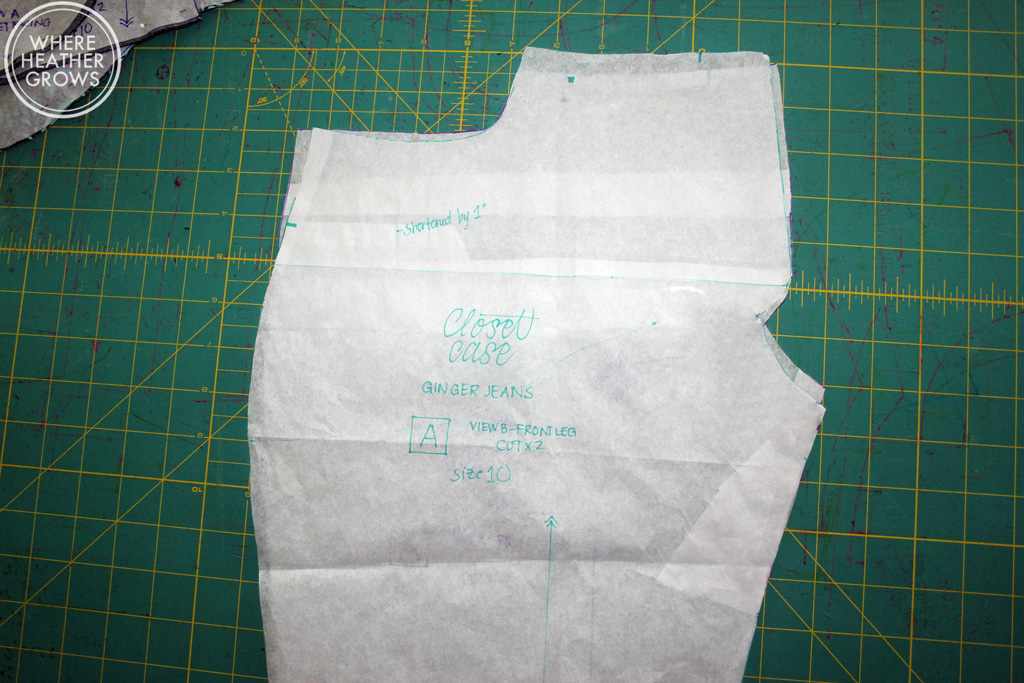
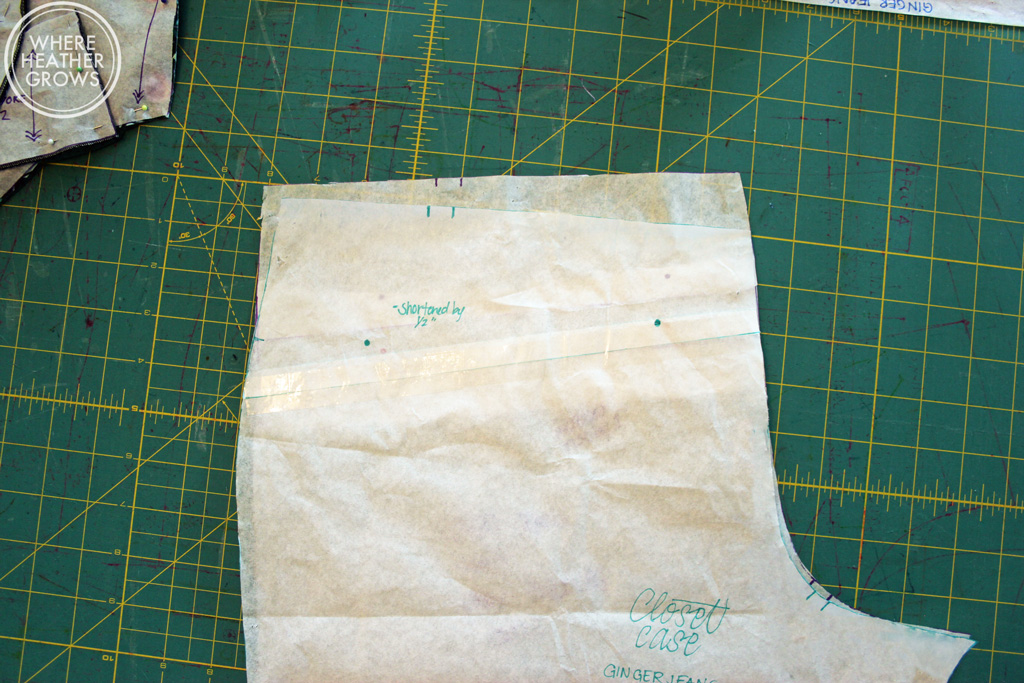
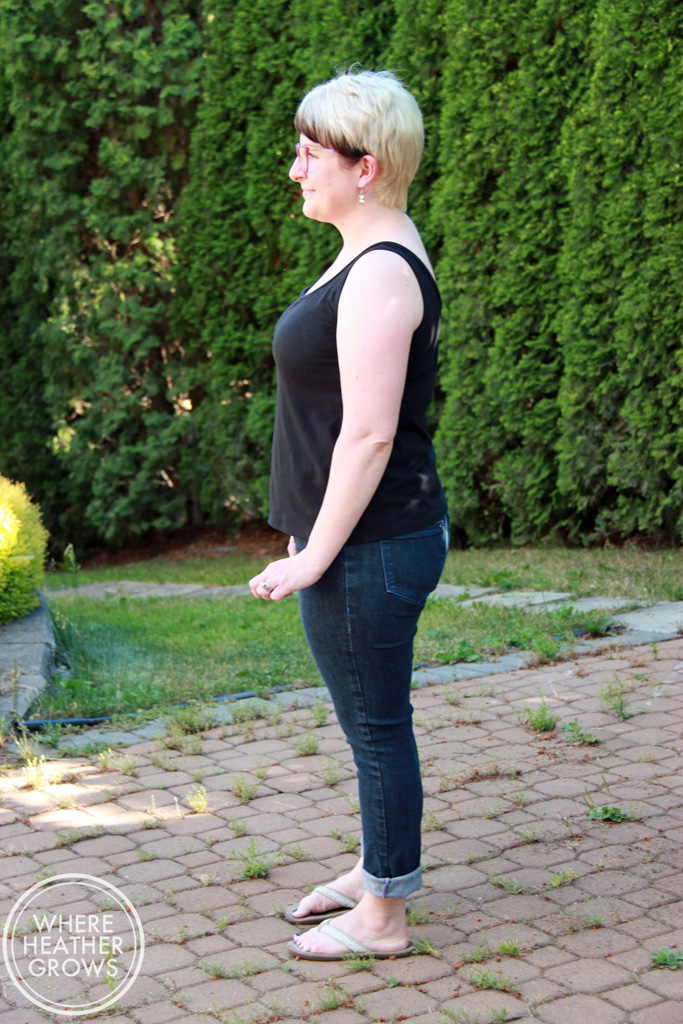
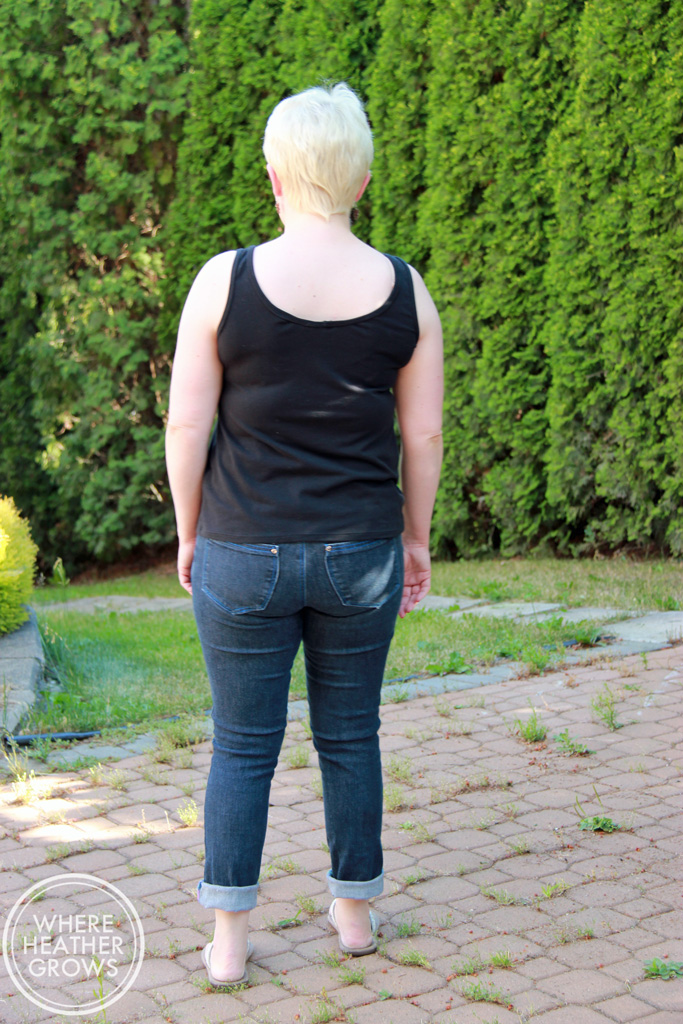
Then I did some alterations to the back piece. I should mention that I chose the scoop neck, scoop back version of this pattern, and it uses the same pattern piece for both the front and the back. But if you are like me and you need to do a bunch of alterations, you need separate back and front patten pieces, so trace/print two. Anyway, for the back I did a 1/4" high round back alteration, and I also did a 1/2" forward shoulder adjustment, both which I learned in the book Fit for Real People. Also, because I am short, I shortened it by 3 inches. Phew, seems like a lot of alterations for a knit tank doesn't it? But I'm pretty happy with the results. And now I have a solid TNT staple tank pattern. I used some black cotton jersey from Girl Charlee that I had in my stash for this version and I know it will get lots of wear. There still seems to be a bit of pooling in the back, but I'm not sure if it's just hung up on my bra, or what going on. Your guys' advice is always welcome there, but I'm not really losing sleep over it.

IMG_9863
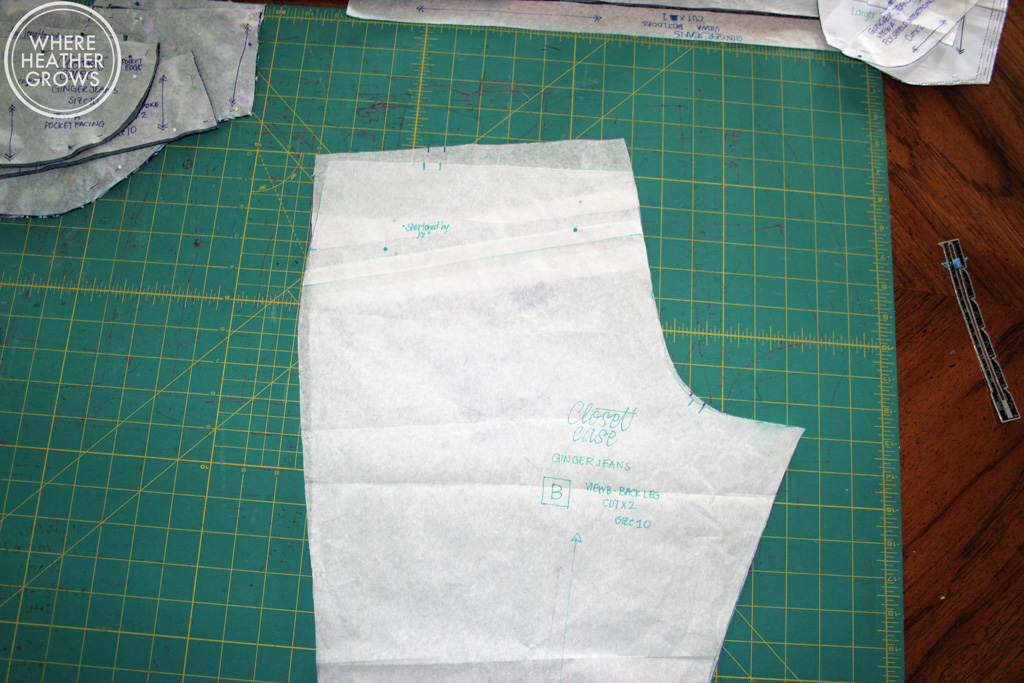
So that's what my two pattern pieces look like. Pretty cool right?

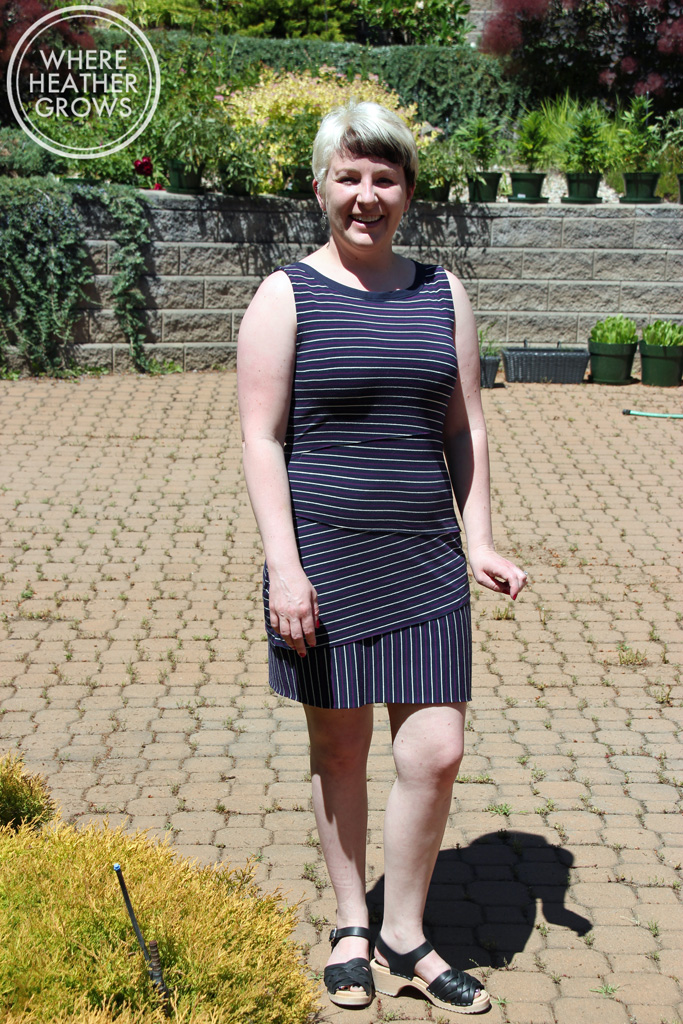
Before I made the Greenwood tank, I took a shot at the Aurora tank from the June issue of Seamwork. I did not like the construction of that tank at all, in fact I found it incredibly frustrating, and in the end I didn't really like the style on me. (What is up with these Seamwork patterns? They really seem to be hit and miss for me - anyone else tried them?) It looks so good on a lot of people, but I found the gathers a bit bulky and I think the instructions and the construction of it just left a bad taste in my mouth, so I just didn't want to like it. I did however like the curved hemline and the way it fell away slightly from the body. John agreed and said, "well why don't you just combine the two?". So that's what I did. And I made 4 more tanks just like that.

IMG_9877

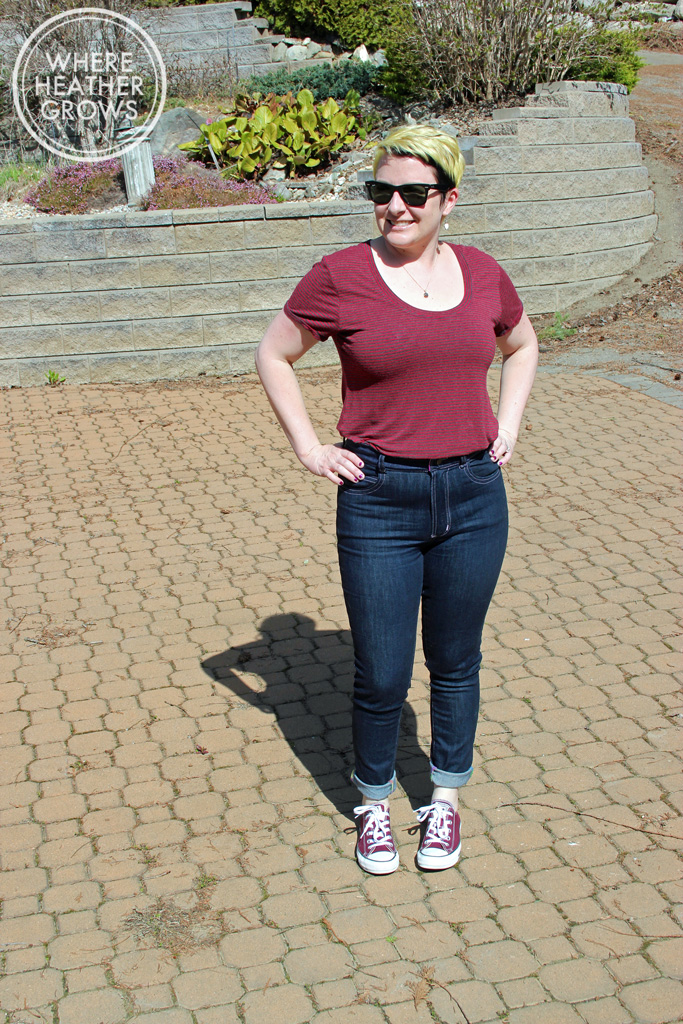
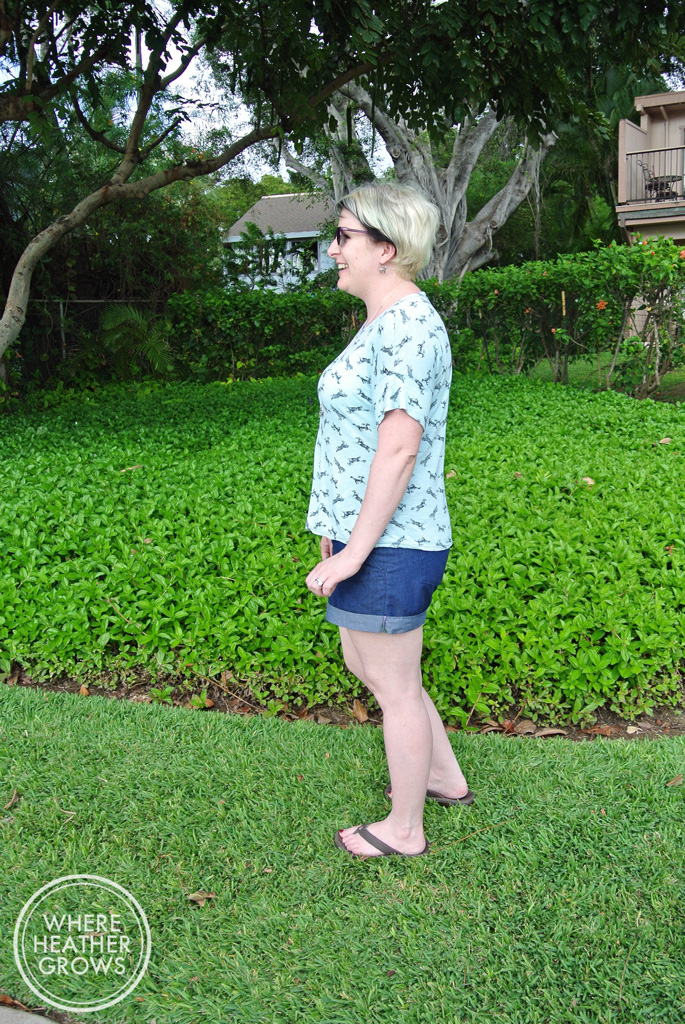
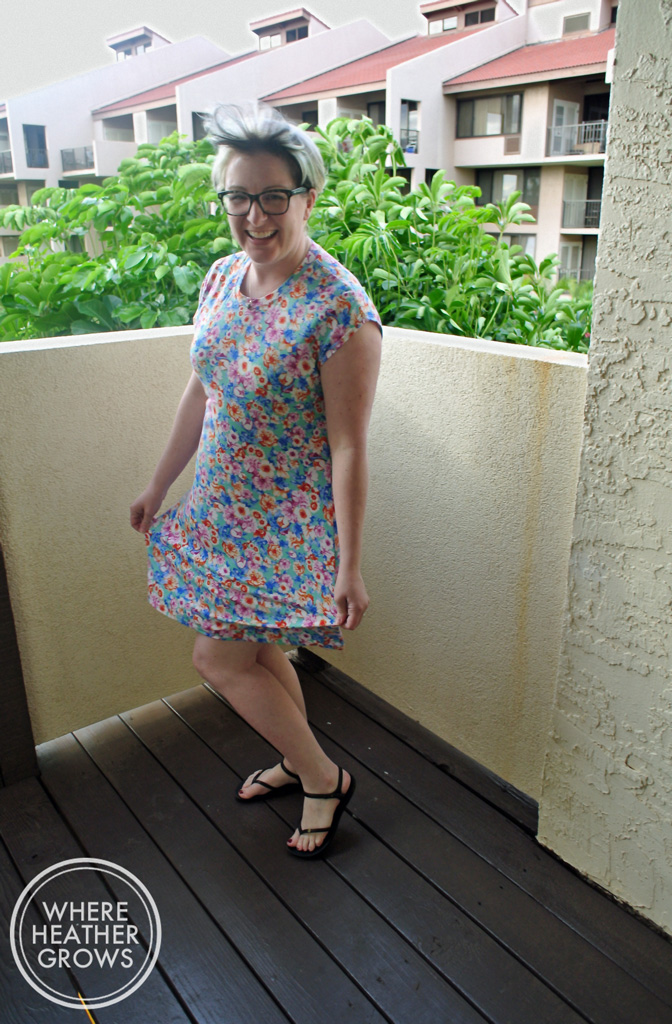
I may have gotten a little carried away and made them a bit too short, but I'm still quite happy with them anyway. See what you think:

IMG_7053

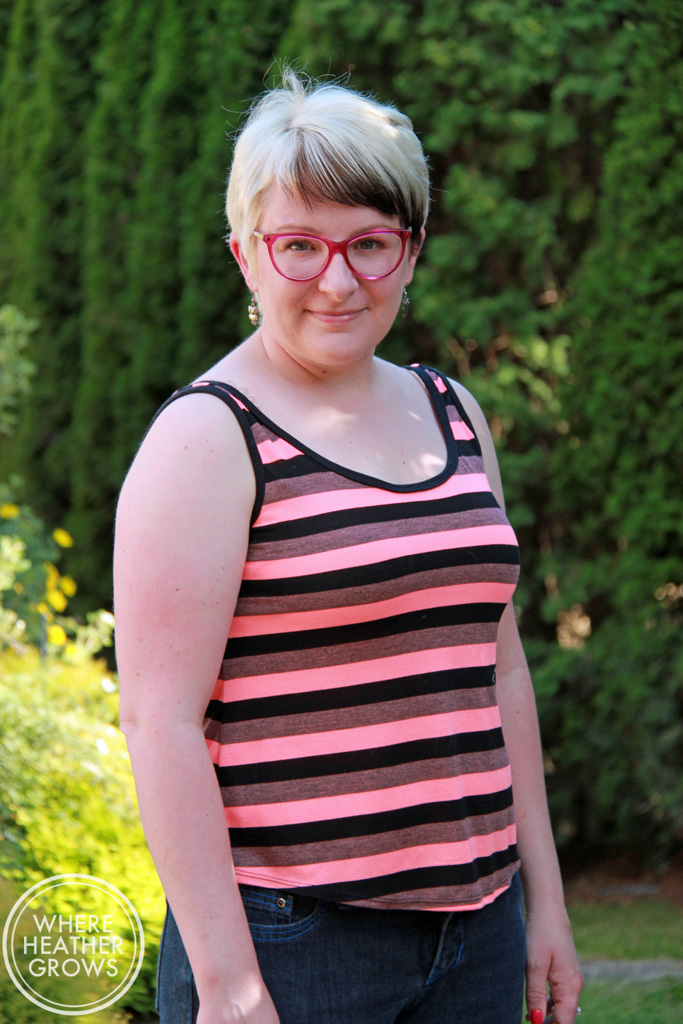
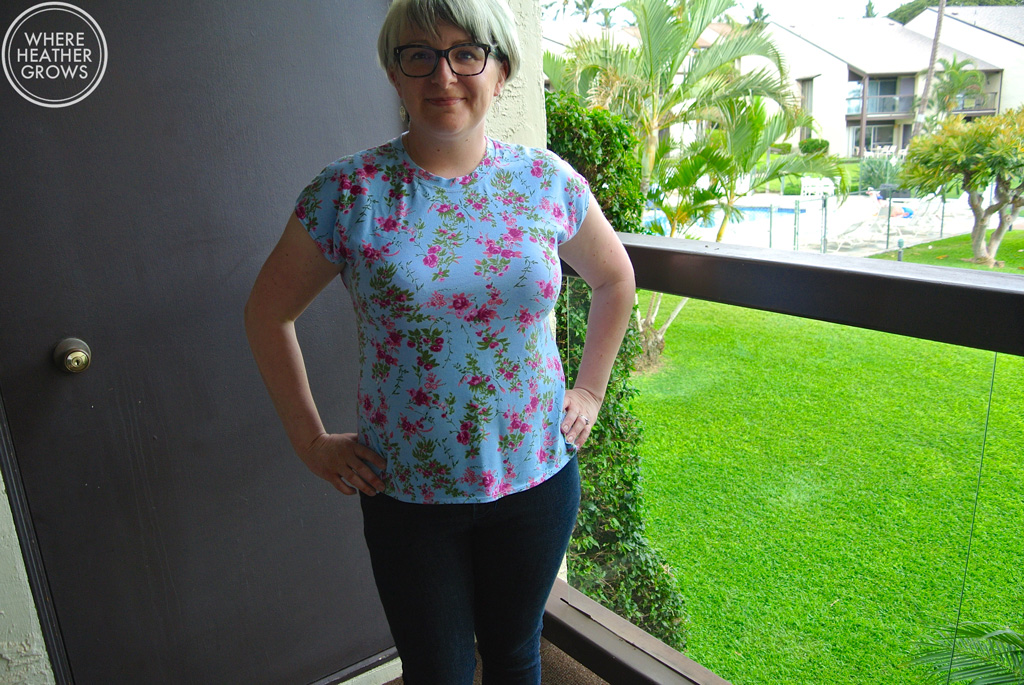
Hello! Everybody needs a super bright tank top right?

IMG_7052

IMG_7050

IMG_7067

IMG_7068

IMG_7069
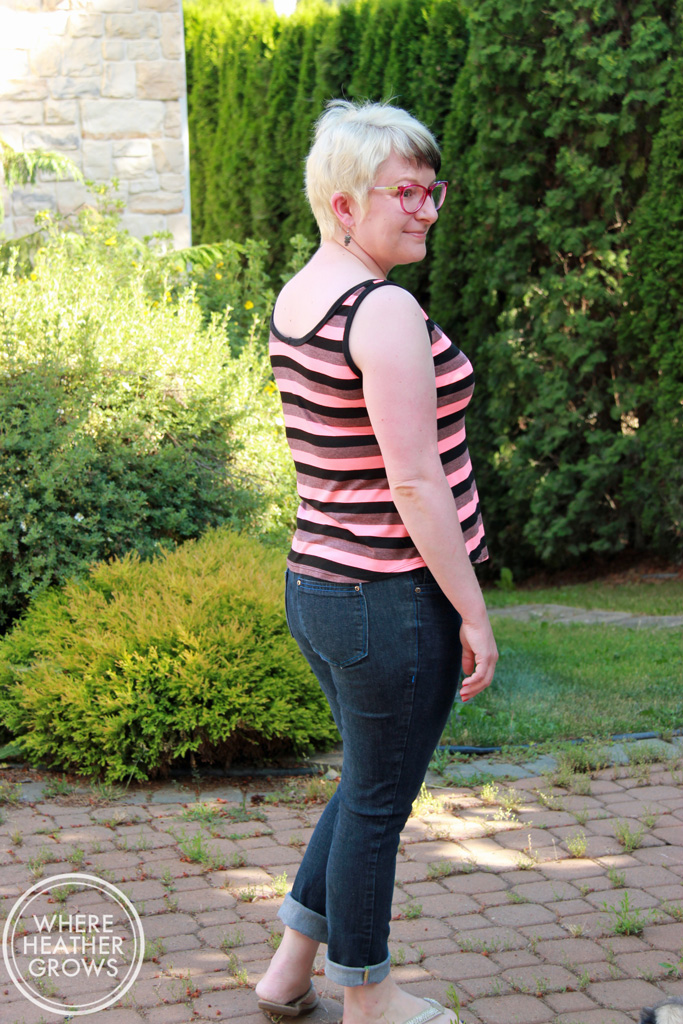
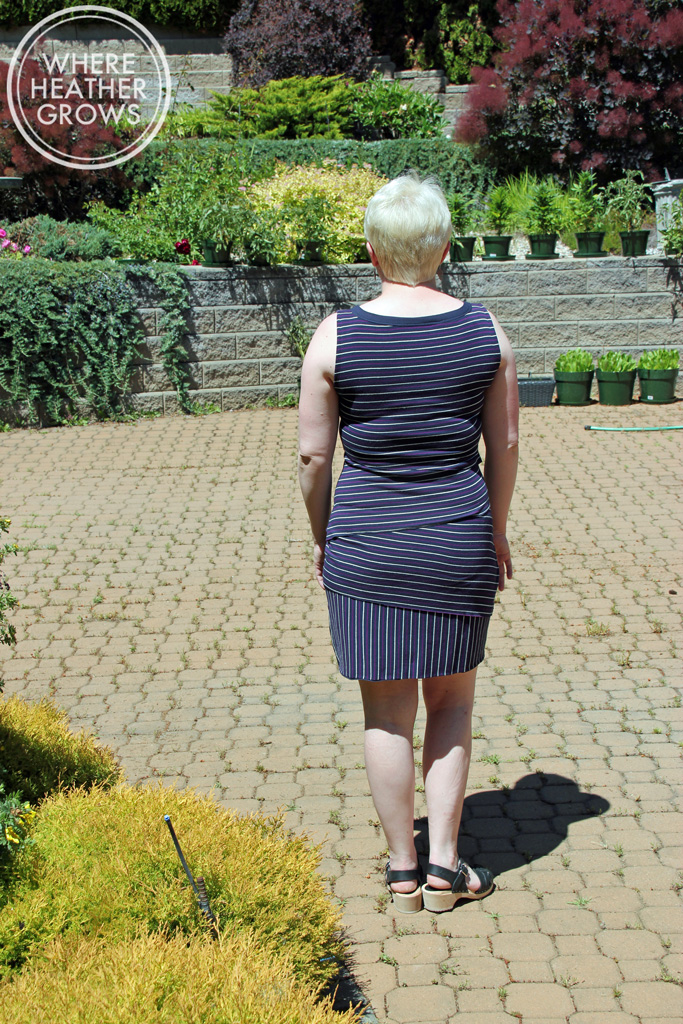
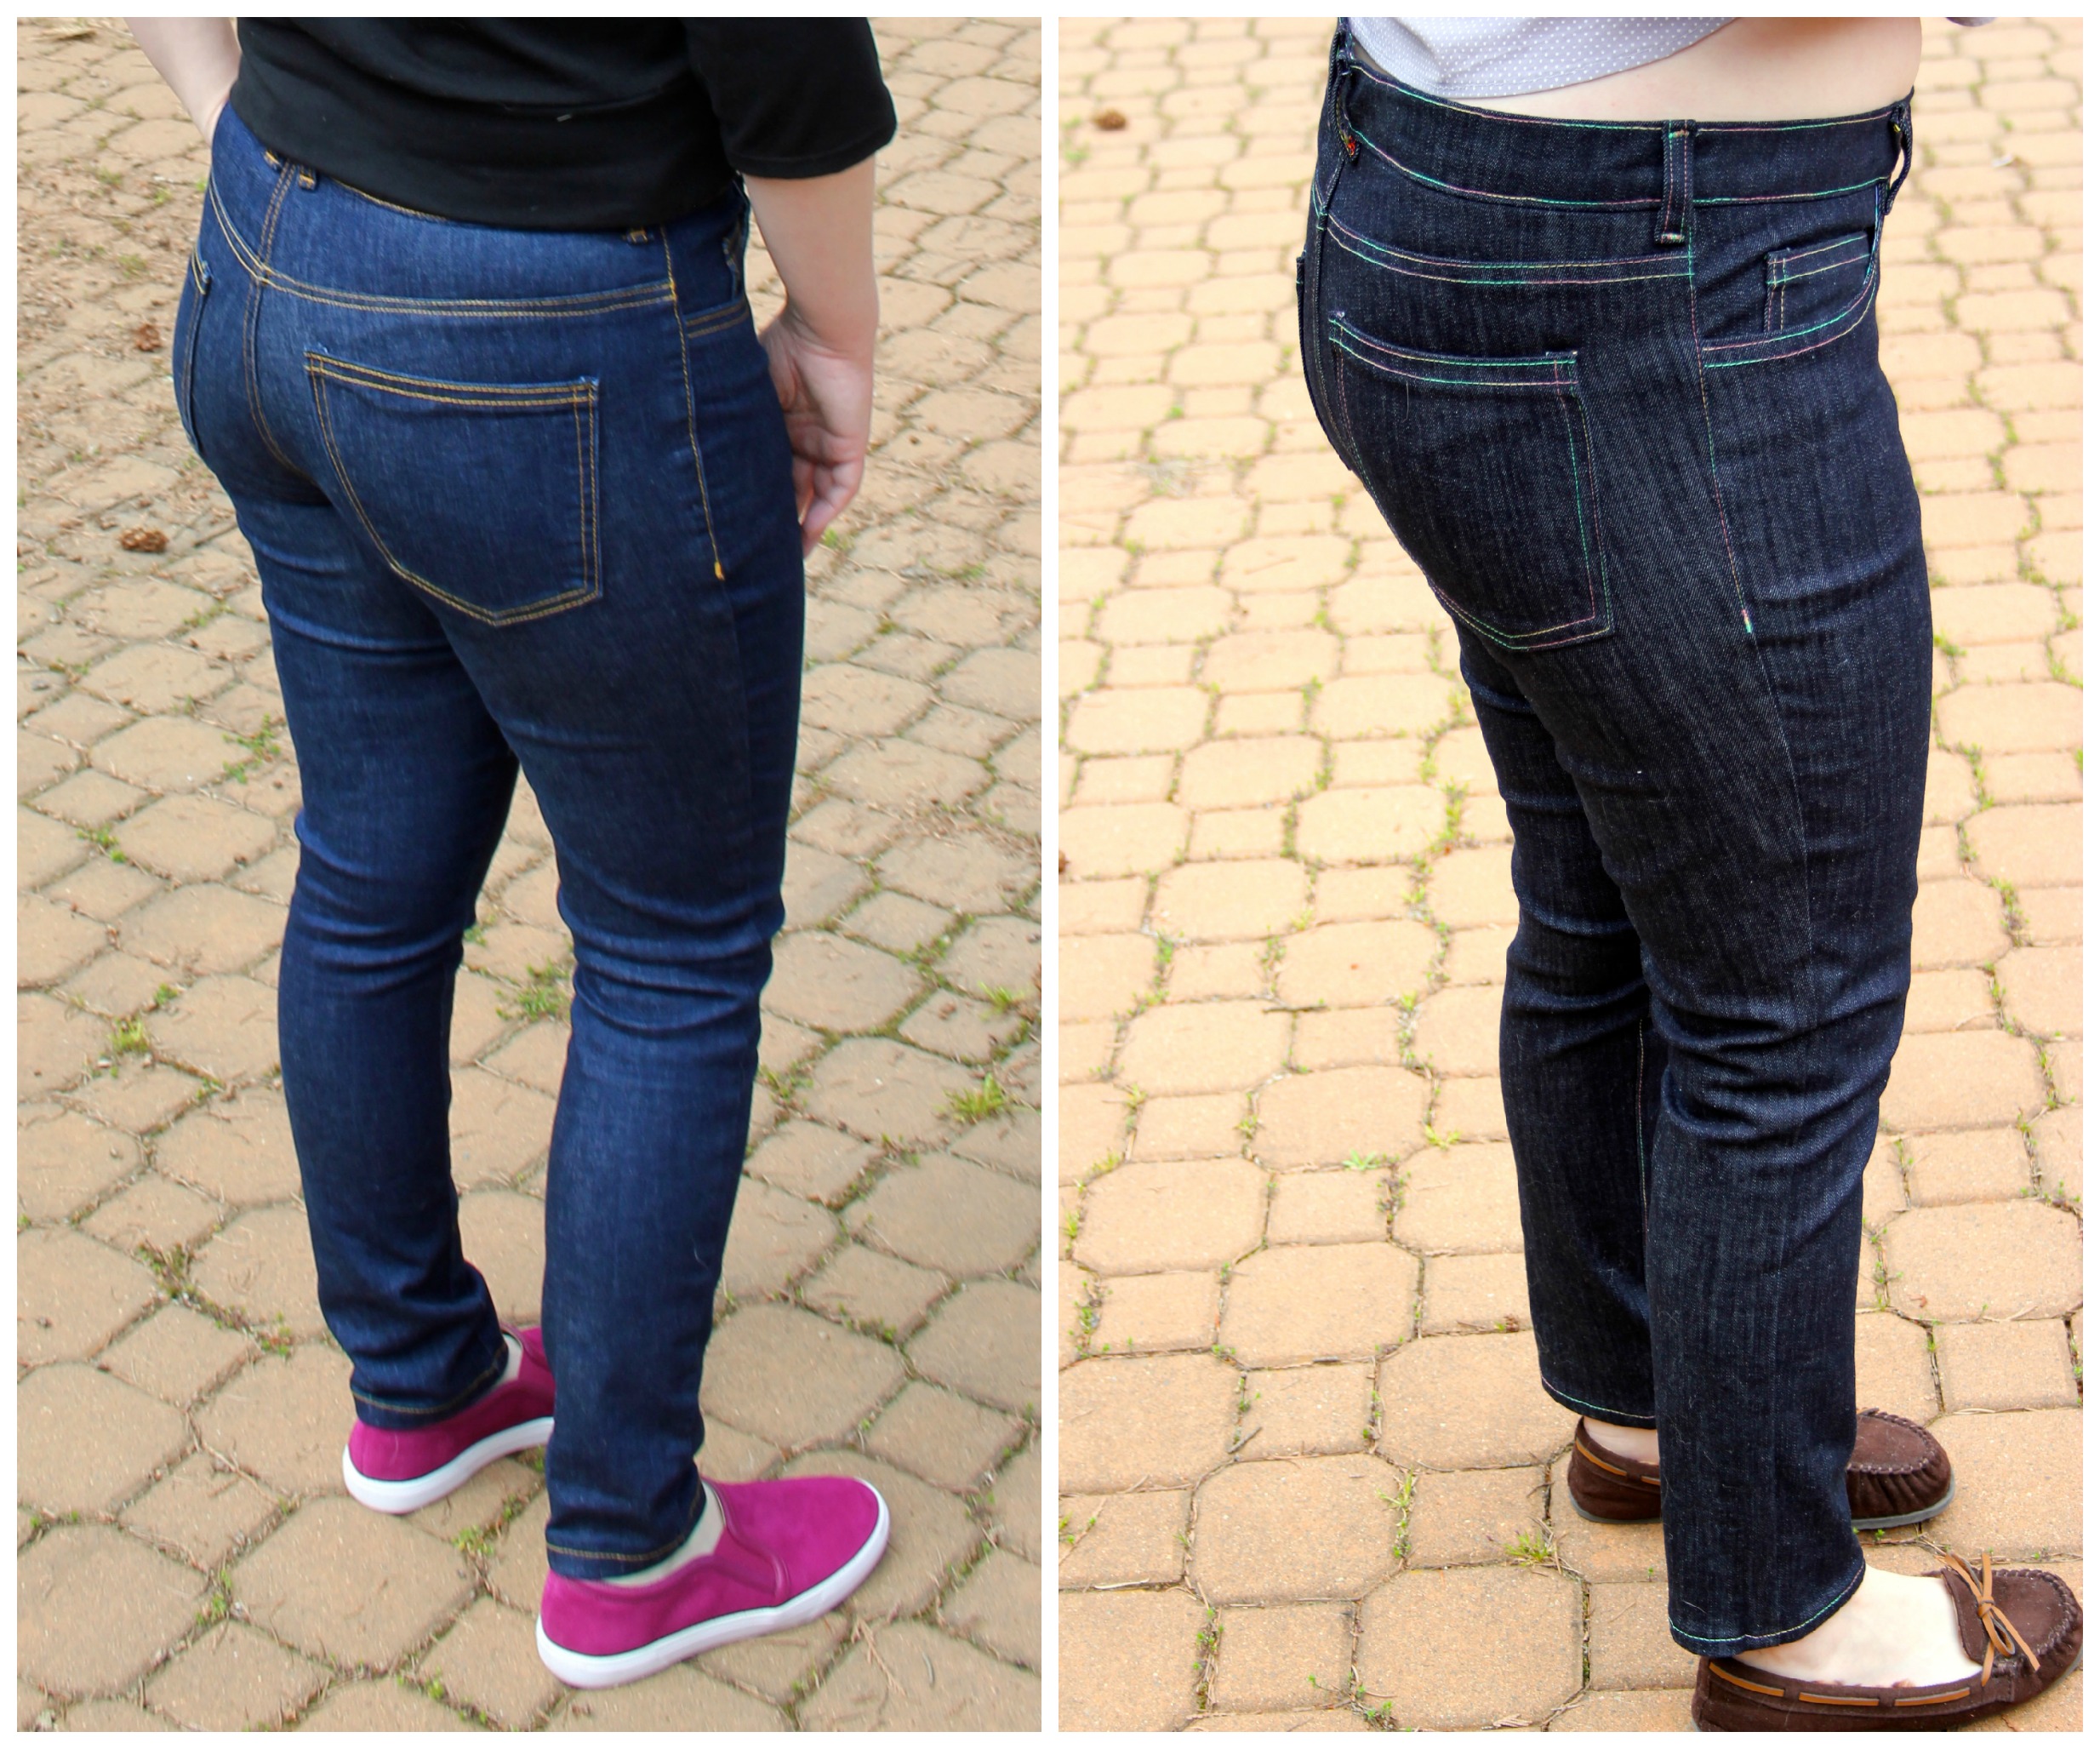
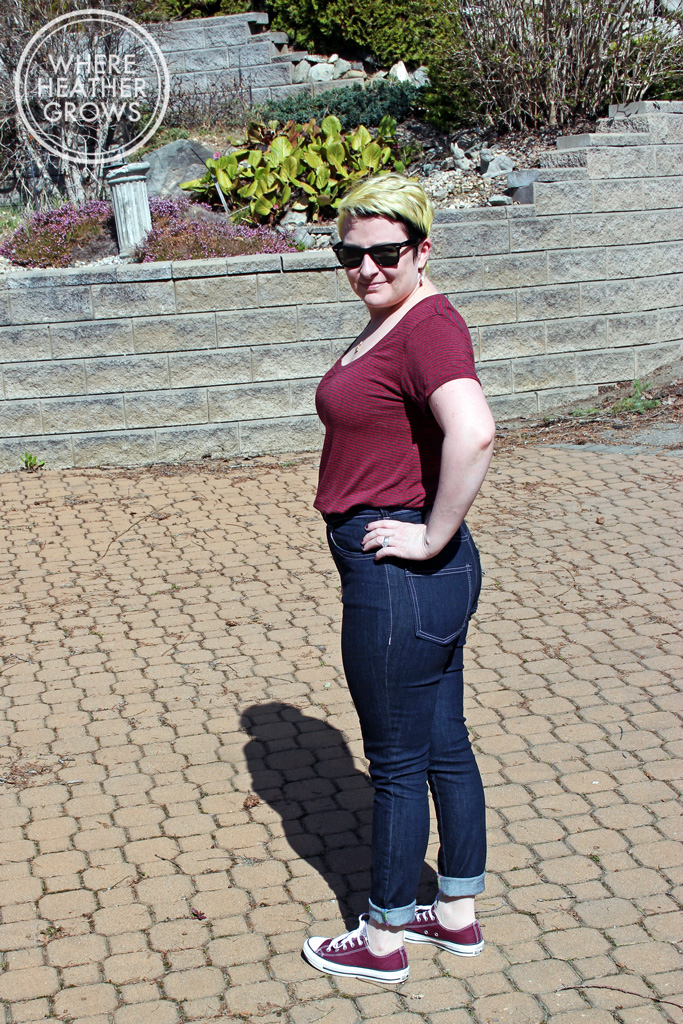
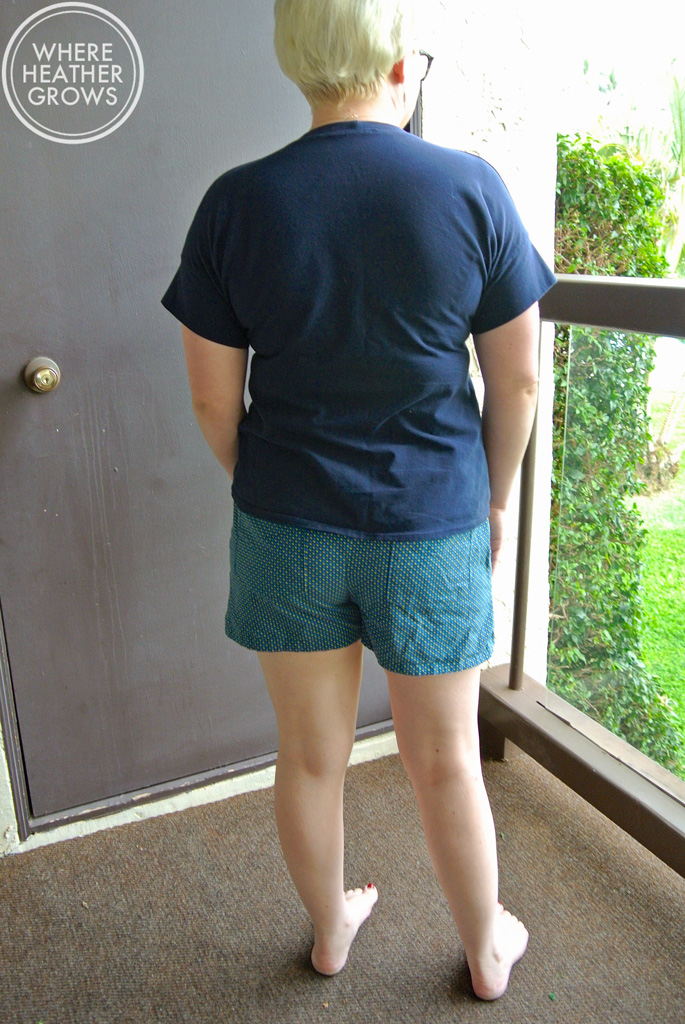
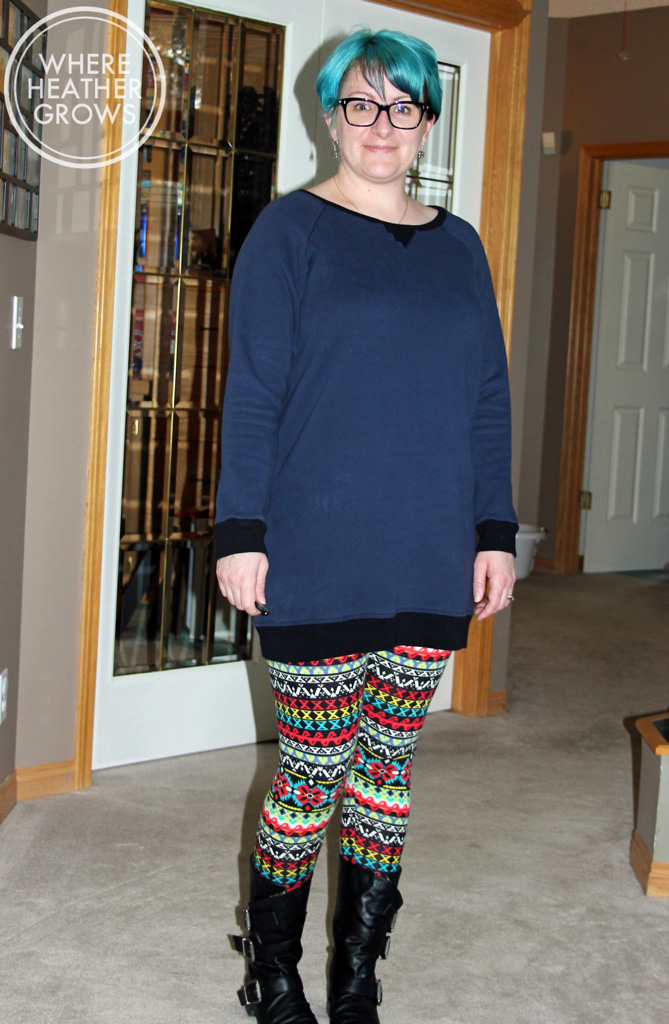
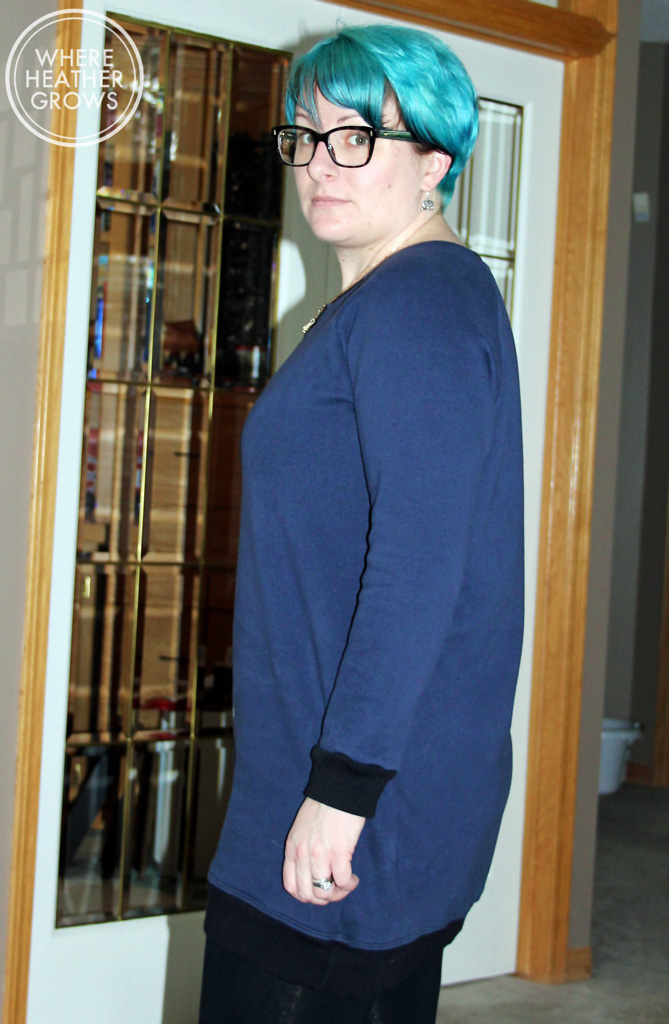
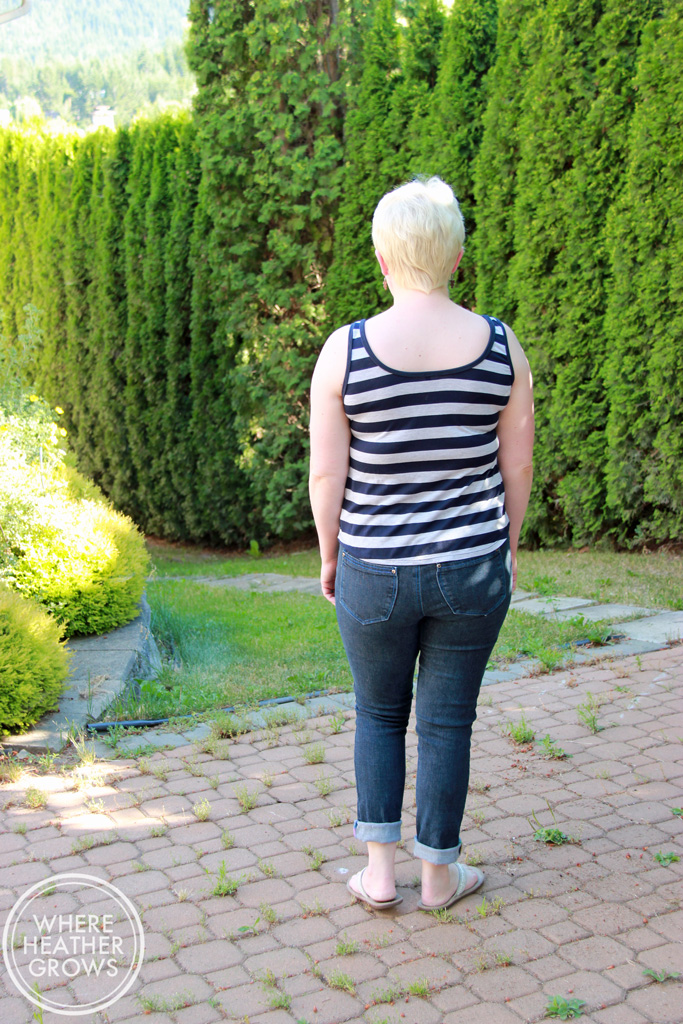
See the back doesn't look nearly as bad here. Maybe it's still just a little bit too tight, and that's why my bra line is so obvious, or maybe I'm just being too picky now.

IMG_7054

IMG_7056
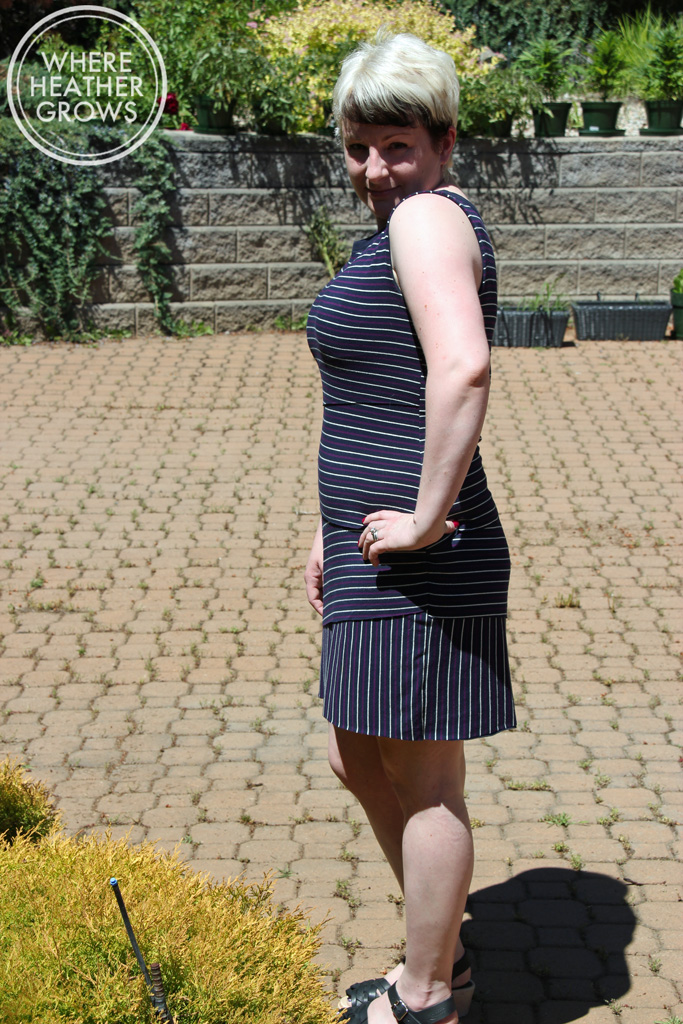
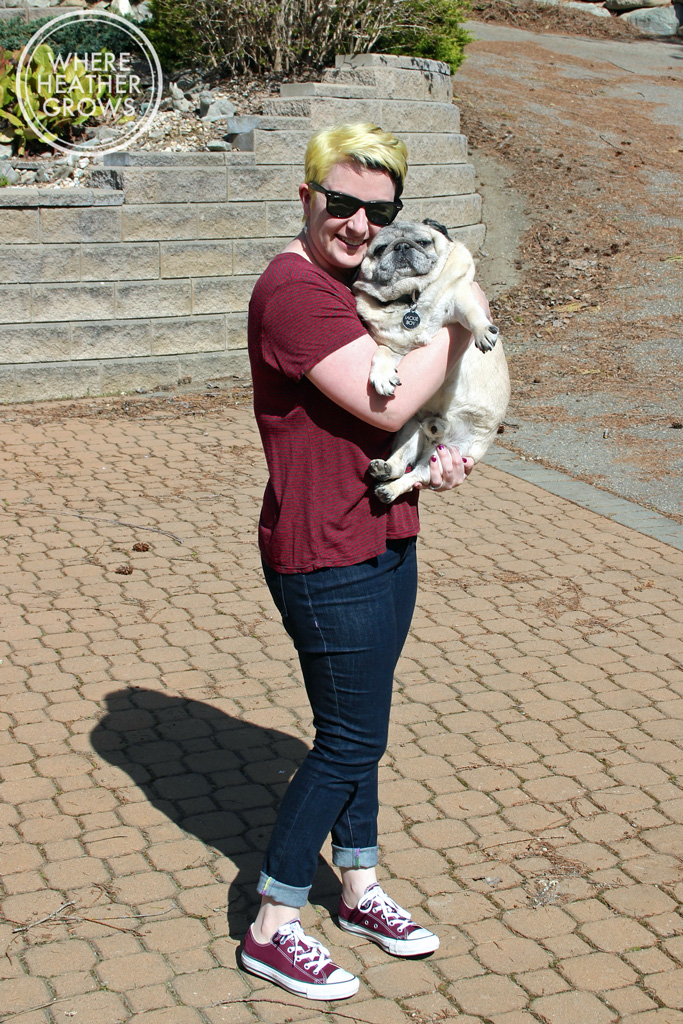
So I think that's enough photos of me for now, don't you? All of the striped fabrics came from Fabricville in Montreal (I'm not sure why Fabricville always seems to have a lot more and nicer knits than Fabricland in Calgary when they are the same company, but they do). I think they are all a cotton/rayon jersey blend, but I'm not 100% sure. They have great horizontal stretch, but not much vertical stretch. They worked perfectly for these tanks and I have a bit more left over for t-shirts too! That's another great thing about this tank: it doesn't require much fabric, especially when you're short like me.

I just realized that I didn't get any photos of the skinny striped one I made, it's made from a remnant I got from Marcy Tilton's website, and it's super comfy, but not the easiest to photograph. Those mircostripes always look a bit funny on a computer screen.

Hope you all are having a lovely summer, and for all my fellow Canucks out there, Happy Canada Day!!

Vogue 8904 - The Shingle Dress

Ola friends! Has it really been 2 weeks since my last post?? Crazy! I don't really have any good excuses for you other than I am a huge procrastinator and my blog always seems to get pushed to the bottom of the list. But not to worry, I am still sewing my little heart out and I have lots of projects to share. So let's start with something a little different shall we. IMG_6893Many moons ago, when I didn't sew but was still a clothes addict, I came across the Column dress at Anthropologie. I remember thinking that it was super interesting looking, and one of the sales girls told me that everyone who tried it on, loved it, and that it seemed to be universally flattering on every shape. Needless to say, I never got the courage to try it on, but it stayed on my radar. When I saw Marcy Tilton's Vogue pattern (8904)  for the same style of dress, I decided to buy it. And it sat in my stash for months.

IMG_6903Then I spotted Meg's version and it got added to my queue. I was still a bit apprehensive to make it as it seemed like it would be a lot of work with all those shingles, but I couldn't stop thinking about it. I don't have a ton of experience with the Big 4 patterns, and I find choosing the correct size tricky. This pattern is designed to be quite body hugging and I was a bit nervous about just how tight it might be, so I chose my size based on the size chart. I planned this to be a wearable muslin so I wasn't overly concerned, and because it's a knit, I figured it would be better too big than too small because I could always slim it down. I traced a size 16 for the shoulders and bust and graded out to an 18. I also went with the shorter version (but I left off the sleeves) as I am short and this seemed like it might be a bit tricky to shorten due to the shingles.

IMG_6911I ended up shaving about an inch off each side seam after it was made up - which means I took a whopping 4 inches off the circumference. It might be slightly tighter than I would have liked, but in the case of a knit body hugging dress, tighter is better than looser, I think. Next time I will probably go down to a 14 or even a 12. Which brings me to a question: how do you choose the right size? I have a bit of weird shape because of my belly (so my waist measurement is always in a bigger size than my bust and hip), and I never seem to get it right, so any advice you dear readers might have would be greatly appreciated. Maybe I'm not pulling the tape measure tight enough? What's the secret? I seem to do better with Indie Patterns, although my latest Papercut Jacket was way too big too. Someday I'll get it right.

IMG_6908The fabric I used for this dress is from Girl Charlee, and it super soft and wonderful to wear. The under dress (that the shingles are attached to) is a plain navy cotton spandex, and the stripes are a cotton jersey. It's actually a bit heavier than you might guess, but it's super soft and comfy - talk about secret pyjamas!

IMG_6909This is probably my main complaint with the dress - I obviously need some sort of sway back alteration to get rid of that pooling at the back. It's okay if I straighten it and stand still, but when I move it looks pretty bad. I'm not entirely sure how to go about doing that alteration because of the shingles, but I think I should be able to just pinch out the excess, and it will probably improve if I get my size right too.

IMG_6905I really love how the stripes look with this pattern, and it think that it works out to be quite flattering. I think it would still look cool in a solid colour, but I think that might make it a bit dressy, and I like to stick with the casual. The construction is really quite simple and straightforward, and because it's made with a knit nothing is hemmed, you just leave the edges raw on all the shingles. I did end up shortening this by about 2 inches, but that is to be expected - I am vertically challenged after all.

IMG_6918I imagine wearing this dress with runners (I love my pink ones, but I think it would be super cute with white converse too) and a denim jacket on cooler days, but it could easily be dressed up with heels. I think it's quite versatile. This is definitely a different style for me, and I feel a bit out of my comfort zone when I wear it, but I do plan on wearing this version and I do want to make it again. It's nice to have something a little different.

Do you ever venture out of your comfort zone with sewing? Would you wear such a body hugging dress? I curious to know what you guys think.

High-waisted Ginger Jeans (View B)

Hey Everybody!! How's spring treating you? (Or Fall I suppose depending on your hemisphere). Or I've heard some of you out east are still suffering with winter. Blah!! Come on Mother Nature!! It's starting to warm up in Cowtown (Calgary), but right now we are at the cabin at White Lake (near Salmon Arm in British Columbia) and it's super springy here. There is still a bit of a chill in the air, but it's sunny, and as long as you stay in the sunshine, it's feels warm. Anyway, I've been going jeans crazy! I want to make all the jeans! I finished these bad boys about a week or so ag0, and I am now working on another slightly modified pair using my kit denim. Yep! I finally worked up the courage to cut into the beautiful Cone Mills denim I purchased from Closet Case Files months ago. I am really excited to see how it wears, but so far it feels wonderful. But enough about that, let's get to the pair at hand: the High-Waisted Gingers. IMG_6402I have wanted to try out Version B of this pattern for quite some time now. There have been all kinds of amazing looking high-waisted Gingers out there, and every time a new pair popped into my blog feed, I thought "I gotta try those".  So I finally put the pdf together (which went swimmingly, by the way), traced it off, cut it out and got to work.

IMG_6388Full disclosure: I would never tuck my shirt in like this, but I wanted you to be able to see just how high-waisted these bad boys are, and how they look on a round, smooshy, vertically challenged figure such as mine. I made a size 10, and didn't change anything except to shorten the legs (at the lengthen/shorten line) by 2 inches.

IMG_6390Unfortunately, when you can see the whole jean, I don't think it is the most flattering garment for me. I think rather than suck things in, they just squish things around. That being said, I think they look great with my t-shirt untucked. I also think if I would have went with pocket stays, that may have helped quite a bit too. From now on, I will always make pocket stays!

IMG_6394I do totally dig the vintage/retro feel of the high-waisted jeans, especially with cuffs and paired with my chucks. (Shanny is going for the money shot in this pictureˆ - she's such a ham.)

IMG_6395Here's the back, again I think they look great with my t-shirt down, but not so much with my t-shirt tucked in. The yoke is much to long for me, and the pockets need to be moved up a tiny bit.

IMG_6389I think with some minor tweaking, this version will look really great. I'm just a bit too petite/short-waisted for it as is. My plan for the next pair is to shorten the rise a little (about an inch), and for the back I will take that same length out of the back leg and the yoke (so 1/2" each).

The fabric I used for this pair is some of that designer denim that Girl Charlee has been selling. It's my second pair using their denim, and I am happy to report that it's really nice. The recovery is great, and it seems to stand up well to multiple washes. I don't think they have this exact fabric in stock anymore, but they do have some other ones that look promising.

IMG_6396Something I did differently with this pair is that I used a different topstitching thread. Instead of going with my usual Gutterman topstitching thread, I used some heavy weight, lavender Sulky thread (specifically it's called Premium Sulky Heavy 12 Wt. Mercerized Cotton - it comes in tons of colours which is awesome). It worked great! I had way less issues with my machine being finicky and getting thread caught in the bobbin area, and it was so much easier to make bartacs with. I also used a topstitching needle, instead of a denim needle and I think that really helped too.

IMG_6405So I could easily end this post here, and you could go off thinking that everything is hunky dory over here in the Where Heather Grows sewing land, but that would not be true. After I wore these jeans for a couple days, I decided that the waistband was just not comfortable. It felt great when I was standing, but when I sat for more than about 10 minutes they felt really uncomfortable. The waistband was digging into my belly, and I just didn't like it! I had used denim for both my waistband and the facing (which I didn't do on my previous pairs - I used quilting cotton for the facing), ao I decided that this was the problem. The denim was making the waistband too stiff. I debated just leaving it, but then I thought, "No way, then they'll just sit in my cupboard and I won't wear them". And otherwise these are a perfectly wearable pair of jeans, and the curiosity cat part of me really wanted to know if changing the waistband would help. So off I went, I cut myself a new waistband (I'm short so I had extra denim leftover) and a new facing out of some quilting cotton. Then I patiently and carefully unpicked the waistband. Everything was going great until I pulled up the zipper, and completely pulled the zipper pull right off!!

frabz-Noooooooo-c1d2bdI was so choked! Anyway, still not wanting a pair of jeans I worked so hard on to go to waste, I proceeded to repair the zipper. I did a google search, but I couldn't find a way that I would be confident with, to put the zipper pull back on. So I unpicked the whole fly, and inserted a new zipper. It was not easy, and I ended up having to redo the topstitching around the fly (four times!!), but I got it done. Then I installed the new waistband, and I am happy to report, they are much comfier!! Yay!!

Unfortunately, I have started work on another pair of Gingers (yes, those kit denim ones I mentioned above) and I am having all kinds of problems with them too. I'm not sure what went wrong, but I was thinking that everything was going great, my topstitching was looking awesome (probably the best I've ever done) and then I got to the place where I could try them on. The topstitching proceeded to come loose in a couple different places (what's up with that?) and for some reason, the fit in the front is all screwed up (I'll spare you a photo but lets just say there is a toe of the camel variety and it is very unwelcome!). I do not know what I have done. I didn't change anything with the crotch curve, and I don't know what is going on with the topstitching. The only thing I can think of is that the topstitching thread that came with my kit is either a) too heavyweight for my machine or b) faulty. And I must have screwed up a seam allowance or something for the fit. Anyway, last night was a dark night full of feeling sorry for myself, ice cream, and wanting to cry over my horrible sewing skills, but after some great pep talks from my Instagram buddies (thank you all so very much!), and a good night's sleep, I am feeling much better. I'm going to try and salvage this project, but in the end if I can't, then I'll just throw it in the bin and move on. I mean, it's only fabric (and yes it's really gorgeous Cone Mills denim fabric) but no one's going to die if they end up in the trash. I mean it's not open heart surgery or something like that. And we all know I have lots more jeans, so I don't have to go naked. Anyway, I think it's really good to share my fails, and my faults too, so there you have it!

Sending you all lots of good sewing vibes and hoping you aren't having any disasters like me (but if you are, trust me it will get better!).

Marianne goes to Maui

What's the word hummingbird? John and I are in the glorious land of sunshine and pineapples - Maui! Actually it's been quite rainy and overcast since we got here, but it's still warm so it's all good. DSC_5599I have to apologize a bit for these photos. John took them twice (on two different days) and the lighting just didn't work out very well. It probably doesn't help that I'm as pale as a polar bear and matching the overcast sky. But anyway, it is what it is, and I really didn't want to try a third time (or ask John to take them a third time). Perhaps I am being to picky, but maybe not.

Anyway, onto the dresses! This is Christine Hayne's latest release the Marianne Dress.

DSC_5600

I have to admit that when this pattern first came out, I wasn't too excited about it. I have a couple of knit dress patterns already, and I also thought I could probably achieve a similar effect with a lengthened t-shirt pattern. But then Christine did a round-up of dresses from her sew-along, and I kind of fell in love (I especially loved the red plaid one near the end). Plus I thought the short-sleeve (or rather no sleeve) version would be perfect for this trip.

DSC_5603You're loving my model in the wind pose aren't you? Just wait, there are more to come LOL.

Being the adventurous sewist that I am. I decided to jump right in and crank out three of these little babies in one night (while watching my new favourite show Nashville - have you seen it? S0 addictive!). I don't usually do that - I almost always make one version of a pattern first to check fit and what not, but I decided that knit dresses are pretty forgiving, and worst case scenario, I could just cut them all into t-shirts or skirts or something, if I didn't like the dress version.

DSC_5593

Luckily for me, I loved this dress right away (and for an added bonus, John liked it right of the bat too). It's a perfect, lightweight, easy to throw on dress for a warm vacation. Perfect on it's own with flip-flops, and also quite cute with leggings, boots and a jean jacket or sweater.

DSC_5562

This dress has such a nice and flattering shape. It's super simple, and I was quite surprised that it didn't look like a giant sack. Well it is a bit of a sack, but a sack with shape. I should also mention that the pdf file went together fast and painlessly, and GASP I cut it out instead of tracing like I usually do. That cut down the time considerably.

DSC_5564Based on my measurements, I went with a size 10 at the shoulders and bust, and graded to a 12 at the waist and hip. I am really happy with the fit. And I'm really loving the neckline. I know it's a little high, but I like it combined with the kimono sleeves. I also shortened this dress by 2 inches at the lengthen shorten line, and I still had to hem another 2 inches off but that might have to do with the 4-way stretch of this fabric.

DSC_5583

This is a perfect shot of the wind hitting me. Look at that hair LOL.

DSC_5584All 3 fabrics are rayon jersey knits from Girl Charlee. And actually the floral one and the gray and white one are from my January Knitfix pack (which was jammed with fabulous fabrics by the way. I think I may have mentioned it already, but I was really happy with what I got). The blue multi-patterned one I ordered at the same time, but it wasn't part of the Knitfix.

DSC_5556

I have kind of shied away from rayon knits in the past thinking that they would be clingy and hug all my lumps and bumps, but boy was I wrong! These three lovelies are super soft and have the nicest drape. I think they actually skim over my curves really nicely, and do the opposite of what I thought they would. I see more rayon knits in my future for sure!

DSC_5551

All three dresses were constructed with my serger and then hemmed with the coverstitch machine. I just turned the sleeves and hem under to finish, and then I also topstitched the neckline with the coverstitch too.

This was such a super quick and easy project to make for my trip. These dresses are super easy to just toss on and I feel put together and comfortable. Not to mention that they seem to be allergic to wrinkling - perfect for packing. I've worn them all a bunch already, and I know I will continue to wear them when I get home.

Do any of you have spring/summer on the brain yet? Have you started sewing for it yet? Also any foolproof and easy tips for getting good blog photos are welcome! I hope it's warming up wherever you are (it was actually +16˚C in Calgary yesterday - wowsers!).

The Linden Tunic

Hey there everybody!! I feel like I haven't blogged in ages, but when I checked the date on my last post it's really only been a little over a week. I have been sewing up a storm and making lots more things, but sadly, I haven't photographed any of them yet. Sometimes I feel like blogging gets in the way of sewing, and I also like to have a bit of a selection of things to blog about so there's been a lot more sewing, than blogging and photographing going on lately. Anyway, I do have one project photographed and ready, so in the spirit of sharing all the makes, I bring you my Linden Tunic Experiment. I know, I know, we're sick of Lindens!! Well to be honest, I am not sick of making them or wearing them, or seeing them AT ALL, but I am a teensy bit sick of blogging about them myself. But because this one is a little bit different, I decided that you all might like to see how it turned out, in case you are thinking about making one for yourself.  Anyway, enough blabbing....

IMG_6259

So I'm not sure this is my best looking project ever, but it is sooooo comfy!! I made it out of sweatshirt fleece I bought from Girl Charlee ages ago. I actually bought it to make a Lola Dress, but that doesn't seem to be happening anytime soon, so I decided to just use it for this. It's warm and thick and extremely soft. The right side of this fabric almost seems brushed. Very snuggly. Oh and the black ribbing is from Fabric.com.

IMG_6258

So back to the pattern, all I did was lengthen in by 7 inches at the lengthen/shorten line. Easy peesy!

IMG_6281

One time, a long time ago, (in a galaxy far far away), a very lovely sales girl at Anthropologie told me that a tunic  (or even a short dress) should hit you mid-thigh for the most flattering fit. Right at the point where your thigh starts to widen - does that make sense?  For some reason, that little rule has stuck with me. So that's where I aimed for the bottom of the ribbing to hit.

IMG_6256

I was just looking for something snuggly and comfy to wear with leggings - so this pretty much fits the bill. I'm not sure I am in love with my fabric choice as it is a bit stiff and makes for a sack like garment, but it's okay. It's perfect for lounging around the house and being cozy, and if I need to sneak out to the store, my butt is covered!

I'm not sure if I will make this again. It's a little too plain for me. I feel like it needs a funner fabric, or pockets or maybe a waistline or something. The hunt for the perfect sweater dress/tunic continues!

Actually, not long after I made this up, Paprika Patterns released their Jasper dress. It has an interesting collar and a hood option with really cute welt pockets. So I might try that next time I'm in the mood for a snuggly sweater dress. (PS: I think that pattern is on sale until Feb 24th if you want to snatch it up too!) [Also, guys in the interest of all the advertising/affiliate links conversation going on in blogland - I want to let you know that I am not sponsored or affiliated with anyone at the moment. I know I link to tons of stuff, and I rave about lots of stuff, which may make it seem like maybe I am getting paid to do so but I want to be clear that I'm not. And I promise to tell you if I ever do get sponsored or sent any free stuff in the future. I am totally not against it, but I like it when bloggers are forth coming about it, so I promise to be too.]

So there you have it! I promise to blog something other than a Linden for my next post ;). Hope you all are staying warm wherever you are!