Happy New Year!

Oh dear! How did it get to be January 15th already?!? I had hoped to blog a bit more than I did in the past month, but so many things got in my way. I caught a terrible "man cold" from who knows where, which kept me in bed for days, and then sadly, a few days after Christmas, my dear Uncle passed away. He had been battling pancreatic cancer for the last year or so, so it wasn't really shocking, but having just had a really great visit with him over Christmas, it was a surprise that his death came when it did. I am so grateful that I was able to have such a great chat with him on Boxing Day and I will hold that memory of him for a very long time. Anyway, enough about that. Let's talk about sewing! 

This is the Silvia Coatigan by Schnittchen Patterns. (Heads up - these are not the greatest photos. The white background is not really doing me any favours, plus I seem to have *ahem* misplaced my remote, so I had to do the whole push the button and run in front of the camera thing. Then just as I was all set up it started to snow, so if you see weird white flecks, they're snow flakes.) 

This pattern wasn't really on my radar, until Caroline (of Blackbird Fabrics) made mention of it somewhere (I can't find the post on her blog or instagram, but I swear she mentioned it somewhere). Anyway, I checked it out, and I thought it would be a great in between seasons piece. Calgary is so weird in the winter because of the Chinooks. One day it can be freezing and you need a super warm, down parka, and the next day it's sunny and warm and you are sweating in said parka. So I thought this would be a great "coat" for those days, but I also wanted to keep it soft and fairly unstructured so that I could wear it inside when I'm feeling like I need an extra snuggle.

I ended up choosing this fabulous wool boucle from Blackbird Fabrics, and it worked out perfectly. It's nice and warm, and wooly, but still soft and drapey like a cardigan. I thought that I might be able to get away with not lining this little number, but when the fabric arrived, I decided it was a bit too itchy against the skin to go without a lining. 

I have never worked with wool fabric, or wool coating, so I wasn't exactly sure how to pre-treat it. I did a bit of reading, but then emailed Caroline for some advice. As always, Caroline was very helpful and after emailing back and forth with her,  I decided to try the steam function on our new dryer. After about 30 minutes the steam cycle was complete and the wool looked great with very little shrinkage. If our dryer didn't have that feature, I think you would have steamed it with my iron, but that seemed like so much work - especially when there is another option. I also asked Caroline for her suggestions about lining, and she graciously sent me some lovely modal knit from her personal stash. Sewing friends are the best! The knit fabric is perfect!

As for the pattern, I have never worked with a Schnittchen pattern before, so I was very surprised that the pattern pieces were contained in two separate pdfs. This took me a while to figure out as there was no print/pdf layout. At first I thought I was missing some pattern pieces, but then I remembered the second pdf, and lo and behold, there they were.  This was not my favourite experience putting together a pdf to be completely honest. I had a hard time getting all the markings to match up and the borders weren't super clear, so my pieces were slightly wonky in a few places. Now this might be my printers fault, as it can be cranky sometimes, but I haven't had this much trouble with other pdfs, so I'm not sure.

All that being said, this coatigan came together rather quickly, and I mostly put it together with my serger. I did have a bit of trouble with the lining but I think that's because I haven't lined very many coats/jackets, so I didn't really know what I was doing, plus I was using a knit fabric with a woven. The instructions are only written (and fairly brief but they are translated into english so that's a good thing) with no diagrams which probably works just fine for an experienced coat sewer, but I am very much a visual/kinetic learner and so I require more hand-holding than just words (at least when I'm doing something for the first/second/third time). Anyway I turned to Jen's fabulous tutorial and kinda did my own thing. It turned out pretty well, so I can't really complain. And the knit lining is part of what makes this so cozy, so I'm really happy I didn't leave it out. 

I have pretty much worn this non-stop since I finished it. I wore it around the house with my Hudsons while I was sick, and I reach for it pretty much anytime I'm running out the door (unless it was one of those really cold days we had there). It's slightly bulky, but I think that's part of the appeal. It's like being wrapped in a blanket and I feel really stylish when I'm wearing it. I also love the colour and it goes with everything.

According to the size chart, I should have made a size 42, but I ended up going with a 40 because I knew I was mostly going to wear it open, and I didn't plan on adding any closures. I didn't make any changes to the pattern at all. I thought I might have to shorten it, but I didn't and I think the length is just fine on me. I'm really happy with the fit, and I know I will continue to wear this a lot.

I hope you all are doing well and enjoying your New Year so far. I feel kind of crappy that I didn't get any year end roundups done like I did last year, but C'est La Vie!

Have you ever made a Schnittchen pattern? What did you think?

Tropical Pyjamas

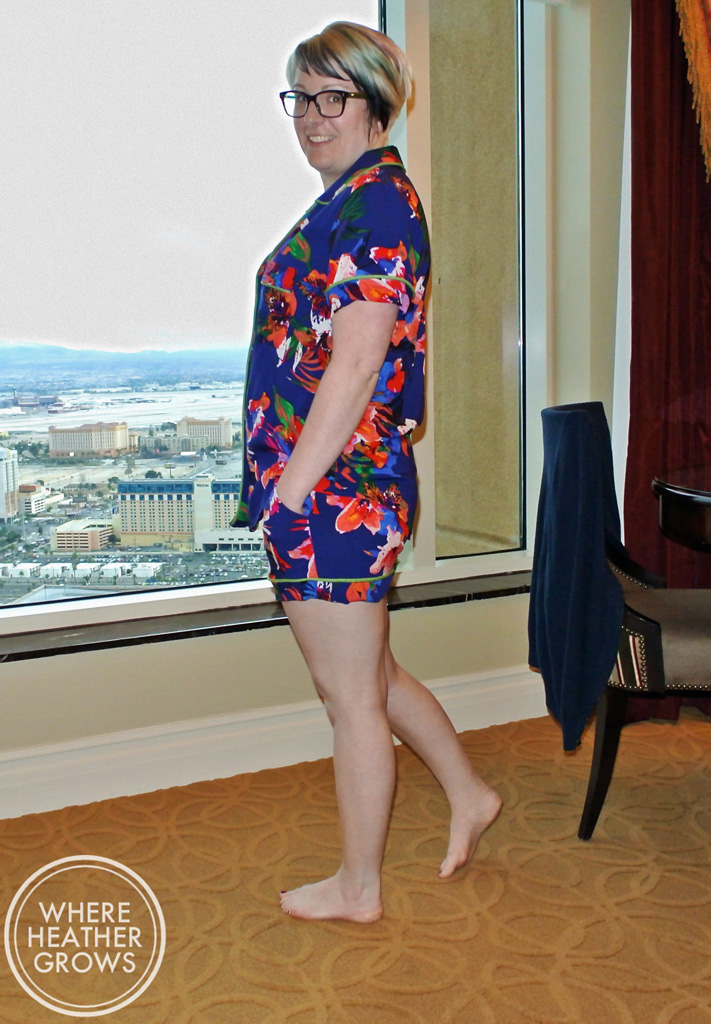
Hey everybody! It's finally time for something different! Pyjamas - with piping and everything! I'm sure by now, most of you have seen Heather Lou's latest pattern (and if not, head over to Closet Case Files and check it out). This time it's all about upping your lounge wear game and I am all for that. John recently bought me some pyjamas (for Christmas) and I absolutely love wearing them. I never used to be a full set type of girl. I used to only wear pyjama bottoms and a t-shirt, but this latest pair I own has changed my thinking. They are flannel (kind of like these but with penguins) and snuggly, and I love wearing them as a set. Who knew matchy-matchy could be so fun? Anyway, being a new full pyjama set convert, I was thrilled to see this new pattern for the Carolyn Pajamas. I really love all the versions included with this pattern, and that they are designed to be fitted, feminine, flattering and comfy, not the usual boxy unisex business.  This girl likes to lounge in style. Plus, I will be way less embarrassed answering the door in the middle of the afternoon in these babies, than in my usual pug-hair covered yoga pants and ratty t-shirt. (Heather Lou the UPS man thanks you too.)

DSC_5541

I have never sewn with piping before, nor have I sewn a notched collar, so I decided I would try the shorts version first (version C). It seemed like less fabric so a good place to start just in case I made of mess of them. I should also mention that the pdf went together really well. All of the markings match up, and I like how you can print the top, pants and shorts separately. Also, I love that you can put the pattern pieces together individually. I'm not entirely sure how to explain it, but you don't have to stick all the pages together to form one giant paper. You can put the first 2 pages together for 8 or 9 rows, then the 3rd and 4th pages together for 8 rows and have all the pattern pieces. Here, I'll show you the layout so you can see what I'm talking about.

Screen Shot 2015-02-24 at 9.15.41 PMHopefully, it's okay that I show you that little diagram, but do you see what I mean? Closet Case Files' pdfs are really well thought out, and always a breeze to put together.

DSC_5542

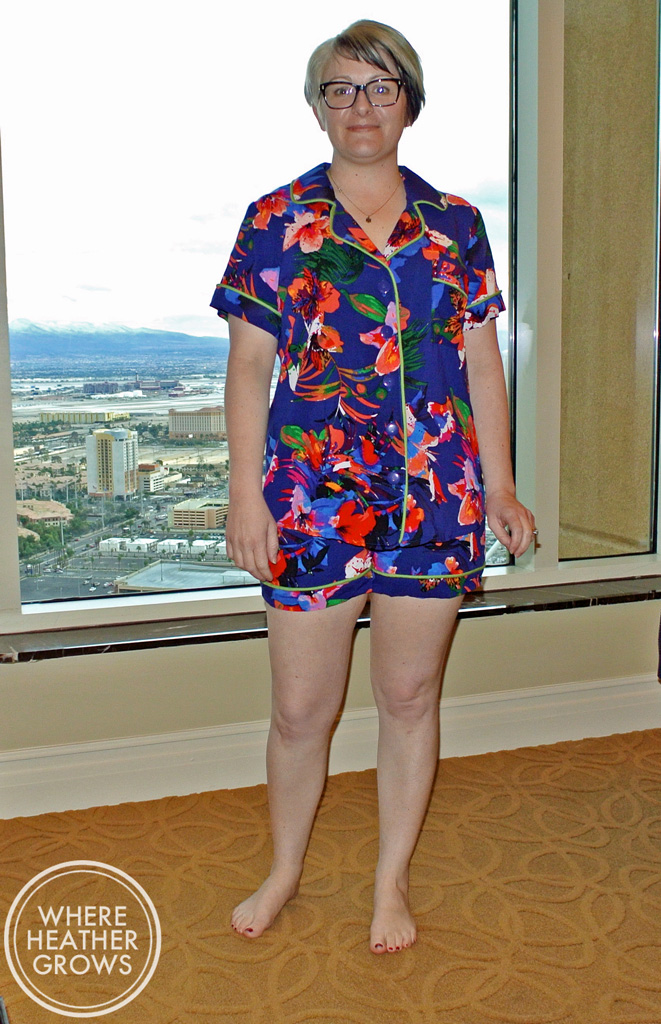
I made up a quick muslin of the shorts in some cheap rayon I had lying around before I cut into this tropcial gorgeousness. I chose the size 10, but found the shorts a little too snug for pjs, so for this version I made a straight size 12 for both the shorts and the top, and I think they both fit perfectly! In fact, I can't really get over just how perfect the fit of the shirt is. I mean check out those shoulders. Once again, it feels like Heather Lou drafted this pattern just for me.

DSC_5543

The fabric is a really gorgeous tropical print rayon voile from Blackbird Fabrics. When I saw it I knew it was destined to be warm weather pyjamas so I snapped it up right away. Unfortunately, I think it is now sold out. Have you ever sewn with rayon voile before? I hadn't until this, and let me tell you it is amazing! This fabric is so incredibly soft, and flowy, and silky, and it was a dream to sew with. I wish I could send each of you a little swatch of it, so you could feel it. It's beautiful! And it makes for an uber luxurious set of pyjamas.

DSC_5544

I went with store bought piping that I picked up at my local Fabricland. I think it looks okay, but it's a little stiff and bulky (the shorts can almost stand on their own). For my next pair I will either make my own smaller piping, or go with flat bias tape piping. I think this stuff might be more suited to pillows and cushions and what not. This was my first time piping anything and I was a little nervous but it went okay. I started with the shorts and my stitching doesn't look the greatest when you get really close up, but I'm okay with that. I mean, who's going to be getting that close to my cuffs while I'm in my pyjamas anyway? The pugs maybe, but they love me and I feed them, so they can overlook wonky stitching every now and then.

After struggling a bit with piping the shorts (I started off using my zipper foot, then my regular foot which worked better than my zipper foot but still wasn't great), I ended up buying a piping foot for my darling Pfaff and it made a world of difference. So if you plan on doing much piping work I would definitely recommend getting the proper foot. It made my life so much easier, and it made my sewing look a lot better too! By the time I got to the cuffs on the shirtsleeves, I felt much more confident in my piping abilities.

DSC_5540

I also struggled a little bit with the notched collar too, but I am confident that my next one will go much smoother. The instructions were fine, but I still consider myself a beginner sewer, and I am definitely someone who needs to do things at least once to figure them out, so I know next time will be a lot easier. And also since I made these, Heather Lou has added a tutorial to her website that is quite helpful for visual learners like myself.

All in all, I am thrilled with how these turned out and I can't wait to make more. I already have a stash of fabric reserved for more sets. My dream is to have a set of these to wear everyday for every season. They are like my version of the leisure suit.

Do you wear pyjamas? And if you do, do you wear the full set, or just one piece? Also what do you think of the pyjama on the street fashion trend? Would you wear them out of the house?

PS: This post comes to you live from Las Vegas. John is here for business and I tagged along. I thought it would be cute to photograph these in the hotel room, but it ended up just being a little creepy so John ended up taking my picture by the window instead of on the bed. LOL

The Other Two Archers...

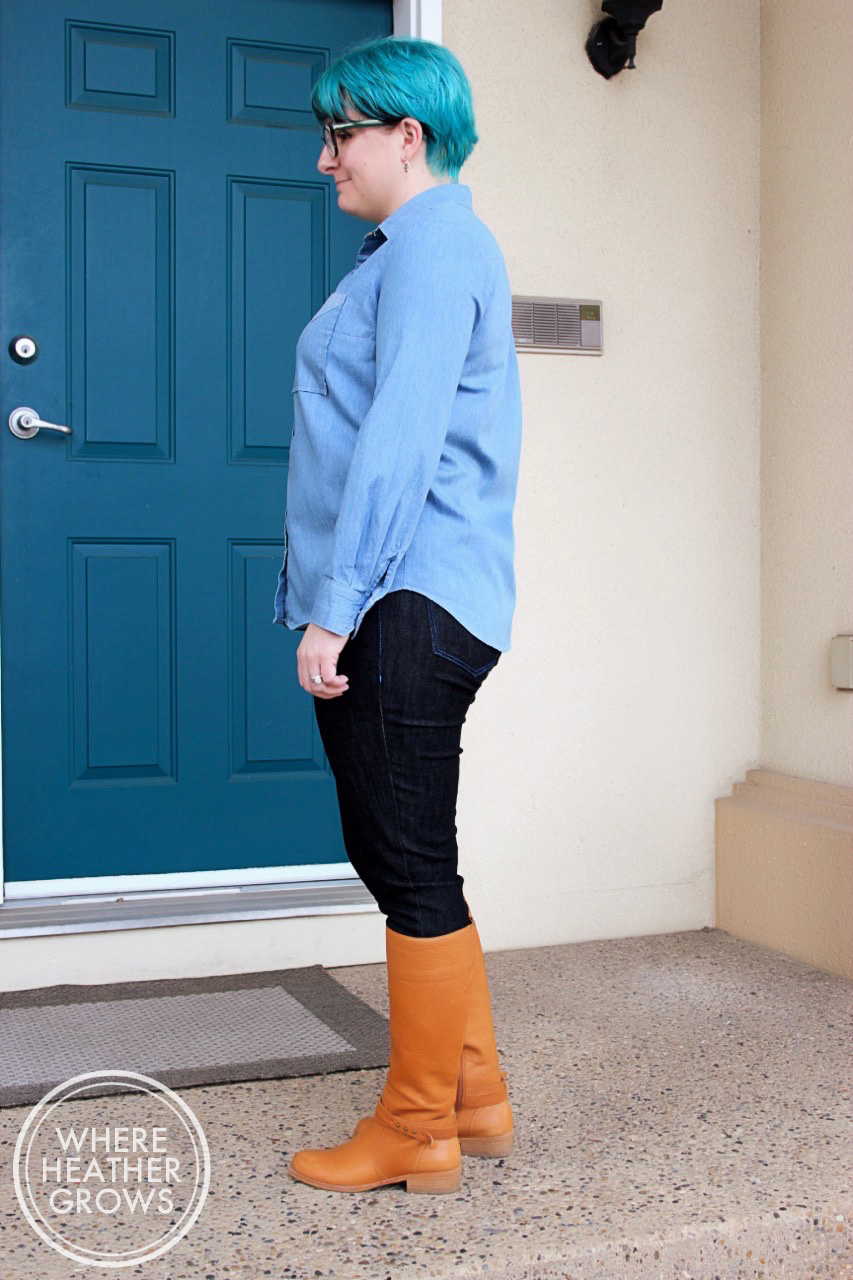
So my blog is kind of turning into a Grainline Fangirl blog, but there's a reason: Jen's patterns are freaking awesome! So I'm not going to apologize for liking what I like. ;) I just can't get enough Archers and Lindens in my life clearly. As promised, these are the other two Archers that I made a couple of weeks ago. I have always wanted a chambray button up, but before I knew how to sew, I could never find one that I liked, that fit. And then when I did start sewing, I had a bit of a difficult time finding the right fabric. That is until Blackbird Fabrics.

IMG_6044

Of course, when Caroline Amanda announced the grand opening of her Canada based online fabric store, I went right to her website and ordered immediately. I mean I gotta support the local dealers retailers right? I spied this gorgeous light denim shirting (among other things), and I thought it looked just right. I was so thrilled when I received it, because it was even better than I had imagined. It's so easy to be disappointed when shopping for fabric online because you can't touch it. This fabric actually came to me back in September, but I didn't actually do anything with it until now.)

IMG_6047

The colour is exactly what I was looking for and it's buttery soft. It's like an already well loved and worked in denim shirt.

IMG_8568

I don't have anything new to say about the construction of this shirt, except that the pockets are inspired by Katie's version, and I love how they turned out. I also used some white pearl snaps from Snap Source (I always go for the size 18 in case  you are wondering), as that seemed like the natural choice.

For the last of the bunch, I decided to try a short-sleeved version. It didn't turn out exactly as I thought it would, but I am still quite happy with the results.

IMG_8570

The fabric is also from Blackbird, and it's a cotton stretch sateen shirting. It feels lovely, but for some reason it has caused a bit of weirdness at my chest. See those wrinkles? I am wondering if maybe it's because of the stretch, but I'm really not sure. I mean I cut all four Archers at the same time, and this is the only one that seems to do that. Oh well, still completely wearable to me.

IMG_8571

As you can see the cuffs are a bit wrinkly and weird. I really wanted to have short sleeves, but still have the cuffs. So I'm sure there is a way more professional way to do it, but I just shortened the sleeves and widened (lengthened) the cuffs to fit. I also free-handed the sleeve placket, and I think it should be just a touch longer, and that might resolve the wrinkling issue. I decided to go with plain white buttons for this one. To be honest, I'm not 100% sold on the colour on me - I think it washes me out a little, but I think it looks really great under a cardigan.

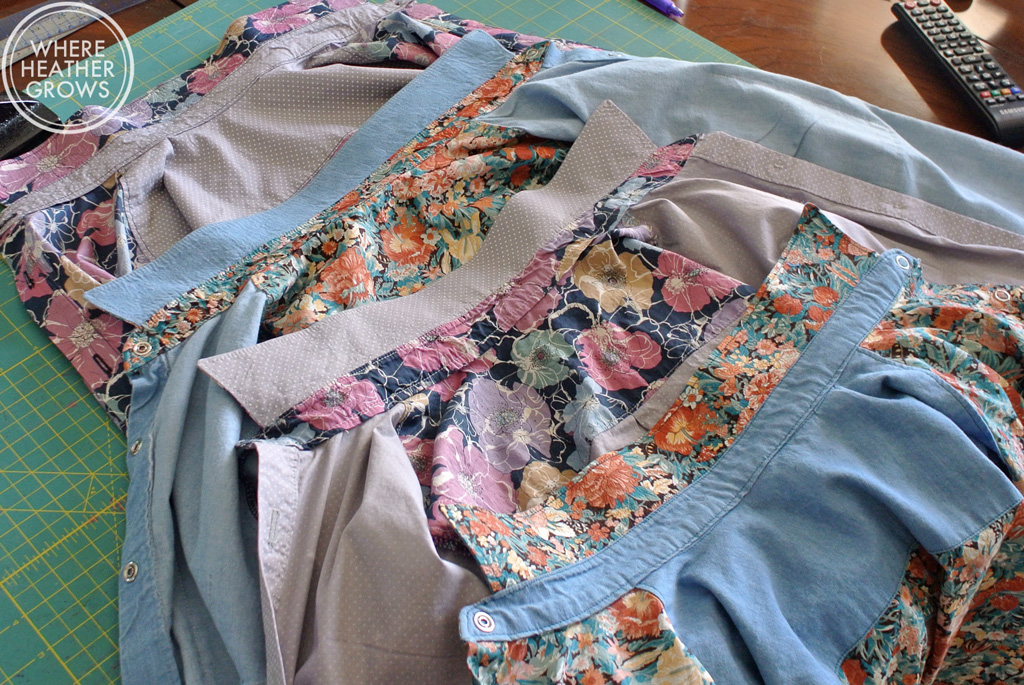
I also mixed and matched the under collars, yokes, and inner collar stands of all 4 shirts. I love adding those little touches, and it's super easy to do when you are cutting a bunch out together.

DSC_5505

DSC_5518

So that's it for Archers for now but I'm sure you will be seeing more on this blog again. This really has become a TNT pattern for me, and I find it super satisfying to sew up.  I really love wearing a good button up shirt, and I'm tempted to try some of the other button up patterns out there, but this one fits me so well I'm not sure I will.

Have you tried the Archer or any other button-up patterns?

The Sutton Blouse: Numbers Two and Three

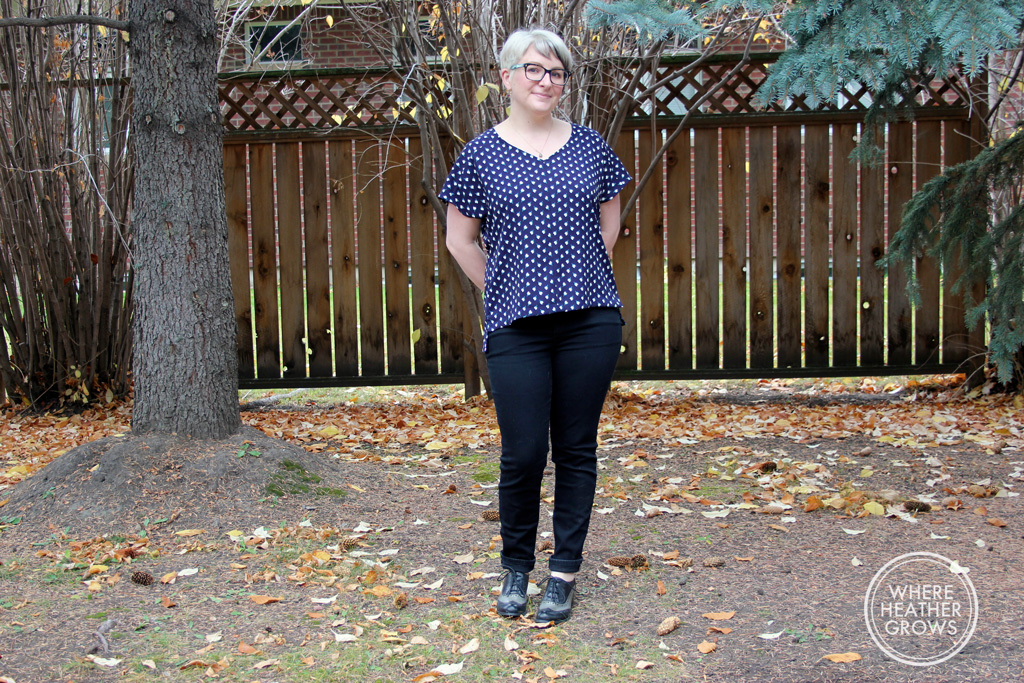
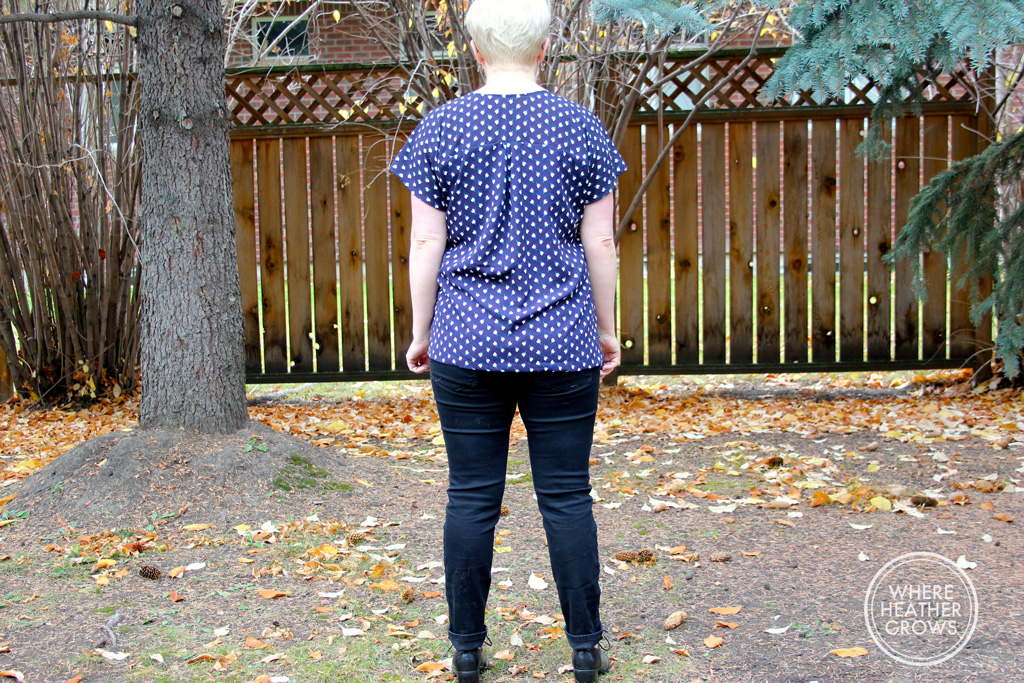
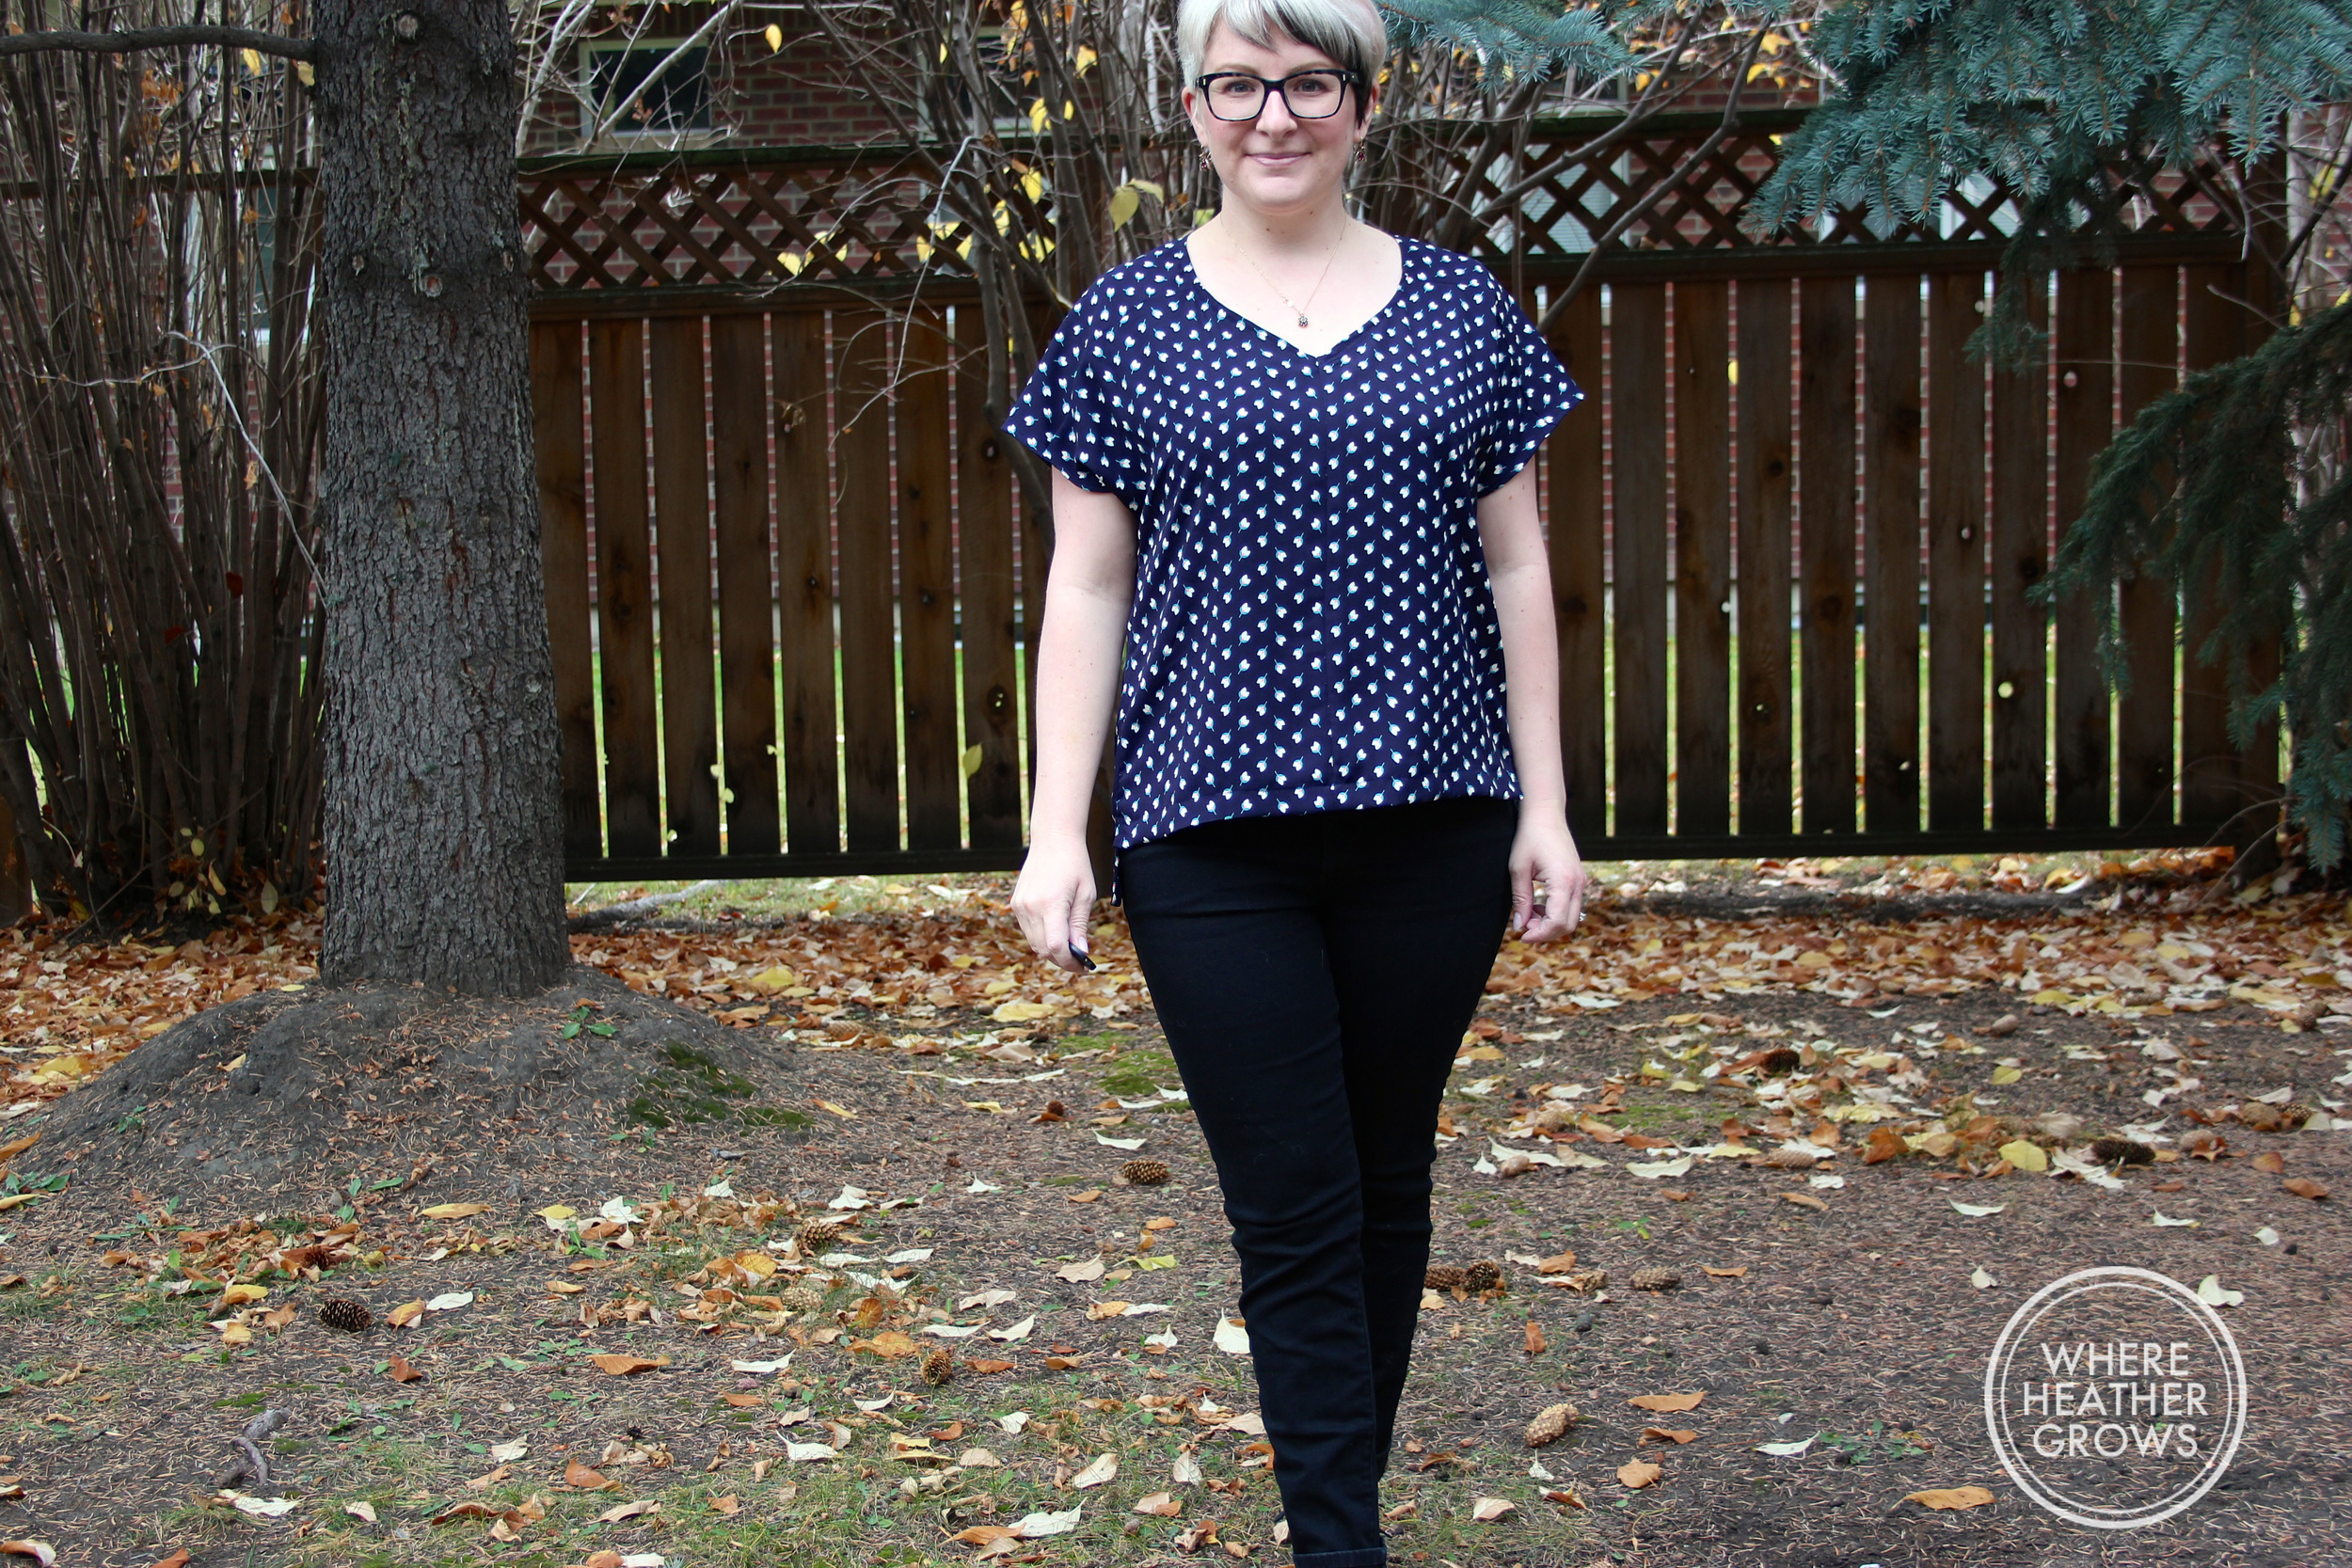
Hooray for multiples! Right? You guys like seeing multiples right? I really wanted to make the coloured blocked version of this blouse, and while I was cutting it out, I thought, why not make a second print one too. And so I did. (Both these blouses are made with the Tester version of the pattern - Kelli has since removed about an inch of width wise ease - so keep that in mind - again.) I made a straight size 8 again. Let's start with the printed version. I made this one with a gorgeous floral crepe from Blackbird Fabrics.

IMG_5671

Speaking of which, have you checked out Caroline's new shop? I was so excited when she announced the opening, that I jumped on my computer and ordered a bunch of fabric from her. We don't have a ton of great online fabric shops in Canada (and finding apparel fabric in Calgary is a huge challenge), and it costs a small fortune for shipping from the US, plus you sometimes have to pay duty and customs fees on top of that. Yikes! So needless to say I was thrilled to have somewhere to shop in country and I wanted to be sure to show my support. Caroline really knows her stuff, and she has a great selection of apparel fabrics.

IMG_5667

This crepe was really lovely to work with, and it feels really nice against the skin. I think I must have stretched the neckline out a little while sewing, because it lays a little wonky at times. I didn't really notice until I saw it in pictures, but it tends to lie a bit weird. Oh well!

IMG_5665

I am really loving this blouse. It's so easy to throw on with jeans, and it's nicer than a plain old t-shirt. It also goes really nice with a big chunky cardigan over top, and I'm wondering how it might look over top of something long-sleeved, but I haven't tried it yet. I love how it's loose but also how it curves in at the sides to flatter my shape. And I am totally digging the length of the kimono sleeves.

IMG_5662

Okay, onto the colour-blocked version.

IMG_5627

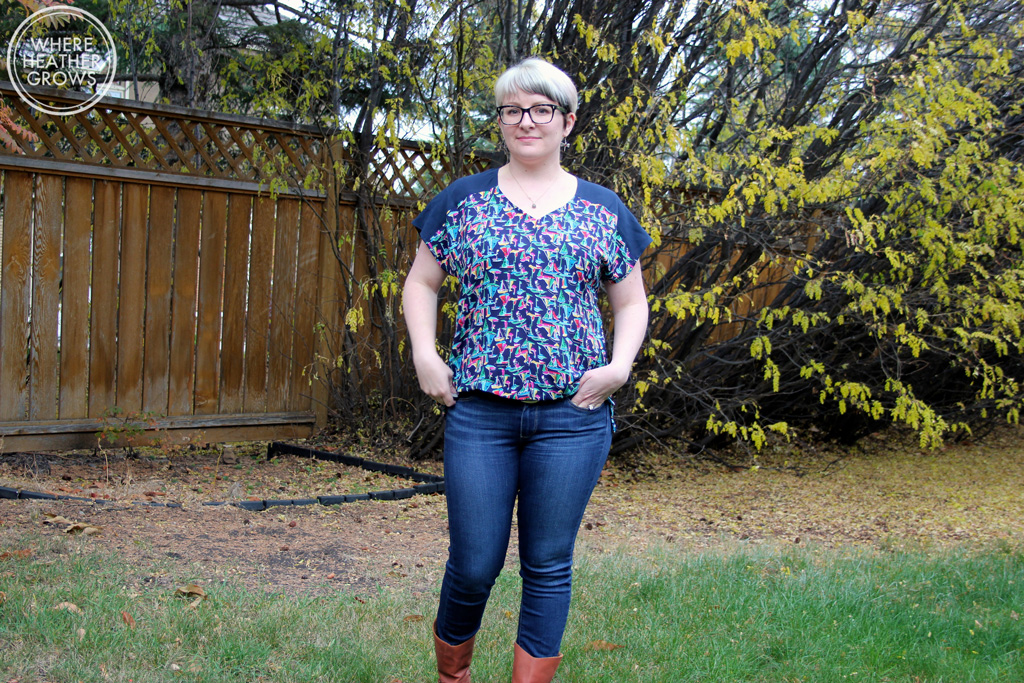
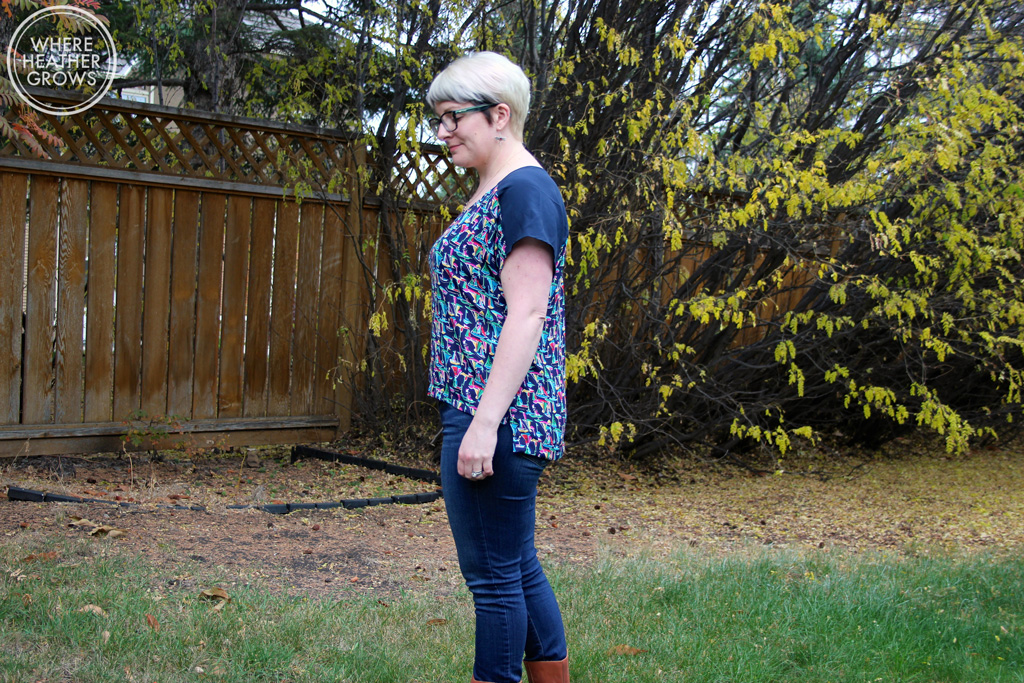
This is probably my favourite one to wear (can you tell? Why do I look so unimpressed?), but it was definitely the most difficult to sew (ohhhhhh...). It has nothing to do with the pattern, and everything to do with the fabric.

IMG_5625

The solid navy fabric is a gorgeous Rayon Challis from Fabric.com. It is actually amazing; super soft and flowy and almost a bit brushed looking. I want to order yards and yards of it in every colour. The colourful sailboat fabric, which was a huge pain to work with, is a crepe de chine from Girl Charlee. Why do you always lure me in with your gorgeous prints Girl Charlee, why?!?!  I love the colours and the print is adorable,  but it was super slippery and crazy difficult to cut, and to be honest it's really thin and feels quite - dare I say it - cheap. It looks really lovely though, and it has the perfect drape for this blouse.


IMG_5623

I am not sure if you can see it very clearly, but there is a seam in the middle of the yoke that should not be there. I made a huge mistake with this one. Somehow I twisted the yoke (after I had completed the gorgeous neckline) while I was seaming the front. I was so happy with how my french seams turned out until I noticed my mistake. This fabric is way too delicate (and it had already been fraying like crazy) so I didn't think it would survive unpicking. That left me with two choices: a) toss it and start over, or  b) cut the yoke in half. I went with option b.  Unfortunately, the seam isn't dead centre, but I can live with it, and it's totally not going to stop me from wearing it.

IMG_5628

I love how this blouse looks with a contrasting yoke. I think there are a lot of colour-blocking opportunities with this pattern. I have visions of a printed yoke with a solid body, or even making each front side a different colour (would that be too 80s?). I am also starting to wonder how it might work in a lightweight knit. It would have to be drape-y but I think it would look really great. I think that's one of the things I love most about sewing, you can take a pattern and really make it your own based on your colour and fabric choices. I love that I can make something, and no one else will ever have the same thing.

Anyway, I am off to do some christmas sewing. I'm actually sewing for someone else, can you believe it? I'm really excited about giving some handmade gifts this year - so keep your fingers crossed for me that they all turn out.

Are you sewing/making any gifts this year? Have you started yet?