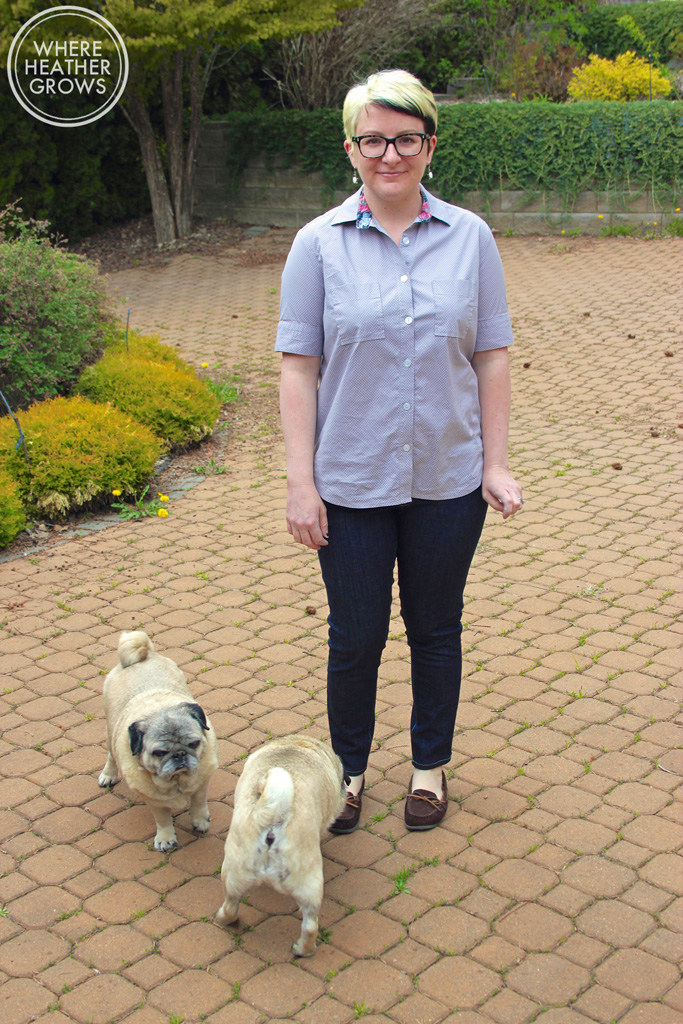
Burnside Bibs

Heeeellllooooooo Everyone!! How are you? So that was a blogging hiatus I didn’t really mean to take. But nonetheless, I am back, and with brand new pair of overalls to boot. These are the Burnside Bibs by Sew House 7. I’ve been eyeing this pattern since it came out, but was never sure if this style would work on me. After a lot of thought about overalls, I decided it was silly not to make myself some.

IMG_3088.jpg

I have always been worried that overalls would make me look frumpy and childish, and yet I kept pining after them (not to mention collecting overall and dungaree patterns). So last year I finally bit the bullet and made myself some Roberts Collection dungarees, and I loved them so much I made 2 more sets (see here, here and here). And I have been steadily working through my collection of overall patterns ever since. I just love them! They make me feel good. I don’t get it really, maybe it’s because I had some amazing denim overalls that I wore all the time when I was in my very late teens/early twenties that I adored, and that I remember wearing in a lot of great memories. I don’t know, but whatever it is, I’m embracing it.

Anyway, back to the Burnside Bibs. This is a great pattern that comes with two bib options (a curved one and a straight one), two leg length options, and two fit options, one with a more fitted waist and an invisible zip (which is the version I made) or one with a more paperbag waist. I think these are quite a fashionable, almost sophisticated version of overalls, and they kind of have that chic art teacher vibe (which I love). The instructions included with this pattern were very thorough and clear (as long as you actually read them LOL), and the pdf went together smoothly.

IMG_3094.jpg

I decided to go with version 1, with the curved bib and a cropped leg. Unfortunately, I misread the instructions and chose my size based solely on my hip measurement. Turns out, that is the direction for picking a size for version 2 (the looser waist version). So, I went with a size 10, when really, I probably should have taken my waist size into account and went with a size 12. Luckily, the seam allowance is 5/8”, so I was able to let the seam allowances out a little and get some extra room. They fit pretty well albeit a little snug around the belly, but if I make them again I will definitely go with a size 12. I also left out the invisible zip, because I let the side seams out so much, there really wasn’t enough seam allowance left to have a securely installed zip. That being said, I can JUST get these over my hips, which makes for interesting bathroom breaks. LOL. The invisible zip probably would have made things easier there. Ha!

IMG_3141.jpg

I cut out the cropped view, and made no adjustments whatsoever, so I think the fit is pretty darn good. I wasn’t sure exactly where the cropped leg of the pant should land, so I took to instagram for advice. The general consensus was to have the cropped hem hit about 1 inch above the ankle bone. So that is what I went with and I am pretty happy. This required me cutting 2 inches off the bottom of the hem, so I’ll make that adjustment to the pattern piece next time. I think anywhere from 1 - 3 inches above the ankle bone is the right answer for crops, it’s just down to personal preference. I wore these for a full day and am quite happy with the length. I always like having a little ankle cleavage.

These are also giving me hope that I might actually be able to pull off the cult status pattern: the Persephone Pants. I sooooo want to make those, but I’m so worried they’ll look more clownish than fashionable on my short legs. LOL. But you gotta try, and I find as I get older, I’m more likely to embrace styles that I like, even if other people don’t think they look “flattering”. How do you feel about that? Do you wear styles that aren’t traditionally flattering? The Hubs does not like these at all. He’s warmed up to my other overalls, but he is not a fan of these at all. I think it might be the wide legs.

I’m also not 100% sure what tops to style these with but I think tanks will be great for summer (this little striped number is a Greenwood Tank).

IMG_3111.jpg

Oh, I should also mention the fabric. This fabric is quite special because I bought it at the now closed Fabric Store in LA , when I went to meet Katie a couple years ago (the Fabric Store is still online and in Australia, but they closed their LA location). I got this and another piece of linen which I have been hoarding in my stash. It feels really good to get something made with it, and now every time I wear these I’ll think of Katie and that trip. Yay!

I should also mention, I felt motivated to sew these Burnside Bibs because of my friends Heidi, Meg, Teri, and Jessamy, and the #sewbibs challenge they put together. This is the last week, so I’m just squeaking in, but I had a lot of fun following along on Instagram. So much inspiration!

Anyway, hope you’re all well, and thanks for reading!

The Quest for the Perfect Jeans: Angel Bootcut Jeans Part 2

And we're back.....

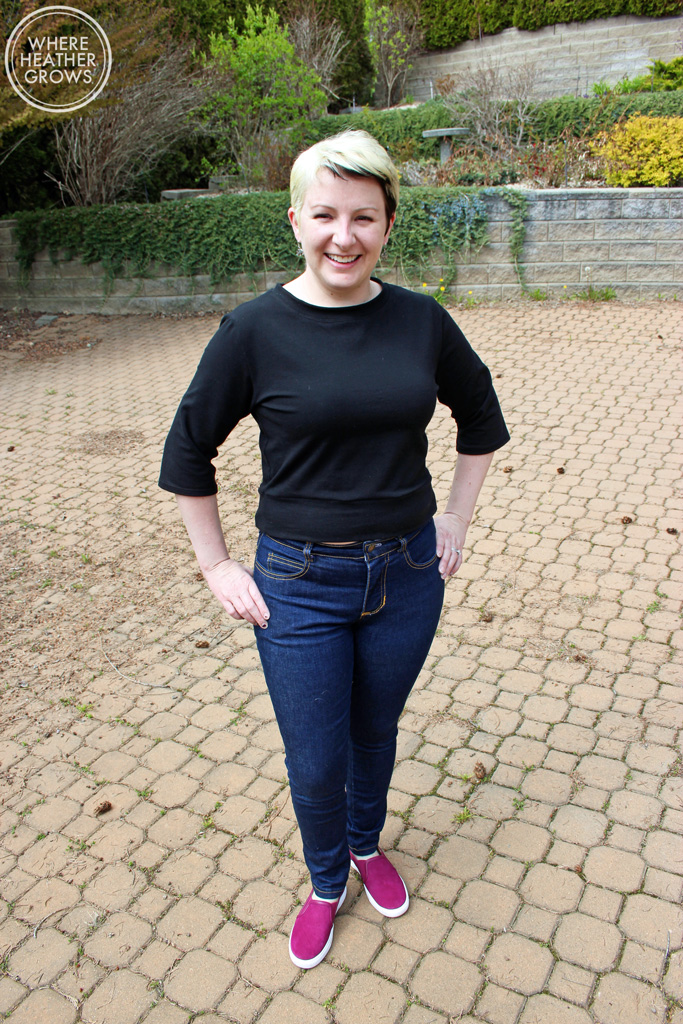
Hey Everybody! What's chippin' your potato? How's the week going so far? I guess it's only Tuesday so it might be too soon to tell. As promised I am back with yet another jeans post. I mentioned in my first Angel Jeans post, I felt like I couldn't really give the pattern a proper review as I had done all this crazy slimming down to the legs, and I messed up my lengthening only the front rise. So I decided I would make it up again, but this time make it as close to the original as possible no messing with the leg width or the rise, or anything like that (I did make a few changes to make them fit me better, but that's about it). Alright, grab your coffee or tea, and let's get down to business

After wearing my first pair a few times, I decided that not only did the denim bag out quite a bit, they were just too big. I had chosen my size based on the size chart, but after contemplating it for a bit, I decided that this pattern must not be drafted with negative ease. It calls for stretch denim, but I think I must like my jeans much snugger than what Angela Wolf has drafted for. So I consulted my trusty Ginger Jeans pattern, and used the finished garment measurements to help me figure out what size to make. I ended up going down to a size 6. A size 6, can you believe it? I went down 3 sizes. Whoa!

The denim I used for this pair is an Italian stretch denim I picked up at Ditto Fabrics in the UK (and by picked up, I mean I bought it online).  It's actually really quite stretchy, so if I were to make these again in a stiffer denim, I might need to go up a size.  I have been on the hunt for the perfect denim for quite some time, and this was one of the many denims I have acquired (for research purposes of course). Anyway, I was bummed to find that it is no longer listed on their website because it's really quite nice. It's stretchy and comfy and the recovery is quite good. These pictures were taken on my second day of wear. They get pretty stretched out and need a good wash after a full second day though. And looking at these photos now, I think the fit looks better when they first come out of the wash. 

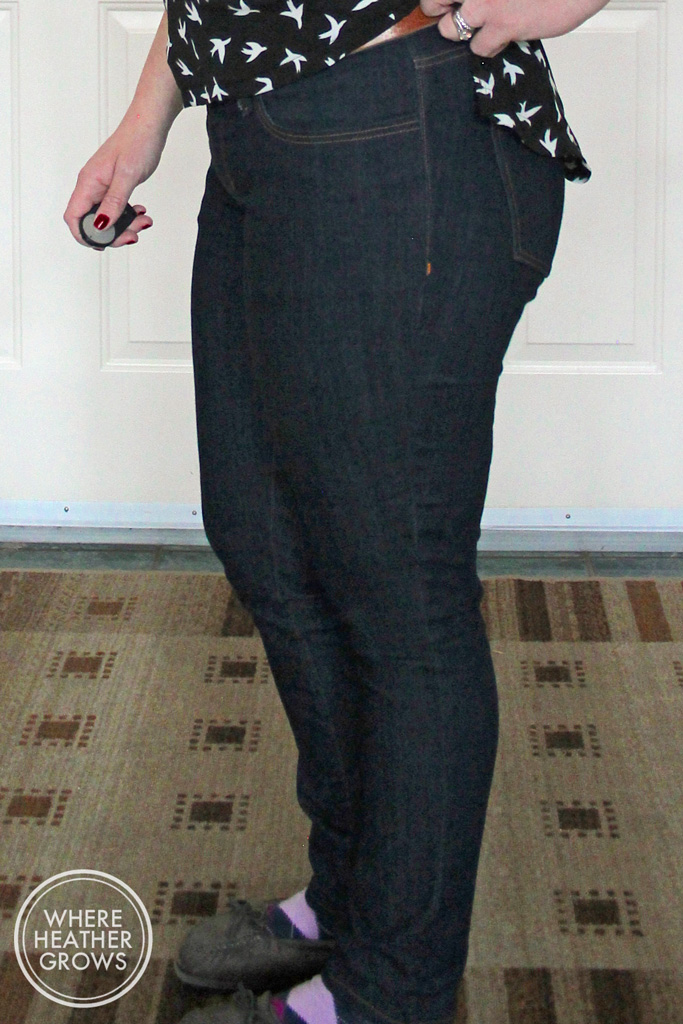
When I first tried these on, I was like, "I can't go back to wearing a flared/bootcut jean!", but after wearing them a couple times, the style has really grown on me. I think they are going to look really good with some little wedge booties I have in the back of my closet (I still don't want to admit that it's boot weather). They make me feel reminiscent to when I was about 17-18 years old and this was the style. I had traded in my beloved men's Levi's 501s, for a flared Silver Jeans pair. It was a radical change for me at the time, but I I remember feeling very ahead of the trend. 

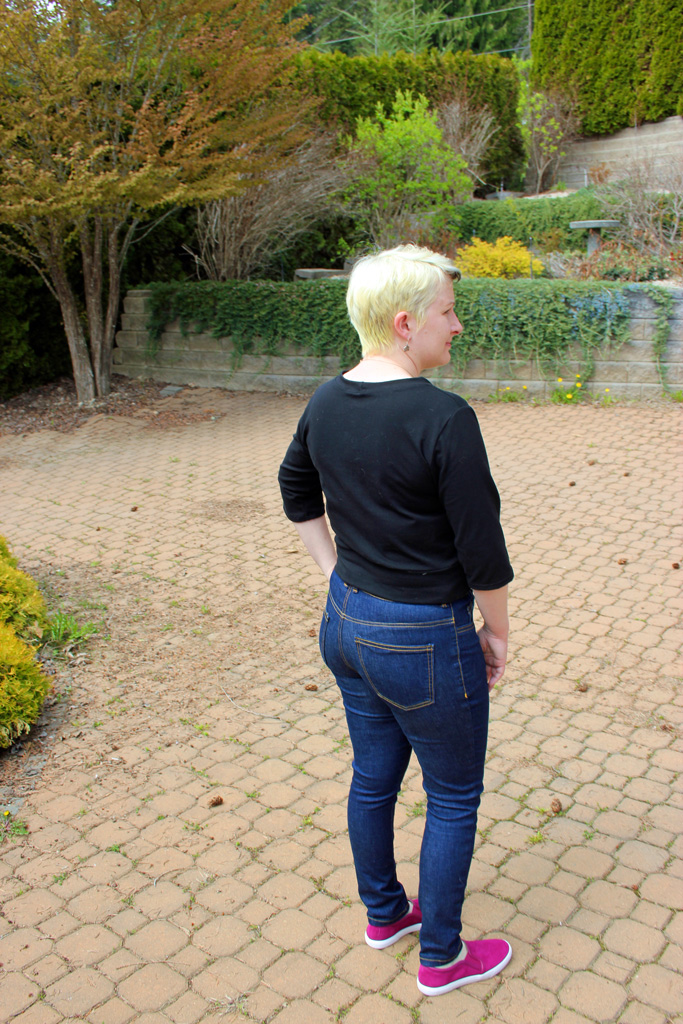
I will get into the fit details at the end, but I have to say I'm pretty tickled with how these turned out. I think the fit is pretty close to perfect, and the only thing that I really want to change is to move the back pockets closer together. They are a little farther apart than I would like them, but not enough that I feel compelled to unpick and reposition them. And looking at these photos, I might need to scoop out the back crotch curve just a little more too. It's difficult to fit the back on your own. I usually get John to take a few iPhone photos when I'm in the process, but it's hard to see fit issues in dark denim in photos.

I used two buttons this time for my wide waistband, and unfortunately, I think I put the buttons a little too close together which seems to  cause the top of the fly to gape open a little. It's not really that big of a deal as most of my shirts cover it (speaking of which do you like my new longsleeve tee? It the Grail tee by Vesta Patterns), and really it's not that bad.

It's a bit hard to see it in the photos, but this time around I used a yellow variegated topstitching thread. It's a subtle change from the gold, but I really like it. And I'm happy to say that I get a little bit better at topstitching every time I do it. Hurrah!

Okay so here are the changes I made this time:

  • started with a size 6 (my last pair was a size 12)
  • lengthened the front crotch curve by 1" and the back by 2" using this tutorial again
  • shortened the legs at the lengthen/shorten line by 4 inches, but cut another inch off the hem at the end too
  • decided when I basted them together to check the fit that I might need a full or rounded thigh adjustment, so to compensate, I sewed the side seams from the bottom of the back yoke to the knee with a 1/2" seam allowance and the rest at 5/8" - next time I'll just add a little extra to the side seam when I cut them out
  • cut 1/2" of width off the belt loops piece to make the belt loops slightly narrower
  • did not interface the waistband, except for right at the button hole
  • sewed 1/4" elastic into the waistband (at the top) in the hopes that it would work as sort of a stretchy stay tape and help keep my jeans from falling down - I think it's helped a little but I may have needed to stretch the elastic more when I was sewing it in

I thought I would include a photo of my traced pattern pieces so you can see what the curve looks like. And check out the cute little spiral bound book for the instructions.

So there you have it. I'm really happy with this pair of jeans, and I have been wearing them way more than I thought I would. I have been a pretty die-hard skinny jeans girl for quite some time, so it's nice to add something different into the mix. I am hoping to make another pair just like this, but leave them a little longer to wear with heeled boots (and maybe fix the back pocket position too).

And as if this post isn't long enough already, I feel like I should include a few details about my t-shirt too. As mentioned, it's the Vesta Pattern's Grail tee. I just couldn't resist the cute drawings, and I really liked the idea of the different body shapes offered, plus it has two neckline options (a scoop and a crew), 3 sleeve lengths, and the option of making a tank top. You can buy the pattern in either the S Shape (for an hourglass shape), the E Shape (for a more straight body type) and the A Shape (for a more pair shape). I went with the S Shape, and made my first Grail tee a Large according to my full bust measurement. While the shape was really nice, it was really tight across the back, shoulders and boobs. [Super honest side note: Before I bought this pattern, I was humming and hawing between it and the Lark from Grainline, but the cute drawings and the idea of supporting someone brand new sucked me in! And hey, maybe it would be great! But after I made my first version, I was kicking myself, wishing I had bought the Lark. Lesson learned! (And who are we kidding, I'll probably end up buying the Lark anyway - I need that boatneck! I'm such a pattern junkie!)]

For this version in the photos, I made a straight XL (which is the biggest size) with the crew neck, and the fit is much, much better. I am happy with it, but beware that it runs small, and/or you may need an FBA if you have big boobs. This lovely long-sleeved number is made out of some amazing bamboo striped knit from Blackbird Fabrics, and it's soooooo soft and cozy! It's sold out now, but I'd keep an eye on Caroline's shop because I'm sure she'll restock it. She does have this glorious tie-dye bamboo that I bet is just as soft (well actually I know it is, because I have some of it too but in navy).

And with that, let's wrap this post up! If you've made it down to the bottom, thanks for hanging in there, and if you just looked at the photos and scrolled down, you missed all the details!! Go back!! Kidding! Kidding, I'm kidding.  I hope you guys are having a lovely Tuesday, or whatever day it is when you catch up with your blog feed! And not to worry, there are still more jeans posts to come!

High-waisted Ginger Jeans (View B)

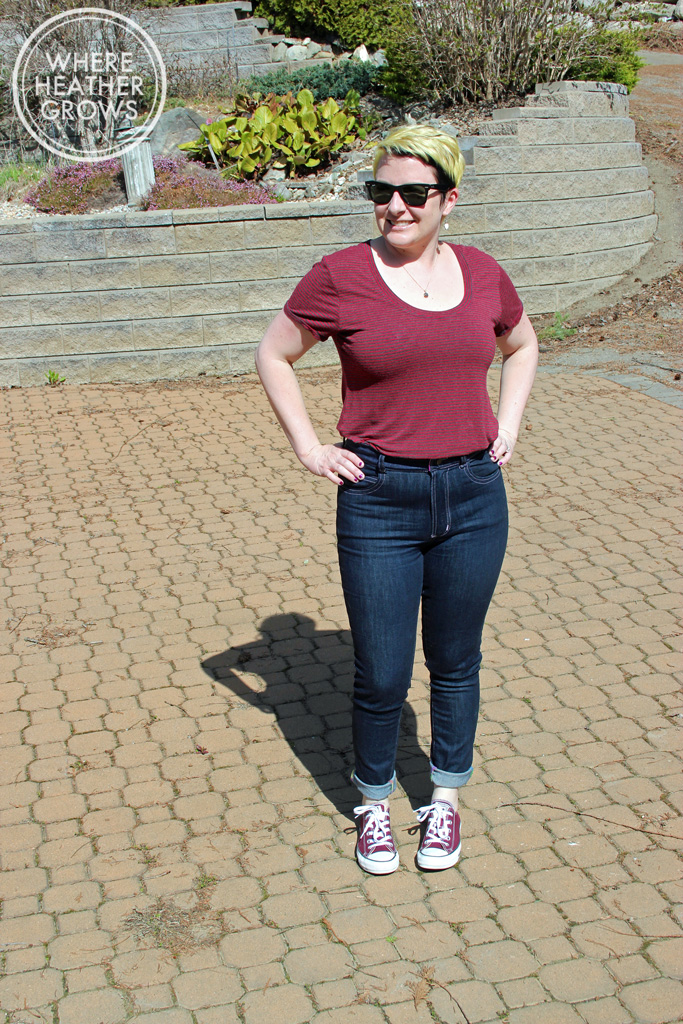
Hey Everybody!! How's spring treating you? (Or Fall I suppose depending on your hemisphere). Or I've heard some of you out east are still suffering with winter. Blah!! Come on Mother Nature!! It's starting to warm up in Cowtown (Calgary), but right now we are at the cabin at White Lake (near Salmon Arm in British Columbia) and it's super springy here. There is still a bit of a chill in the air, but it's sunny, and as long as you stay in the sunshine, it's feels warm. Anyway, I've been going jeans crazy! I want to make all the jeans! I finished these bad boys about a week or so ag0, and I am now working on another slightly modified pair using my kit denim. Yep! I finally worked up the courage to cut into the beautiful Cone Mills denim I purchased from Closet Case Files months ago. I am really excited to see how it wears, but so far it feels wonderful. But enough about that, let's get to the pair at hand: the High-Waisted Gingers. IMG_6402I have wanted to try out Version B of this pattern for quite some time now. There have been all kinds of amazing looking high-waisted Gingers out there, and every time a new pair popped into my blog feed, I thought "I gotta try those".  So I finally put the pdf together (which went swimmingly, by the way), traced it off, cut it out and got to work.

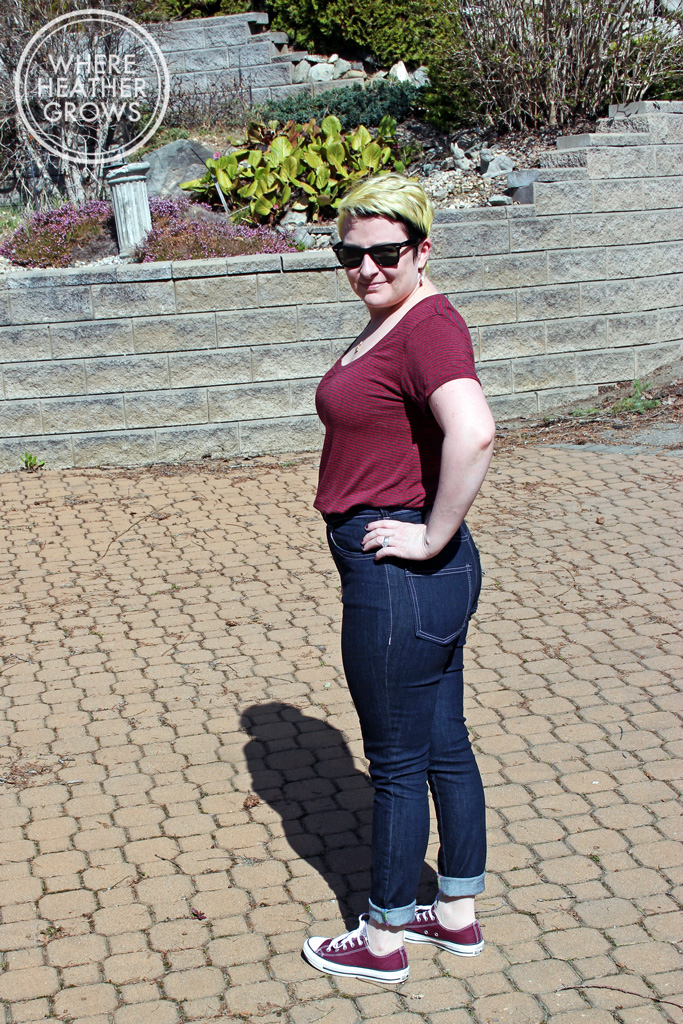
IMG_6388Full disclosure: I would never tuck my shirt in like this, but I wanted you to be able to see just how high-waisted these bad boys are, and how they look on a round, smooshy, vertically challenged figure such as mine. I made a size 10, and didn't change anything except to shorten the legs (at the lengthen/shorten line) by 2 inches.

IMG_6390Unfortunately, when you can see the whole jean, I don't think it is the most flattering garment for me. I think rather than suck things in, they just squish things around. That being said, I think they look great with my t-shirt untucked. I also think if I would have went with pocket stays, that may have helped quite a bit too. From now on, I will always make pocket stays!

IMG_6394I do totally dig the vintage/retro feel of the high-waisted jeans, especially with cuffs and paired with my chucks. (Shanny is going for the money shot in this pictureˆ - she's such a ham.)

IMG_6395Here's the back, again I think they look great with my t-shirt down, but not so much with my t-shirt tucked in. The yoke is much to long for me, and the pockets need to be moved up a tiny bit.

IMG_6389I think with some minor tweaking, this version will look really great. I'm just a bit too petite/short-waisted for it as is. My plan for the next pair is to shorten the rise a little (about an inch), and for the back I will take that same length out of the back leg and the yoke (so 1/2" each).

The fabric I used for this pair is some of that designer denim that Girl Charlee has been selling. It's my second pair using their denim, and I am happy to report that it's really nice. The recovery is great, and it seems to stand up well to multiple washes. I don't think they have this exact fabric in stock anymore, but they do have some other ones that look promising.

IMG_6396Something I did differently with this pair is that I used a different topstitching thread. Instead of going with my usual Gutterman topstitching thread, I used some heavy weight, lavender Sulky thread (specifically it's called Premium Sulky Heavy 12 Wt. Mercerized Cotton - it comes in tons of colours which is awesome). It worked great! I had way less issues with my machine being finicky and getting thread caught in the bobbin area, and it was so much easier to make bartacs with. I also used a topstitching needle, instead of a denim needle and I think that really helped too.

IMG_6405So I could easily end this post here, and you could go off thinking that everything is hunky dory over here in the Where Heather Grows sewing land, but that would not be true. After I wore these jeans for a couple days, I decided that the waistband was just not comfortable. It felt great when I was standing, but when I sat for more than about 10 minutes they felt really uncomfortable. The waistband was digging into my belly, and I just didn't like it! I had used denim for both my waistband and the facing (which I didn't do on my previous pairs - I used quilting cotton for the facing), ao I decided that this was the problem. The denim was making the waistband too stiff. I debated just leaving it, but then I thought, "No way, then they'll just sit in my cupboard and I won't wear them". And otherwise these are a perfectly wearable pair of jeans, and the curiosity cat part of me really wanted to know if changing the waistband would help. So off I went, I cut myself a new waistband (I'm short so I had extra denim leftover) and a new facing out of some quilting cotton. Then I patiently and carefully unpicked the waistband. Everything was going great until I pulled up the zipper, and completely pulled the zipper pull right off!!

frabz-Noooooooo-c1d2bdI was so choked! Anyway, still not wanting a pair of jeans I worked so hard on to go to waste, I proceeded to repair the zipper. I did a google search, but I couldn't find a way that I would be confident with, to put the zipper pull back on. So I unpicked the whole fly, and inserted a new zipper. It was not easy, and I ended up having to redo the topstitching around the fly (four times!!), but I got it done. Then I installed the new waistband, and I am happy to report, they are much comfier!! Yay!!

Unfortunately, I have started work on another pair of Gingers (yes, those kit denim ones I mentioned above) and I am having all kinds of problems with them too. I'm not sure what went wrong, but I was thinking that everything was going great, my topstitching was looking awesome (probably the best I've ever done) and then I got to the place where I could try them on. The topstitching proceeded to come loose in a couple different places (what's up with that?) and for some reason, the fit in the front is all screwed up (I'll spare you a photo but lets just say there is a toe of the camel variety and it is very unwelcome!). I do not know what I have done. I didn't change anything with the crotch curve, and I don't know what is going on with the topstitching. The only thing I can think of is that the topstitching thread that came with my kit is either a) too heavyweight for my machine or b) faulty. And I must have screwed up a seam allowance or something for the fit. Anyway, last night was a dark night full of feeling sorry for myself, ice cream, and wanting to cry over my horrible sewing skills, but after some great pep talks from my Instagram buddies (thank you all so very much!), and a good night's sleep, I am feeling much better. I'm going to try and salvage this project, but in the end if I can't, then I'll just throw it in the bin and move on. I mean, it's only fabric (and yes it's really gorgeous Cone Mills denim fabric) but no one's going to die if they end up in the trash. I mean it's not open heart surgery or something like that. And we all know I have lots more jeans, so I don't have to go naked. Anyway, I think it's really good to share my fails, and my faults too, so there you have it!

Sending you all lots of good sewing vibes and hoping you aren't having any disasters like me (but if you are, trust me it will get better!).

Ginger Jeans Take 2

First off, thank you all so much for the comments on my last post, for all the helpful tips and support, and also for reading my blog. I have never had so much feedback and I am super grateful for it! Best blogging/hobby community ever! Yay Sewcialists!! Secondly, I have to apologize for these photos. Not my best photography, but the day I took them it was cold and I was having troubles with my tripod, so I took them inside. The colour/contrast is not as good as it usually is but I think you can see well enough to get a good idea of how these Gingers fit!

IMG_5787

So as I mentioned last time, I decided to go down to a size 10. This was a great decision as I think the fit is even better now. I also decided to make the legs a bit slimmer as this time of year I mostly wear boots, and skinnies are so much easier to tuck in. I took a 1/2" off of each side of each leg, grading to nothing about mid-thigh. So that takes a total of 2" off each leg. I used this tutorial and it worked really well.

IMG_5780

The denim I used is from Girl Charlee and I am really happy with it. It's got a nice stretch and it recovers really well. I have been wearing this pair for about 3 days now and they haven't bagged out. They stretch with wear for sure, but not so much that it's noticeable to the outside eye and not so much that I feel like I have to wash them again to get them fitting properly.

IMG_5783

I used a different colour for the top-stitching thread this time too. It's more of a coppery-orangey colour. I like the gold, but I though it would be fun to switch it up. I was debating doing red or blue topstitching too, but I chickened out and went with something more "regular". I don't have much to say about construction this time. The pattern instructions are still very straight forward, and I found things went more smoothly and faster the second time around because I had done everything once before. I really like making jeans. It's so soothing and satisfying; challenging but not overwhelming. I also love wearing jeans so I'm sure there will be many more pairs to come.

IMG_5754

Check out that fit? (I can't believe I am posting a photo of my butt on the internet again, yikes!) I was a tiny bit worried that by going down a size the fit might change, but I am happy to say that I think it just got better. There are still a couple little wrinkles in the front, so for my next pair I might try to lengthen the front crotch just a smidge as Katie suggested in the comments of my last post. But other than that, I don't really want to mess around with them too much.

IMG_5786

I'm not sure if I mentioned this last time, but I had a heck of time getting the topstitching around the fly to look right. I unpicked it three times before I was happy. On this pair, I only unpicked it once. You know what they say, practice makes perfect. Also, I used barracks to sew on the belt loops this time. My beautiful Pfaff actually has a barrack function, so it makes it really easy.

I also took a few shots during construction, so you could see the insides this time.

IMG_8099

IMG_8107

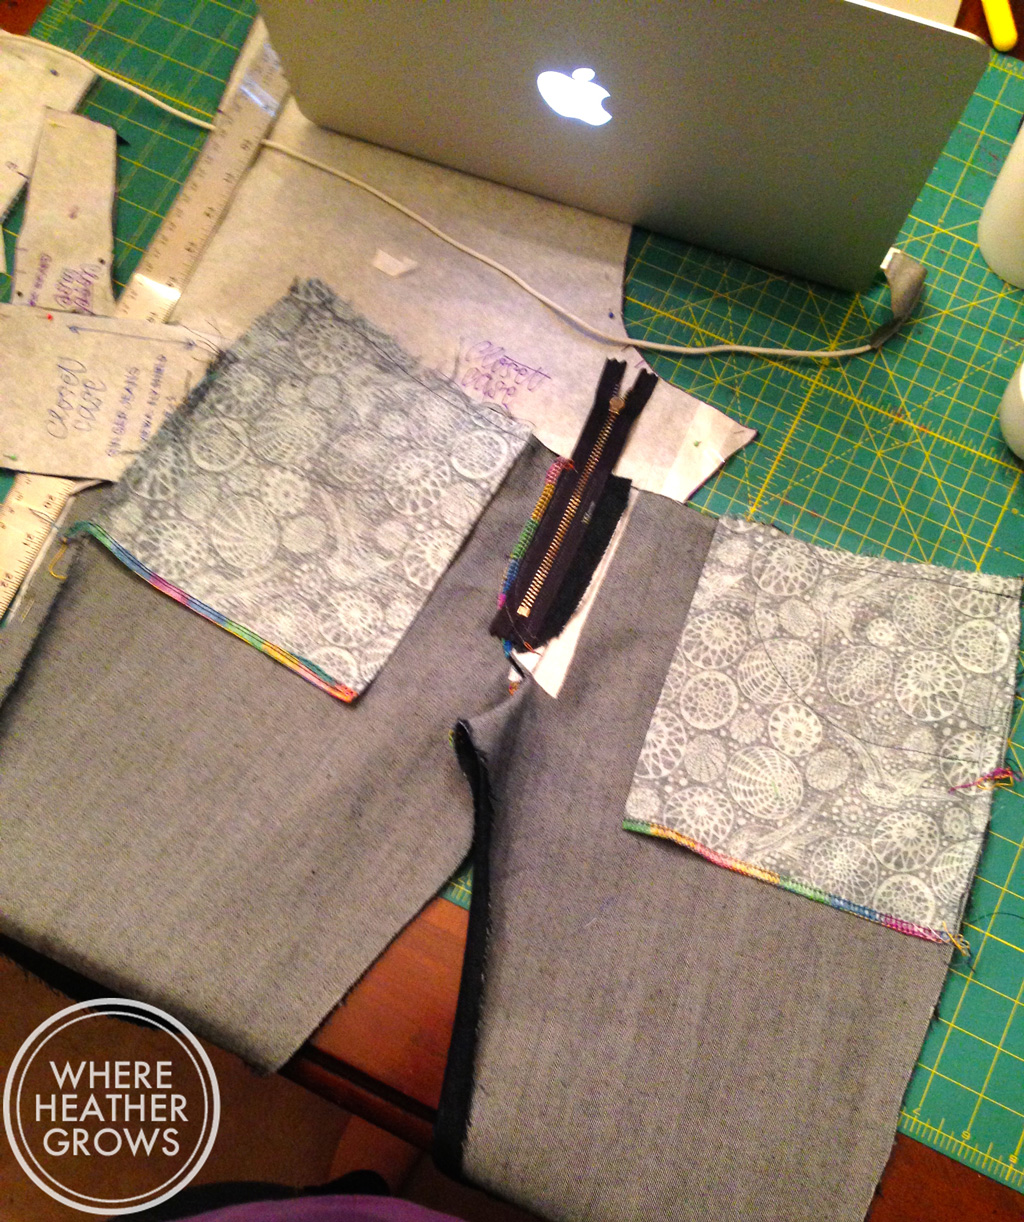
I know Heather Lou suggests having the right side of your pocket fabric showing, but that just didn't seem right to me. I had some kind of mental block about it for some reason. This way if my pocket turns out you see the right side of the fabric.

IMG_8106

I love this rainbow variegated thread with denim (well really, I love it with everything, but it looks extra awesomesauce with denim). One of my favourite things about sewing my own clothes is being able to add little details like this. I love having a unique piece of clothing that no one else will ever have. I can't believe it's taken me so long to really start sewing my own clothes. I can't imagine all the craziness I would have come up with when I was younger. I do remember cutting my jeans up the side seams and adding a strip of fabric. Did you ever do that? A couple of older cool girls at school were doing it, and I loved my pair that I did it to and wore them to death. I wonder why I stopped there? I was probably just too intimidated by fancy patterns. If only I had had the internet back then. The things I would have gotten up too...oh well, I am happy that I am doing it now!

I obviously haven't worked up the nerve to try flat fell seams yet. The serger/overlocker way is just working out so well for me, and it looks pretty too! As you can see, I skipped out on the rivets again. It's not because I don't like rivets, it's because I couldn't find any locally. I have finally ordered a bunch so I will give installing them a try on my next pair. Or I might even add them to this pair, we'll see when they get here.

So there you have it, Ginger Jeans take 2! I have been wearing them pretty much non-stop since I finished them. I can't wait to make more!

What is your favourite thing to sew? Are you doing any handmade Christmas gifts this year, and if so, have you started making them, or are you procrastinating really hard like me?

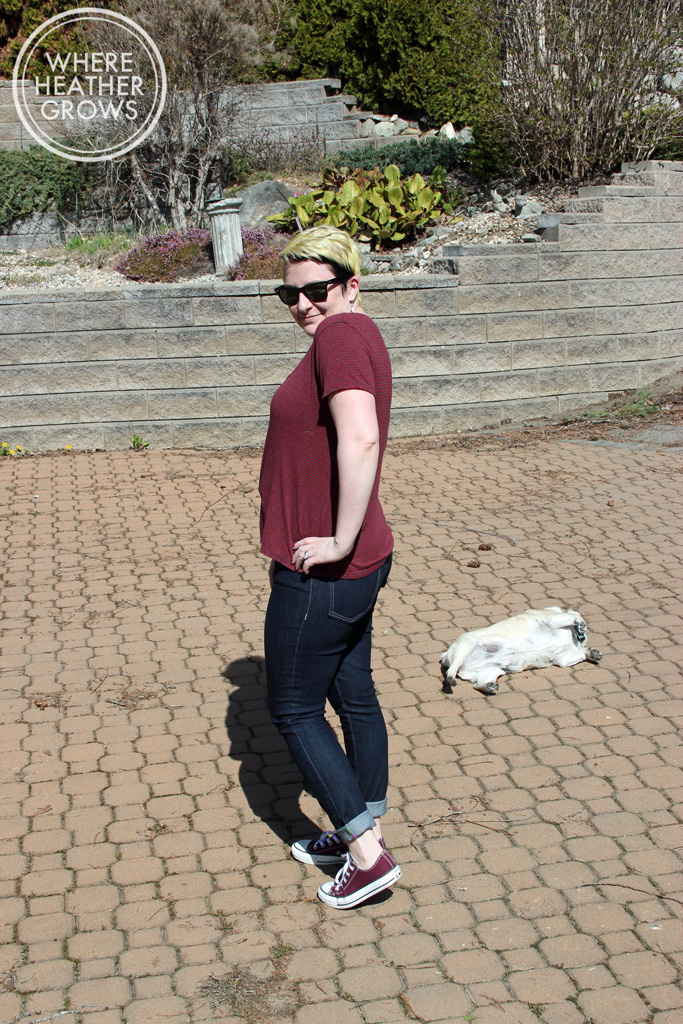
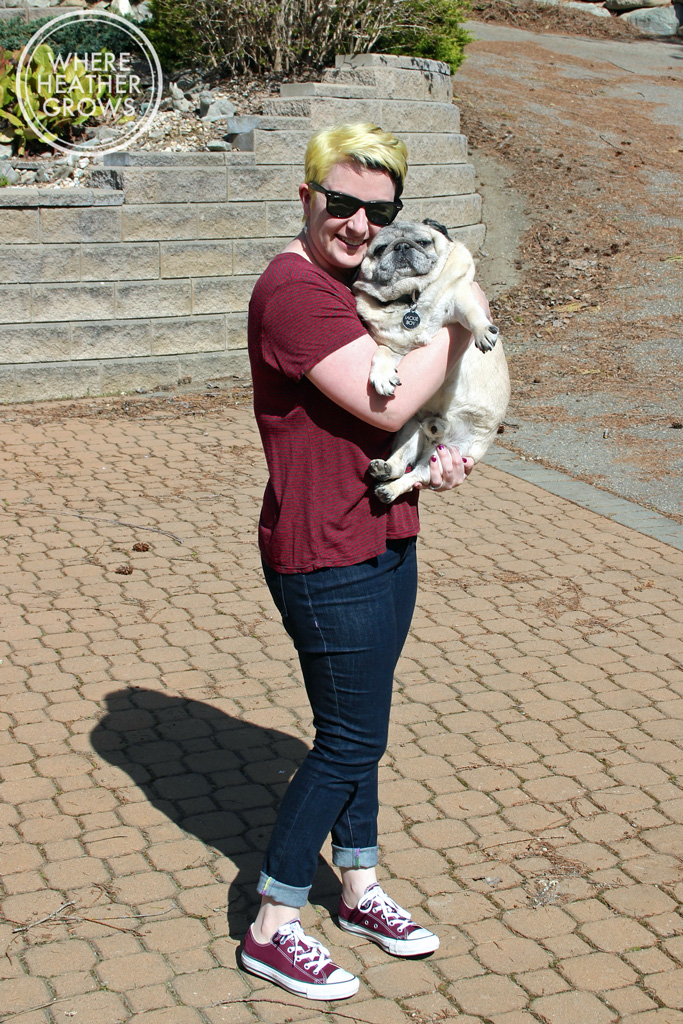
And just in case you are going through pug withdrawals, here is a picture of Quincie checking out my butt:

IMG_5755


Happy Sewing!

JEANS! I Made Jeans!!

I made Closet Case Files Ginger Jeans to be exact - and I'm pretty tickled with myself. Can you tell? IMG_5739

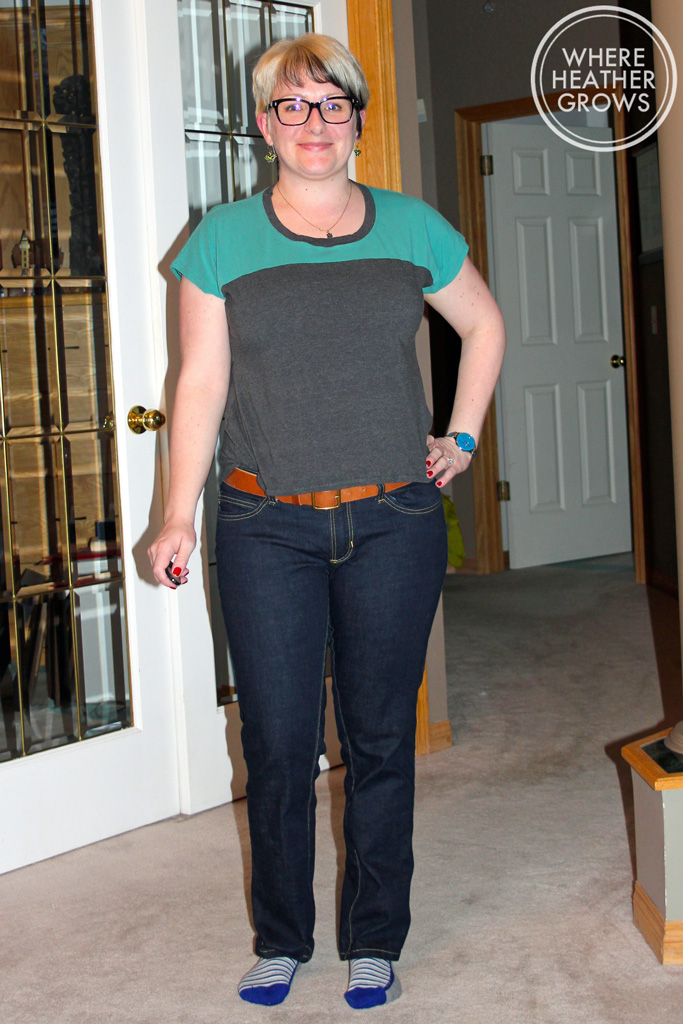
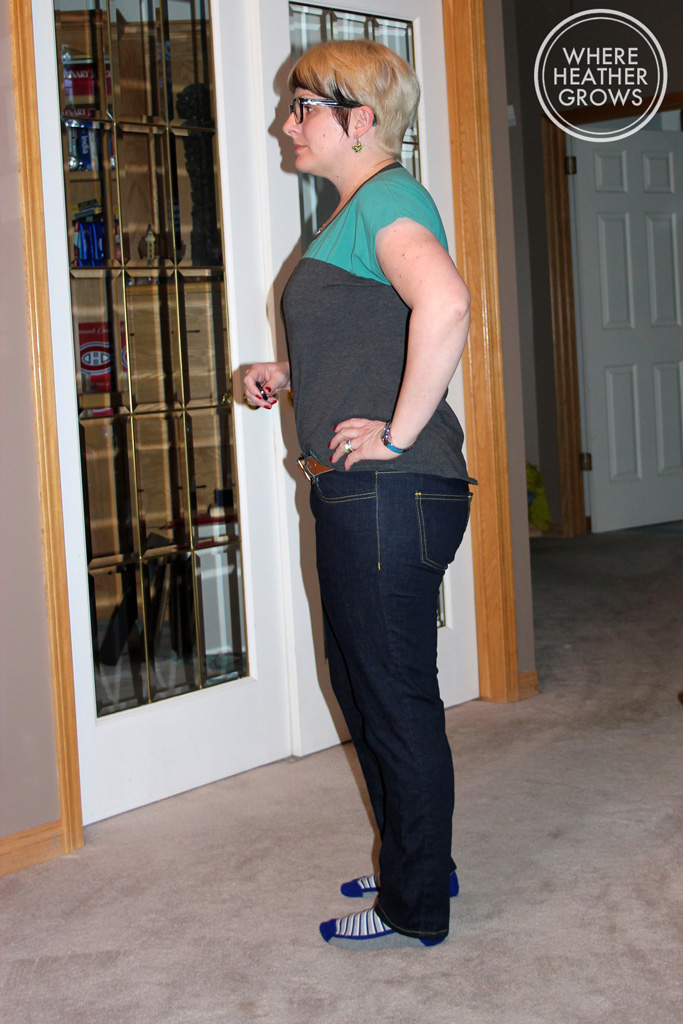
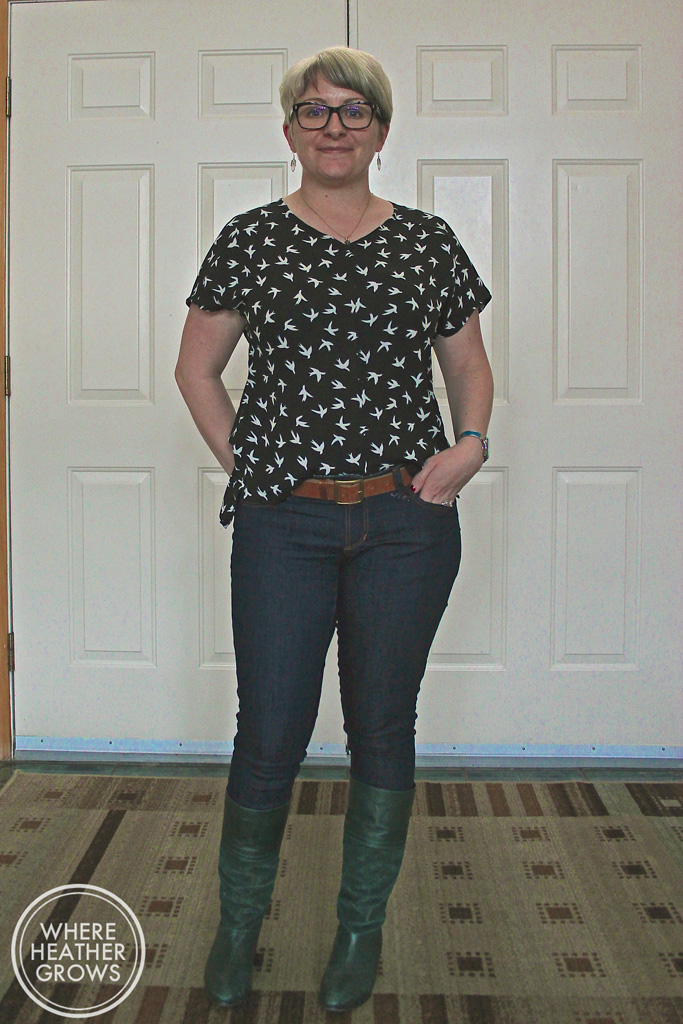
I would love to tell you that I am a pants fitting wizard and I make pants all the time getting the fit perfect, but I think we all know that just isn't true. This pattern did all the work for me. I feel like Heather Lou drafted this pattern just for me; the fit is amazing! I honestly did nothing to it, well I shortened the legs by 3" but that's it! This is how it fit me right out of the envelope...err..computer pdf file. You know what I mean.
IMG_5741

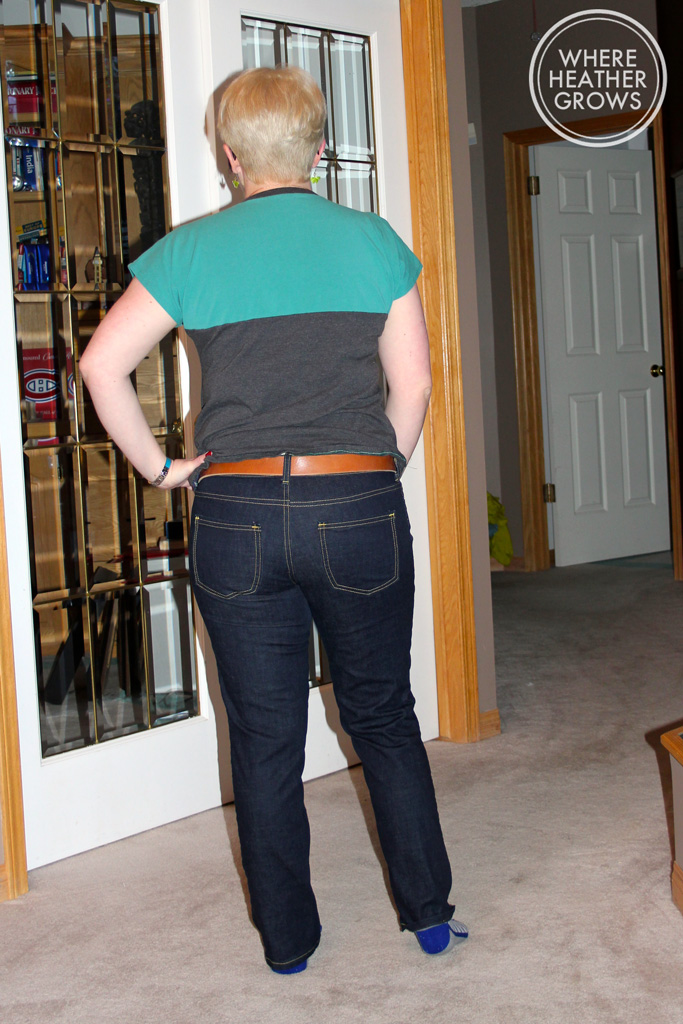
I took these photos when these babies were fresh out of the wash so there is something going on with the one leg in the picture above, but I assure you it's just cause I didn't straighten them out as I was super excited to get them photographed. Upon looking at these photos, I know there are some wrinkles in the front and the back, but I'm not anxious to mess around with anything as I think the fit is so much better than any RTW jeans I have. But that being said, if you have any advice for me, I would love to hear it.

IMG_5744

I made version A - the mid-rise stovepipe leg version. I am a little scared of the high-waisted version as I am so short, but after making this version and seeing all the awesome high-waisted versions out there I may just give it a go. My top-stitching isn't perfect, but I'm quite happy with it, and unless you get up close and personal, you probably won't notice any wonkiness. I added bar tacks to the back pockets as I didn't have any rivets on hand for this pair, and I really like how it turned out. You want to see another picture of my butt now, don't you?

IMG_5742

I made a straight size 12, and while the fit is pretty spot on, I find them a little loose after wearing them for awhile as jeans always seem to stretch out. They are perfect when the first come out of the wash, but after about an hour they stretch out quite a bit. I took these babies with me when we were away last week, and after about 3 days of wear they were pretty baggy, so for my next pair I plan to size down. In my experience, that's just the way jeans are. On my hunt for the perfect fitting jeans over the years, I've worn high end designers like Citizens of Humanity, J Brand, Paige, 7 for All Mankind, AG, and I've worn Jessica Simpson, Gap, Old Navy, Next, Top Shop, and Joe Fresh (and many, many others). All of them stretch out with wear, so I always try to start with a snug fit. I'm sure going down a size will fix this issue.

I bought this denim from Corrine at The Sewing Affair and it's awesome. It's a gorgeous dark wash, and it's super comfy and soft. After sewing with it, and wearing it, I would definitely recommend it. It's a great weight for jeans, but I imagine it would work perfectly for a skirt or a jacket. I really want to make a denim jacket; know of any good patterns out there?

IMG_5745

The leg on this jean is great (although I usually wear something a little skinnier in the winter as it makes them easier to tuck into boots). It's slim and it looks great cuffed too. I should also mention that I interfaced the waistband with a medium weight fusible interfacing. I love this feature. It makes the waistband maintain its shape. I have a round belly and I usually find that after wearing a pair of pants for awhile, the waistband folds over and kind of bunches up, but that isn't a problem with a little bit of stabilization (is that a word?). It's so awesome to be able to make your own jeans and add little things like that. I also used my rainbow variegated thread to serge all the seams, which looks awesome if I cuff them, and I used a really light weight cotton to line the waistband and for the pockets. For my next pair I will use a little bit heavier cotton as I think it will wear better next to the heavier denim over time.

So there you have it: my Ginger Jeans. I really enjoyed the jean making process and I am just in the process of cutting out another pair (I took a break to blog - FINALLY); I see many more pairs in my future. I am so happy I bought this pattern because it fits me so well. I am now having dreams of cords and chinos, and even dress pants, the possibilities are endless! The instructions with this pattern are really good and the sew along is great for visuals. If you have ever been intimidated by sewing pants, this is a great pattern to quell your fears (well it was for me anyway). And don't be intimidated, it's just sewing. Go slow and sew one seam at a time, it's easy when you break it down step by step. (Another great tool I would recommend is the Pants Construction class by Sandra Betzina on Craftsy. It's awesome and has lots of tips and tricks. Plus Sandra Betzina is a hoot and a wealth of knowledge.)

Have you sewn jeans, or pants before? How did it go? Got any fitting tips and tricks to share? Do you have a favourite RTW (ready-to-wear) pair of jeans that fits perfectly or have you always been searching, like me?