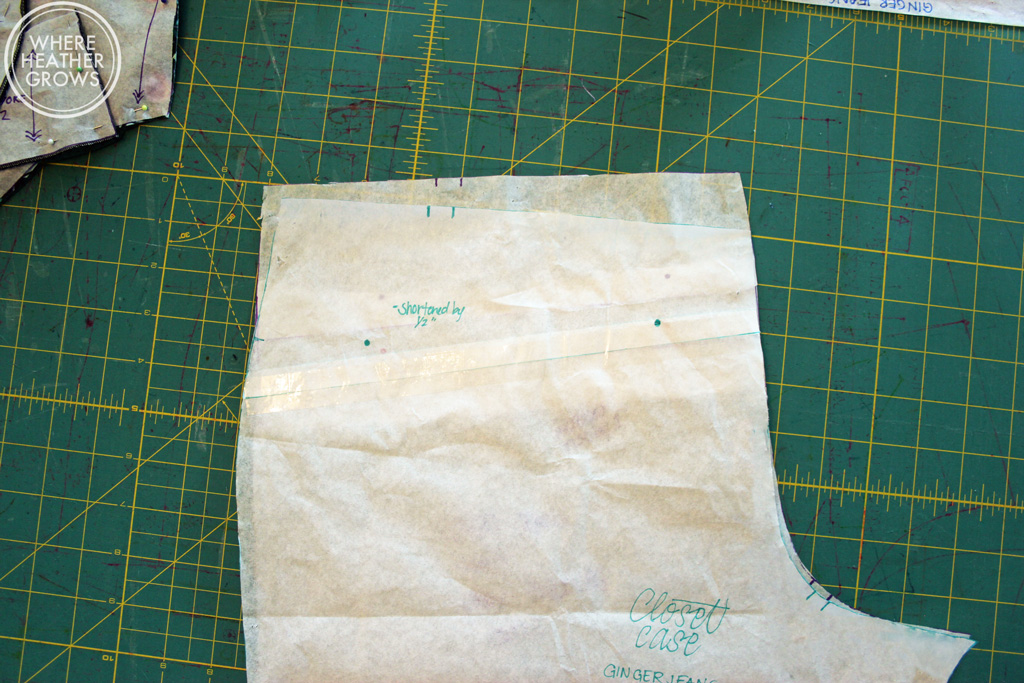
And no, I'm not talking about my adorable red-headed friends, I am talking about JEANS!So recently, I have been having some jean trouble. I made 3 pairs of Ginger Jeans, view A (the lower rise - stove pipe version), and they all fit pretty well. My first pair ended up being a bit too big, my second pair is pretty much perfect although a little on the low side, and my third pair is great (I raised the rise by 1"). I had heard/read lots of amazing things about view B, so I decided to give it a go. As you might imagine, they were a little too high for my petite and round figure, but still the fit was pretty good. So by this point, I thought I was good to go to cut into my beautiful Cone Mills denim, and this is where the trouble began. I shortened the rise of view B by 1 inch and off I went. Unfortunately (and surprisingly), the fit was not so good. Who knew lowering the rise would make such a difference in fit? Not me, obviously. ;) Luckily, I was able to salvage them. I'm not 100% happy with the way they fit, but they are definitely wearable. They won't be my garment of choice for road trips or large meals though. Anyway, I decided that I must have made some type of cutting error, or a seam allowance error, or that it might be the difference in denim and decided to try again. I cut out two more pairs (why cut out two pair, I don't know) and once again ran into similar issues. One pair I was able to save and one I couldn't (I haven't decide whether or not they deserve a blog post). Yes, I like to learn my lessons the hard way. Anyway, this sent me on a mission to figure out what went on. The first thing I decided to do, was to compare the pattern pieces of view A and B. For some reason, I never really thought that there would be much difference between the two views. I though the rise would be different, the yokes might be a little different, but I didn't really think that the crotch curve would be different. I don't know why I thought that? Anyway, there are definitely some differences, and although subtle, they can change the fit. So I thought I would share this info with you, in case you are having any issues with fit and in case you are curious as to what went wrong. You should also know when looking at these photos, that both my patterns are altered, view A by a 1 inch increase in the rise, and view B by a 1 inch decrease in the rise. So here we go, view A:
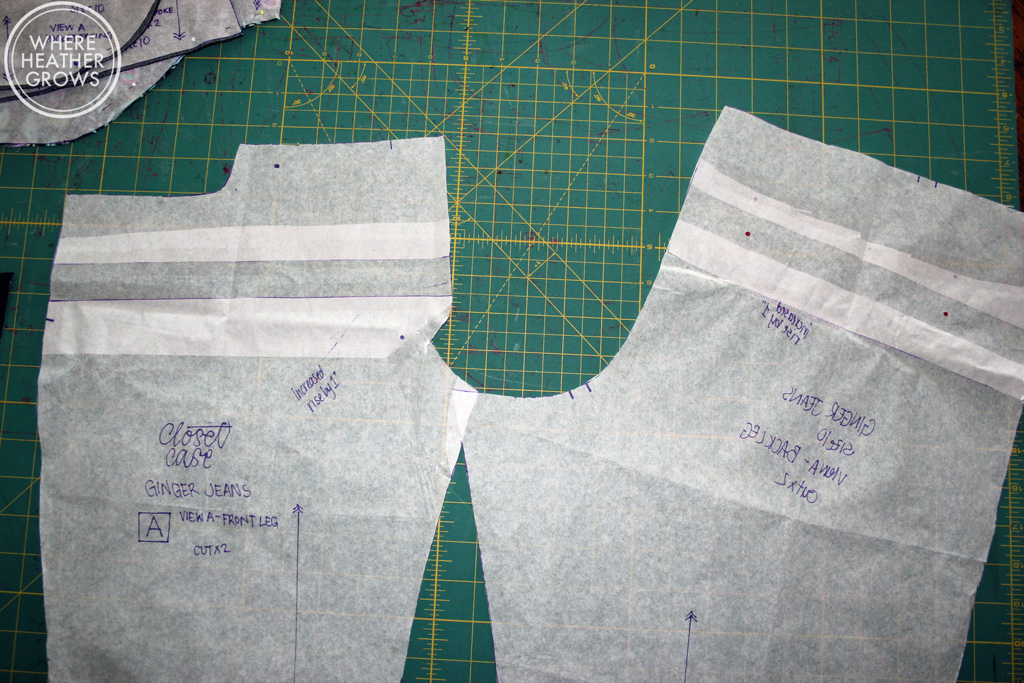
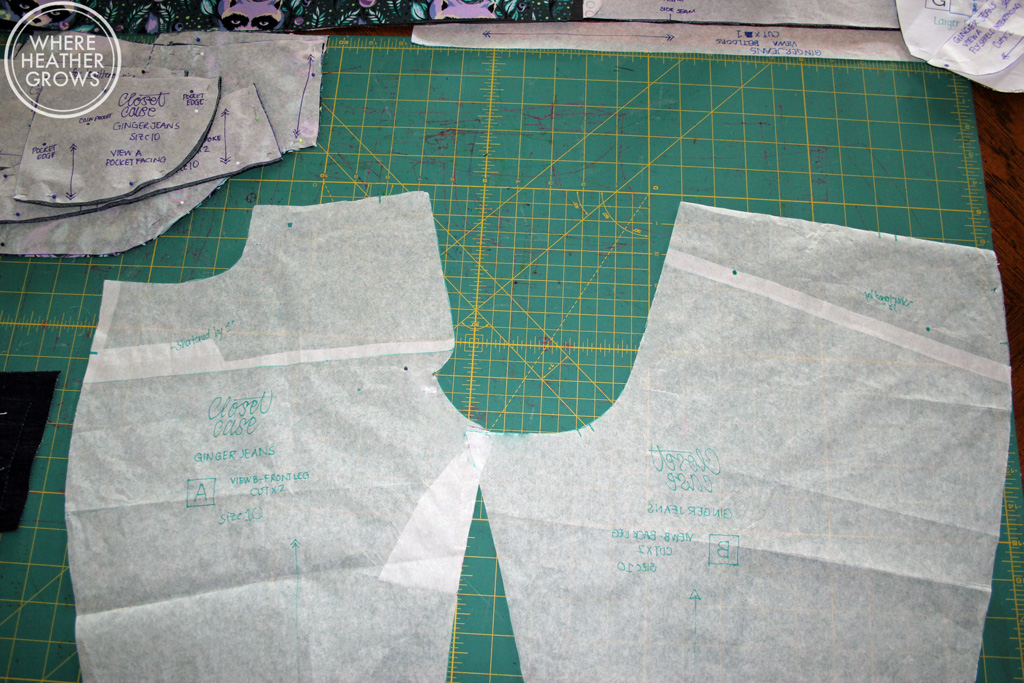
And view B:Can you a see a difference? I didn't actually measure them, but from looking at the photos, you can see that view A has a little bit shorter crotch curve, and there seems to be a bit more space in view B. The difference is especially noticeable in the front - it's a bit straighter too, if that makes sense.

You can also see that View A is bit straighter in shape, view B is curvy and the pocket shapes are slightly different. Here are the patterns overlapped with view B on top.
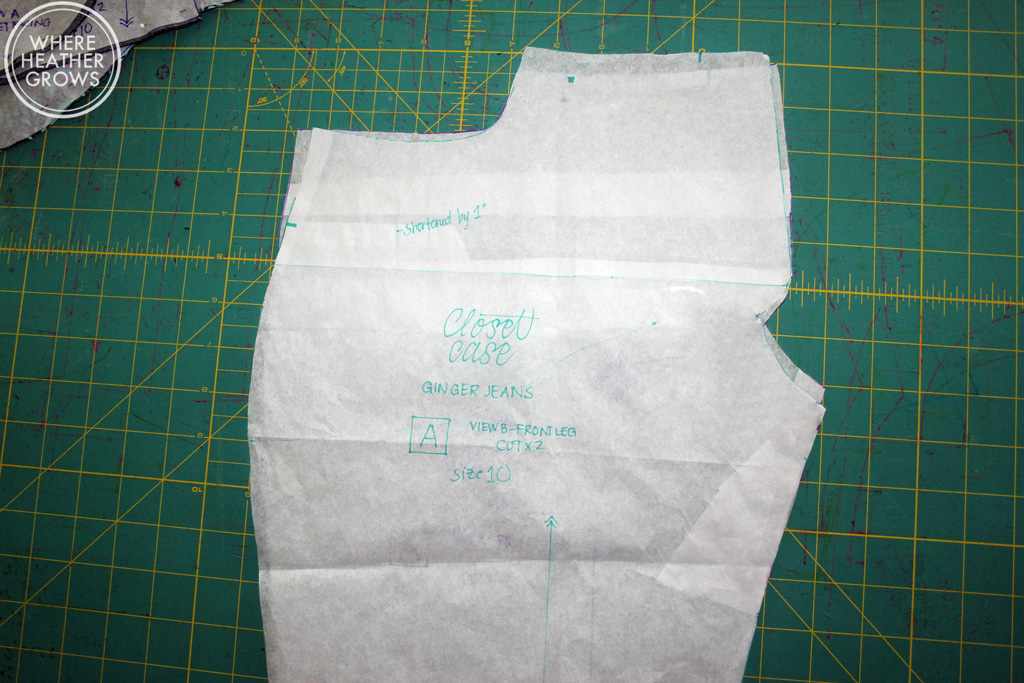


So only slightly different, but it's enough to really affect how the jean fits. Now lets take a look at the back:
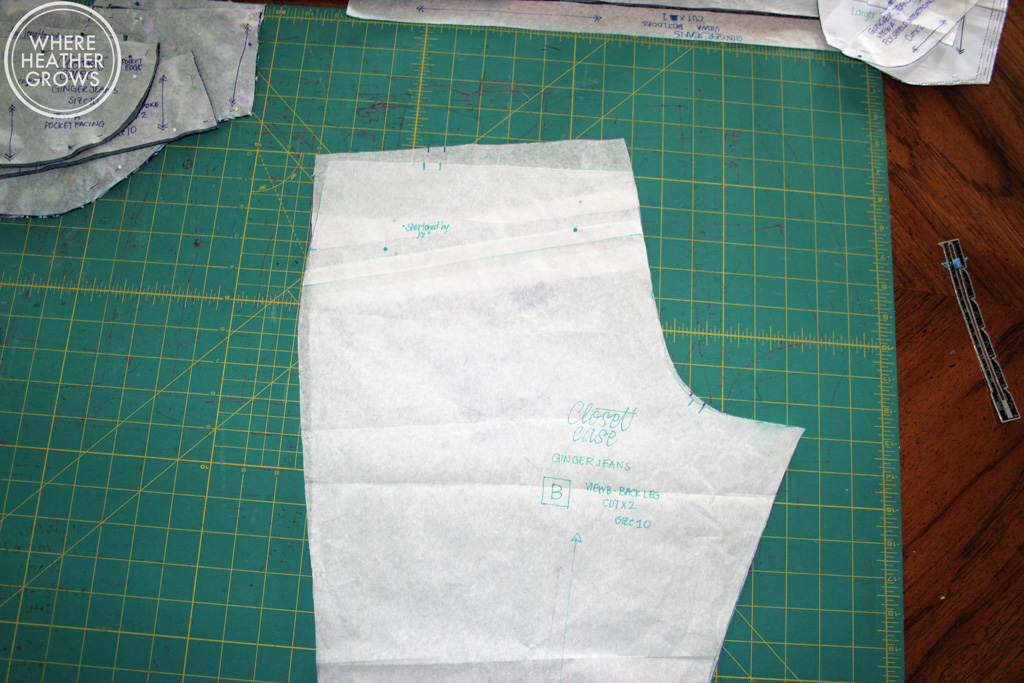

So again, only slightly different, but enough to make a the jeans fit differently depending on your body shape. View B is on top again, and you can see how view A is much straighter than view A.
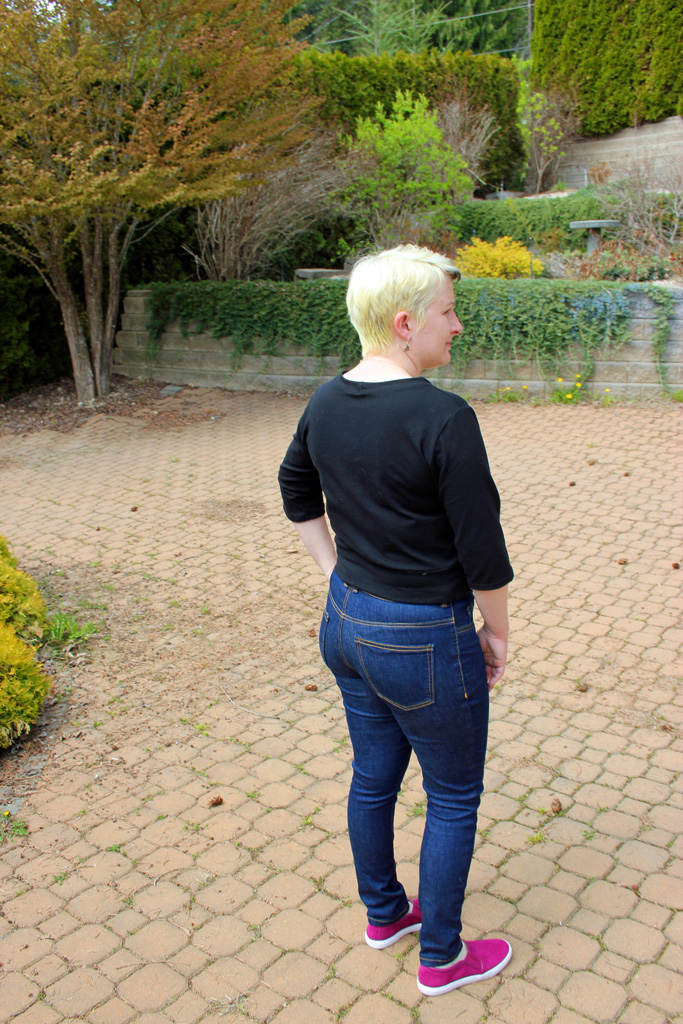
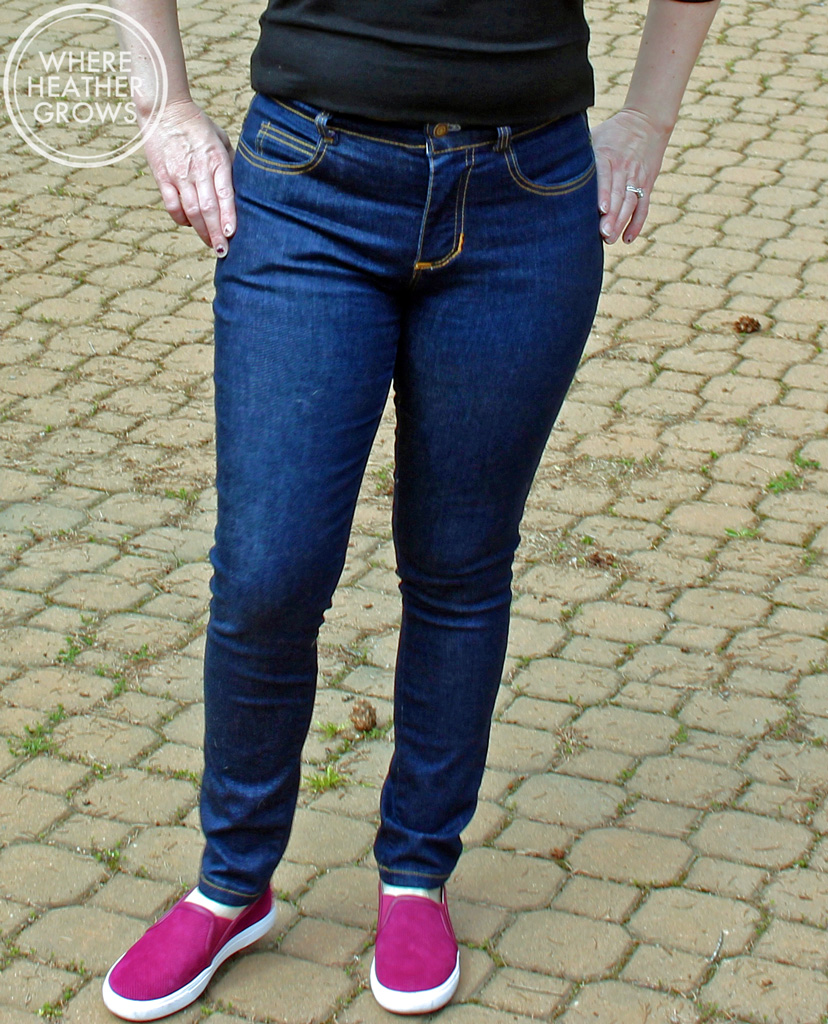
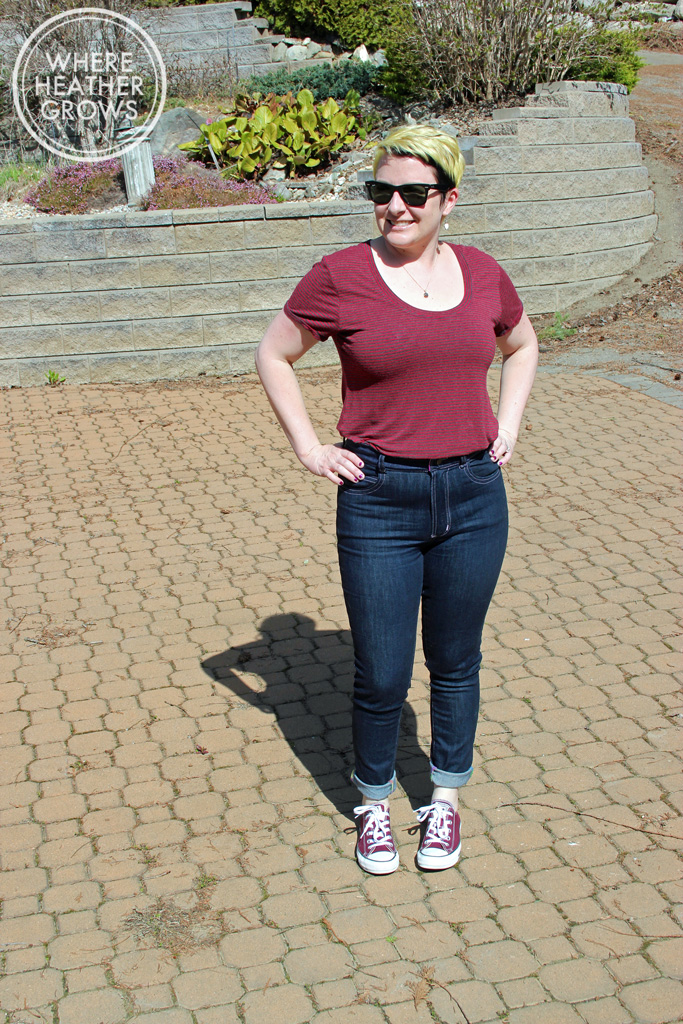
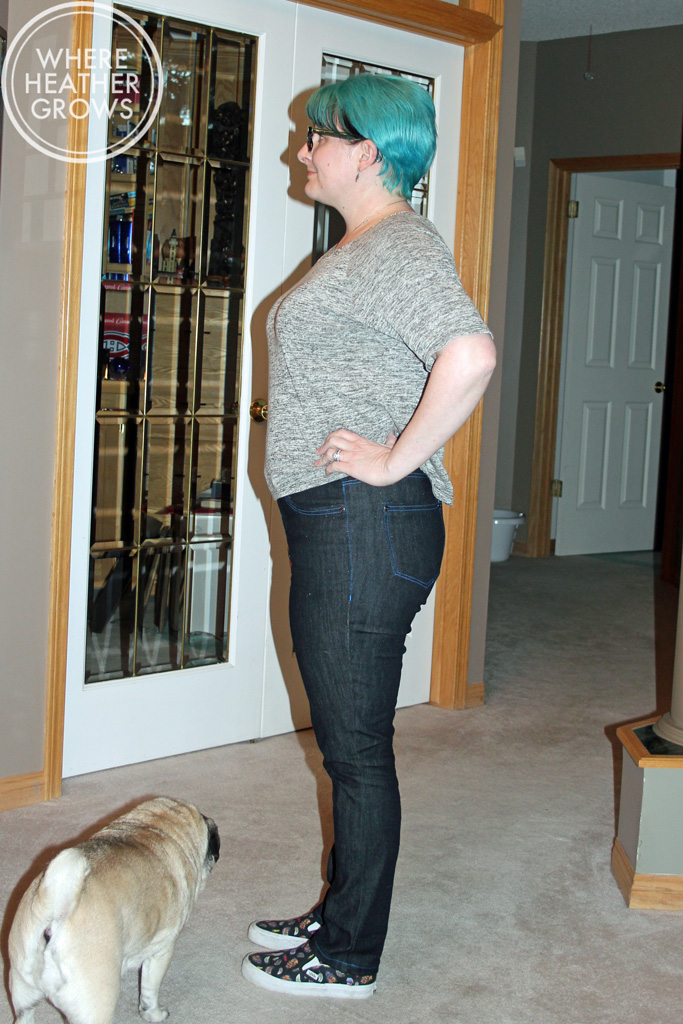
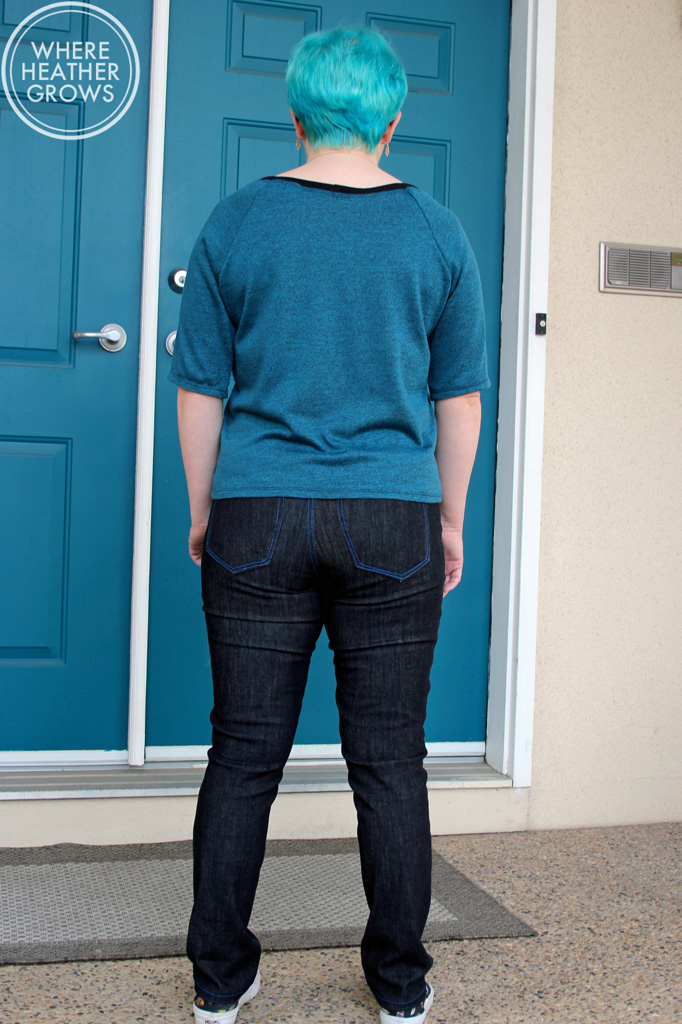
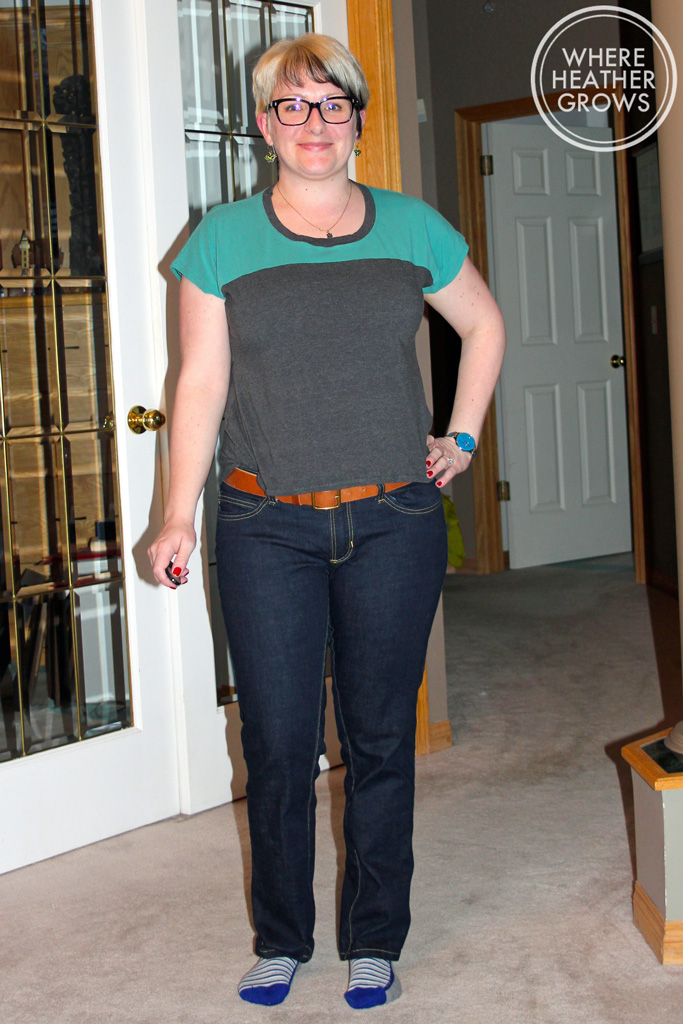
Okay, so how does this translate into fit on my body (I say my body, because that's what I'm working with here). Well briefly, if the crotch length is too long, then you'll know it because you'll have that drop-crotch, penguin kind of thing going on. If the crotch length is too short (like view B was on me), you'll wind up with smile lines, possible camel toe, and maybe even a bit of wedgie at the back (all technical terms I might add). The other thing to take note of, is where the waistband sits on your body. I think this has caused a lot of my fit issues. Where the waistband sits with my modified view B, is right across my chubby tummy. This causes the the fabric to pull and strain causing some crotch issues. Anyway, let's have a look at the two views made up, view B is on the left, and my latest view A is on the right (I am in love with how my rainbow topstitching turned out - so glad I tried it).

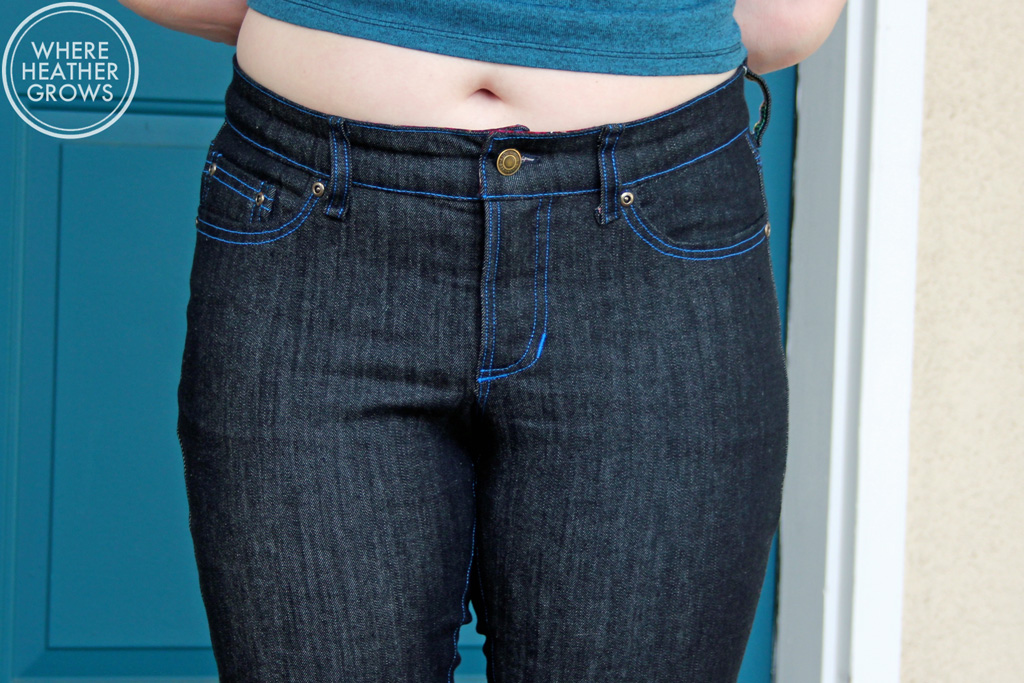
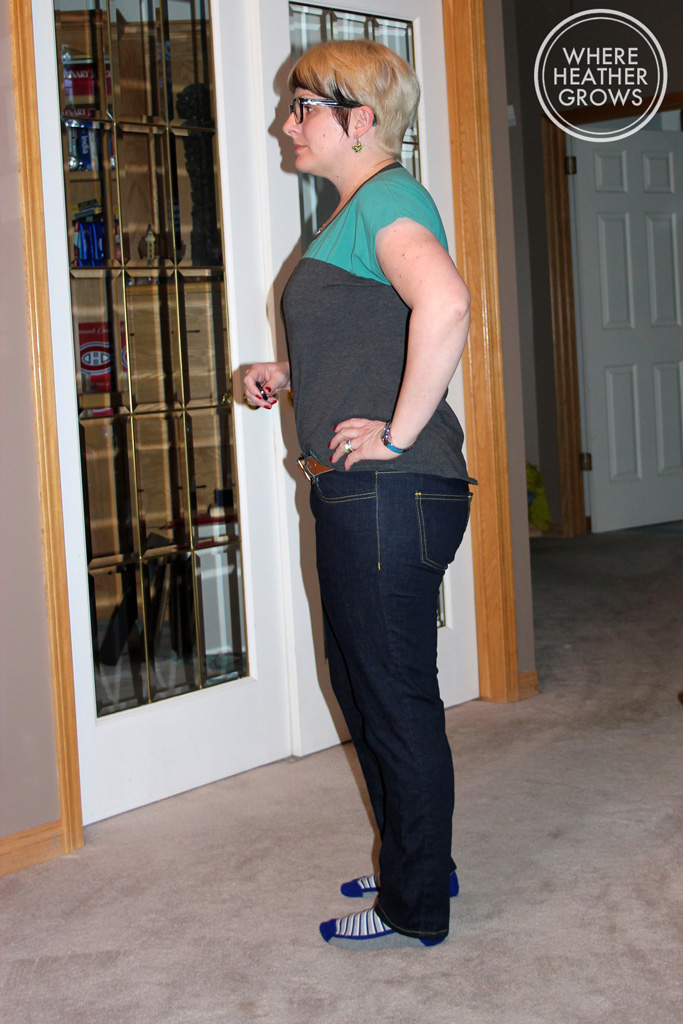
So it might be a little bit hard to tell, but see how there are less lines in the pair on the right? Remember that I did do some make-shift crotch alterations during the sewing view B so my fit issues aren't nearly as obvious as they were during my initial try-on, where as I did nothing of the sort for view A. Also notice that the waistband sits just slightly lower, which I think it more flattering on my figure, not to mention more comfortable. Also, notice how much flatter the fly is sitting in the view A pair on the right, and no pulling. I would say on the view B pair, the waistband is right on my belly button, and with view A it sits just under my belly button. You can see that the fabric is straining a little over my belly with view B too.
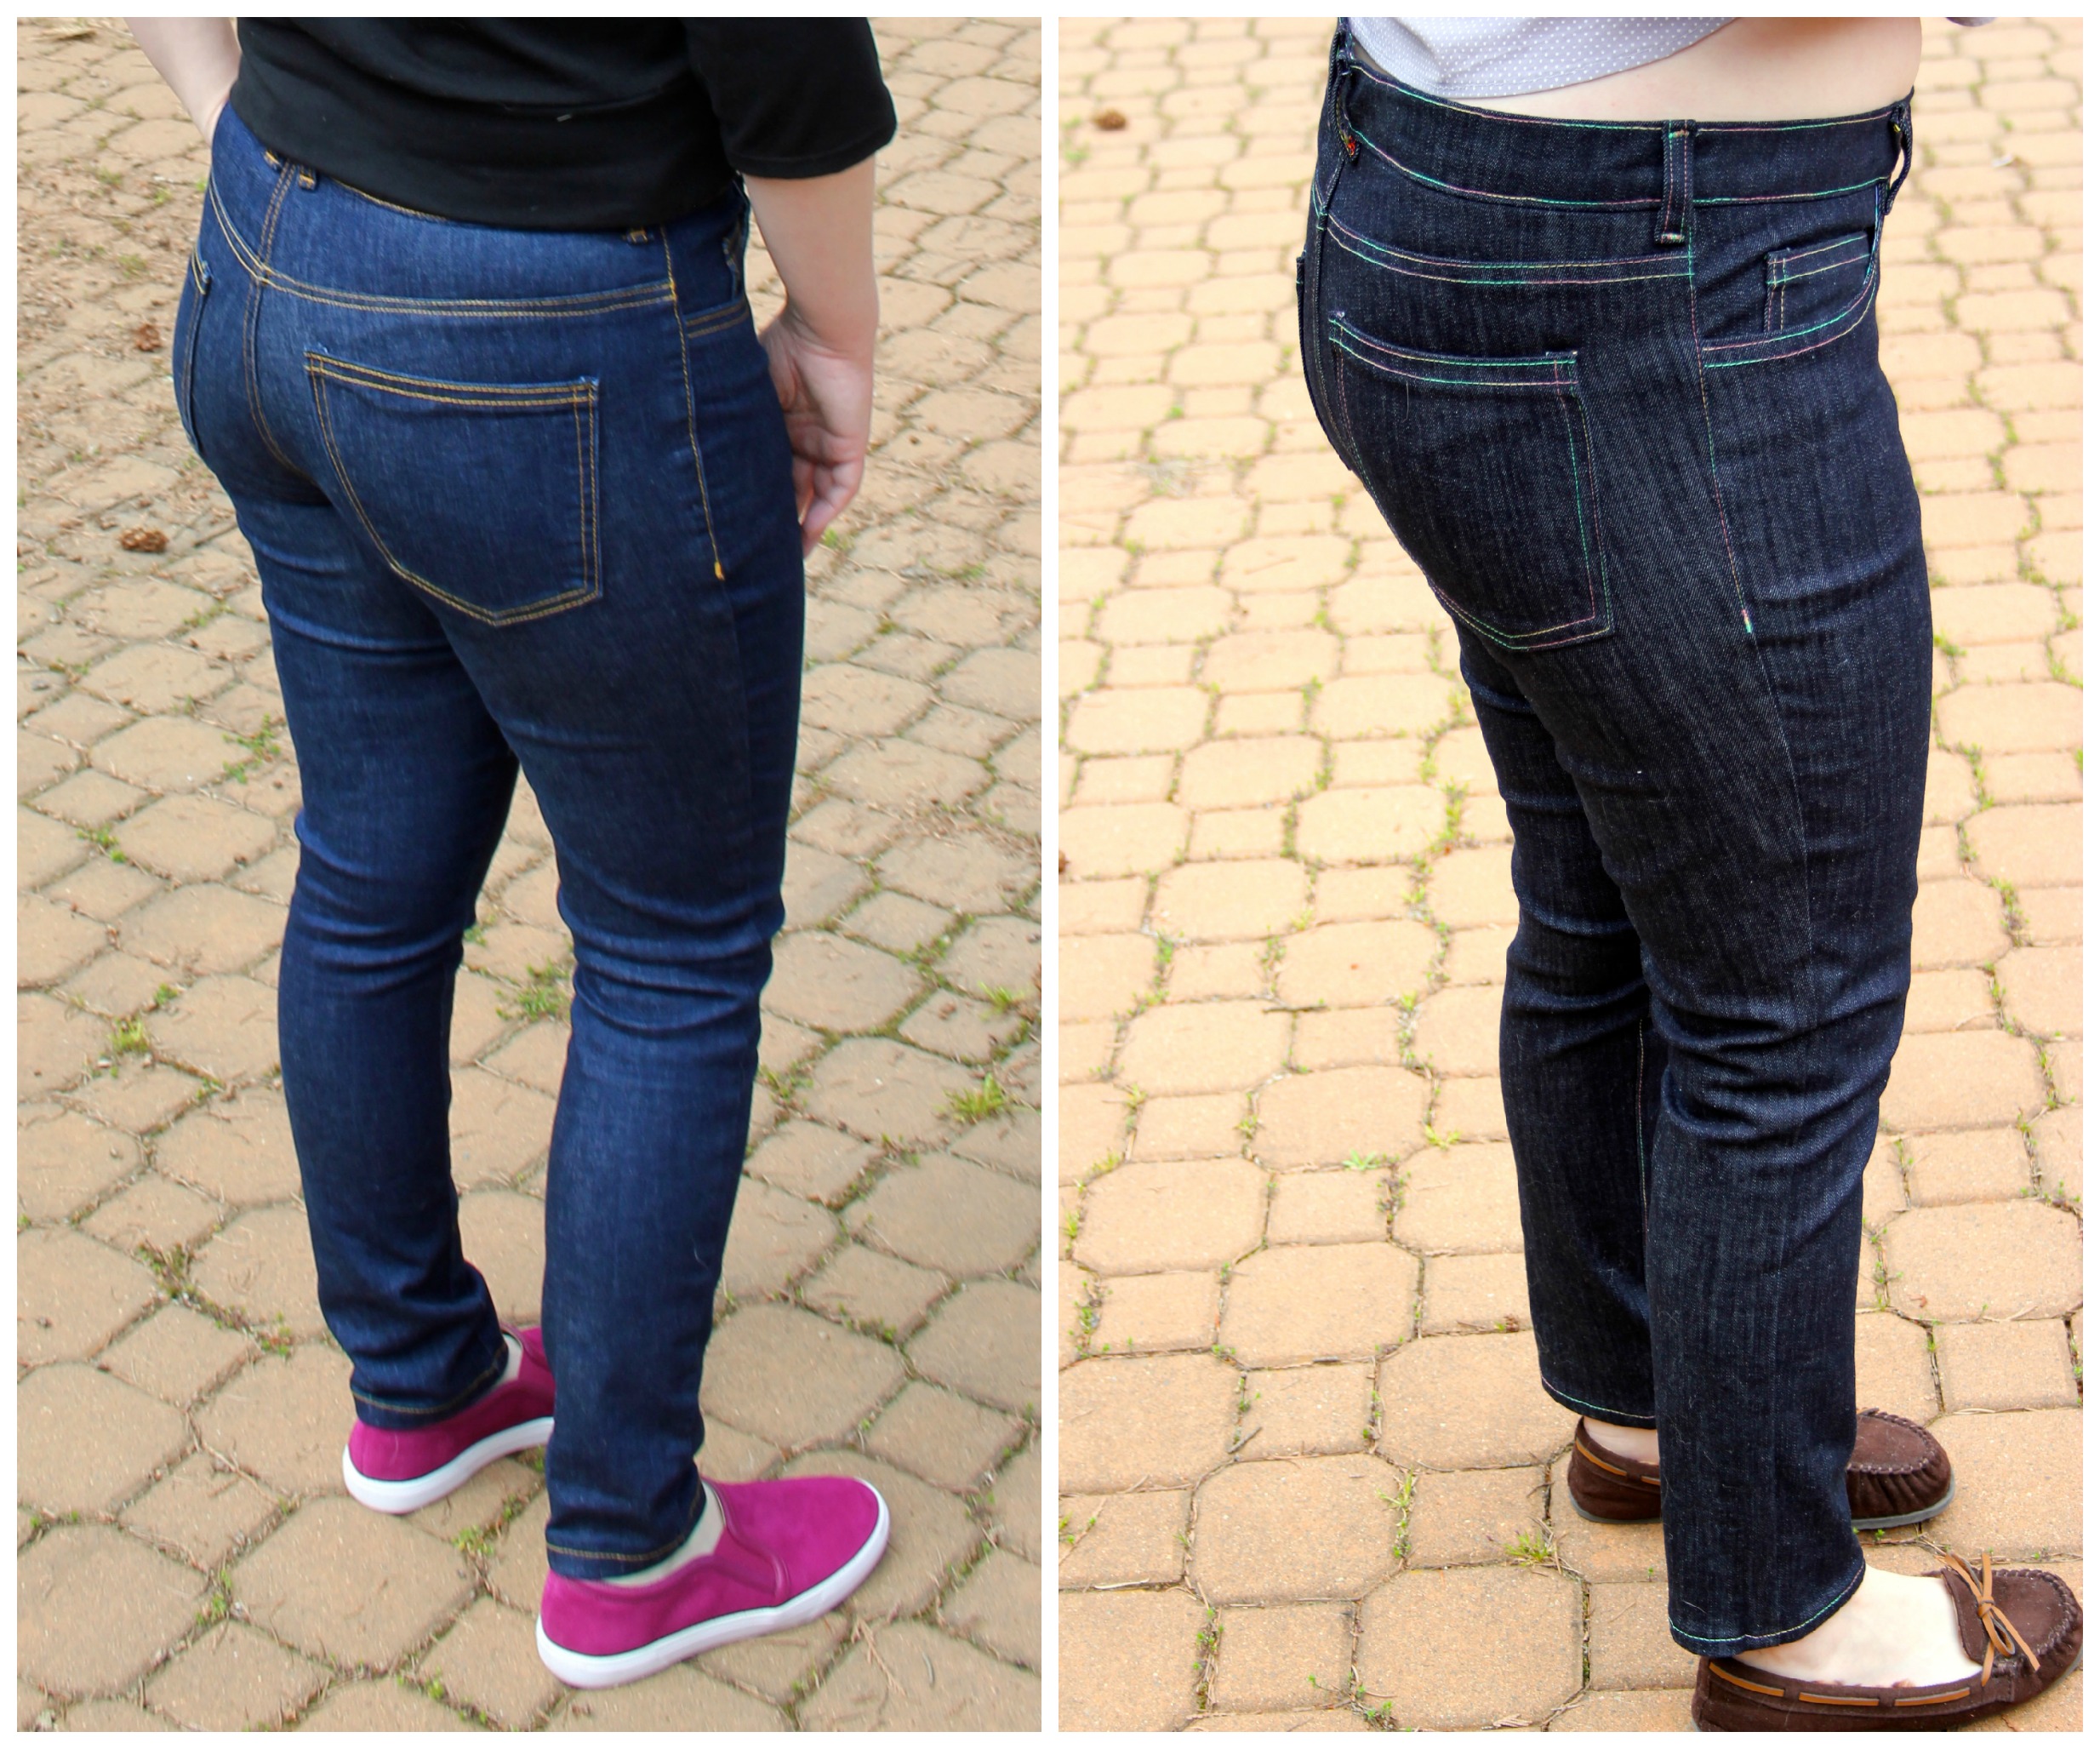
Oh I should also mention that I made the legs the same on each pair. I love skinny jeans, so I used the view B leg for both pairs (although I made the view A pair slightly shorter), and keep in mind the denim is different. The pair on the left is Cone Mills denim, and the pair on the right is Girl Charlee denim. I also don't get too worried about those back leg wrinkles. They don't really bother me, and you will always have some wrinkles because you need space to move.
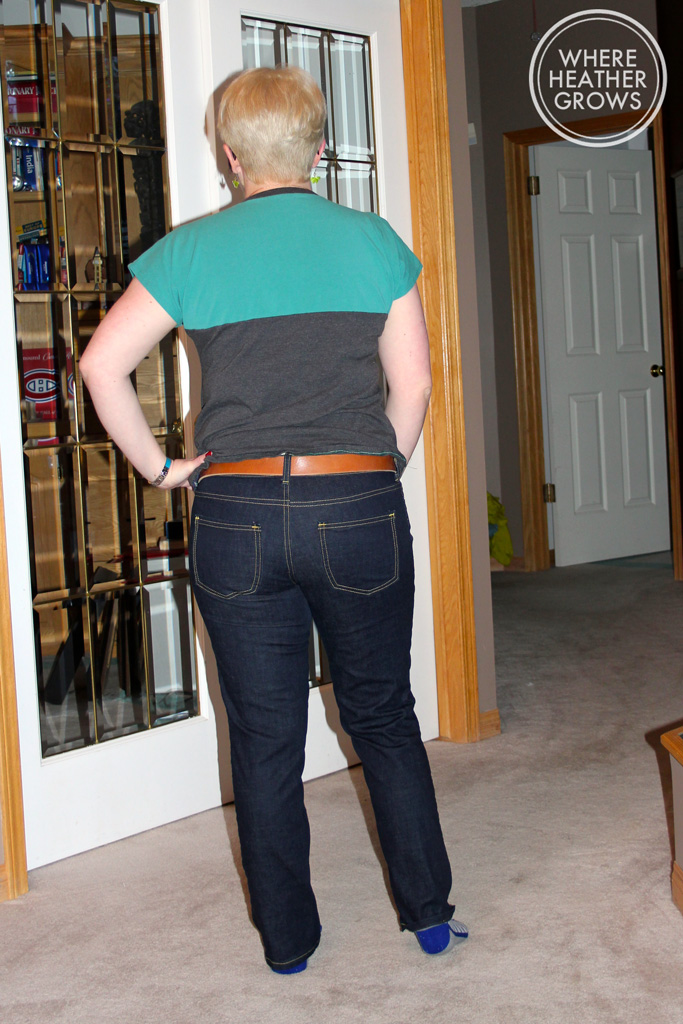
In looking at these butt pictures now, I could probably scoop out the back crotch curve a tiny bit which might get rid of some of those drag lines right under my butt, but again, I'm not overly concerned about it as it's not affecting my comfort.

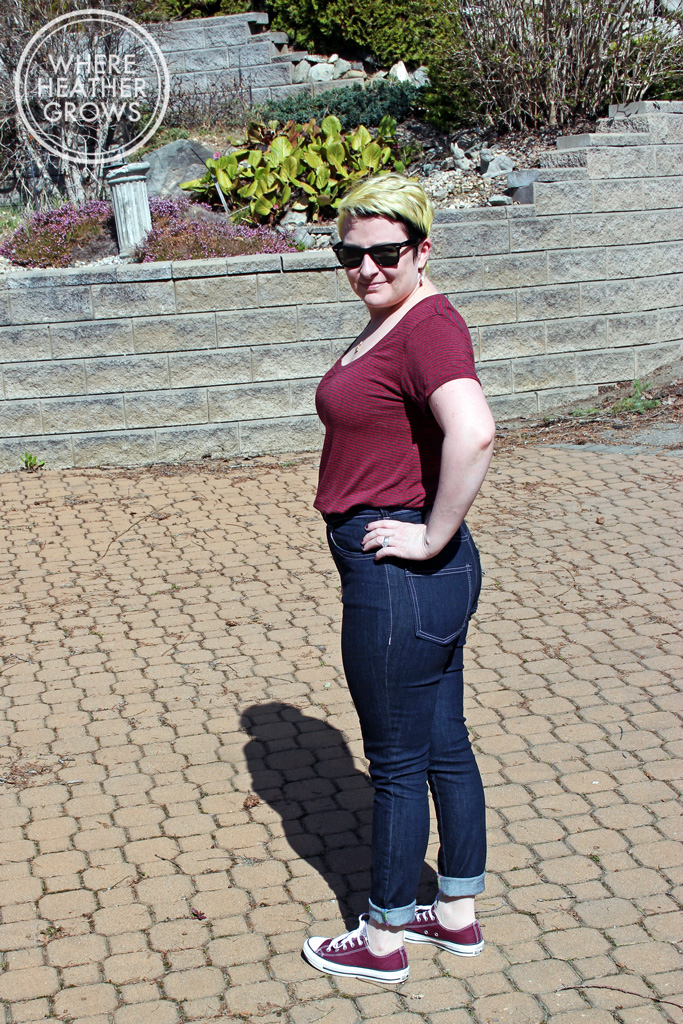
So my flaws are a bit on display here, but in looking closely at these I think the shorter yoke is more flattering for my shape (which is probably because I am petite, I'm only just 5'2" folks). I feel the wider yoke is squeezing my chub just a little bit more than in view A, this is probably because of my tummy pulling the fabric at the front, which is making it tight across the back. I do, however like the curviness of view B. You can see that view A doesn't curve quite as much at the back which is causing a teensy bit of gaping at the waistline. Plus there's something wonky going on with that one belt loop, but that was probably just a sewing mistake made in my excitement to get them finished. I'm impatient!

Okay, so what now. For me, I think that if I make view B again, I will keep the rise the same as in these pictures, but I'm going to do a bit of an alteration to give me just a touch more room across my belly. How would I do this? Well, I think I only need about a 1/2" or so total so I have a couple of choices. I could add a little bit of extra to the seam allowances on my front pattern pieces, 1/4" would probably do it (if you plan on doing this, don't forget to add to your pocket pieces and waistband too). Remember that whatever you add, will be doubled because you will have 2 front pieces, so if you add a 1/4" to your front pattern piece, you will end up with 1/2" total. The choice would be to do a bit of a slash and spread method. On the front pattern piece near the middle, I would cut a slit about 2 inches long (the length would be dependent on where my belly curves back into my body), spread it by about 1/4" and then tape some paper behind it. Kind of like a dart you don't sew. This would give me extra room over my belly without changing much anywhere else. You could also do this, right where the fly extension meet the front piece, you just have to be careful not to let your fly extension get too far off grain. I think the key to pattern alterations is that you have to think about how it will look in 3D. You are wrapping these flat pieces, around a round body. So that's what you are making space for. Does that make sense?
I will definitely be making view A again, and I think that I will use my view B pattern pieces to add a bit more curve to the yoke and outside seams without touching the rise or the crotch curve itself. I also might try curving the waistband just a little bit more and that might be enough. We'll see how that works out. There are defiantly more Gingers in my future. I love this pattern and while it is work, I am really enjoying the process of fitting, and with each pair, I get just that much closer to the Holy Grail of perfect fitting jeans. Plus I find sewing jeans quite satisfying. So please, if you haven't tried Ginger, don't let any of this scare you off. Fitting is not scary, it's just work, and in the end, it's totally worth it to have a TNT pattern, that you can just cut out anytime and know that it will fit perfectly.
Anyway, in no way, am I an expert, and if you are and you think I am totally nuts, please feel free to let me know. I was lucky enough to get some great help from Lisa (who is quickly becoming my fitting guru) and @maxitonia on Instagram, and I have read tons of articles and watched a great video or two. I also have Pants for Real People on order (I have Fit for Real People already and it's my go to book) and I look forward to learning more. I am hoping that by sharing my experiences you might learn something, but also that it might spark some ideas for you and your fit problems.
While I don't have any tutorials that I have written myself to share with you, I do have some great links for you:
http://www.afashionablestitch.com/2011/sewalongs/in-which-i-finally-talk-about-the-word/
http://www.afashionablestitch.com/2011/sewalongs/discussing-at-length-crotch-length/
I love this video by Professor Pincushion for lengthening and shortening crotch, it involves a fair bit of tracing, but I think it would be totally worth it (also she has the coolest fingernails):
https://www.youtube.com/watch?v=-jnVVhuoh7Y
So there you go. I hope this post helps you, and as always if you have any questions or if I can help you in anyway on your journey, email me, or leave a comment. I am pretty much sewing obsessed so I love talking about it, and I love to help.
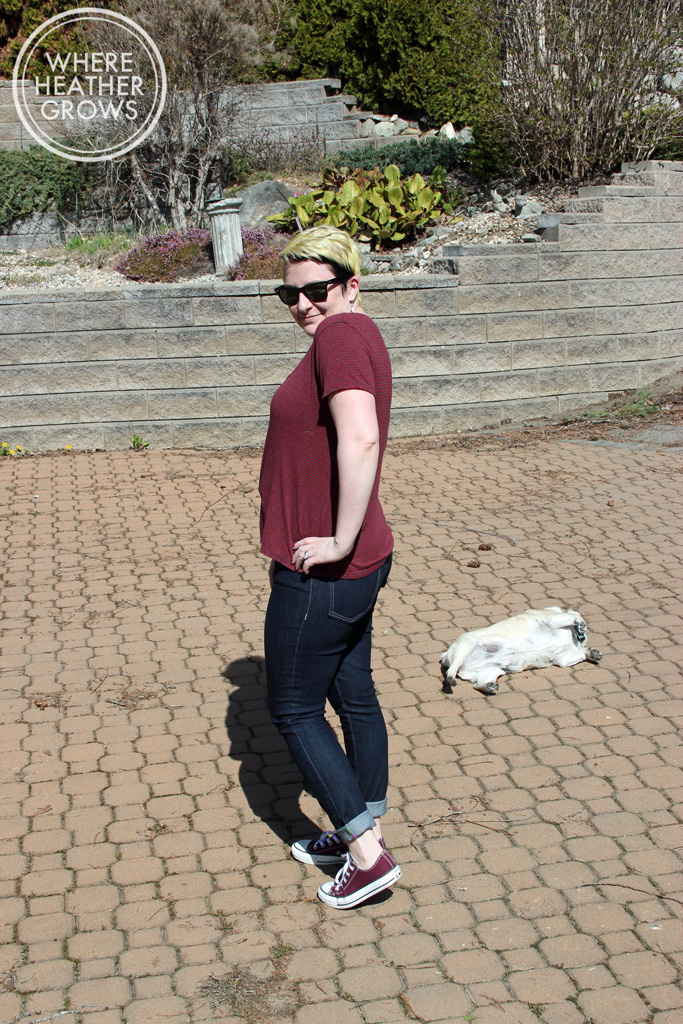
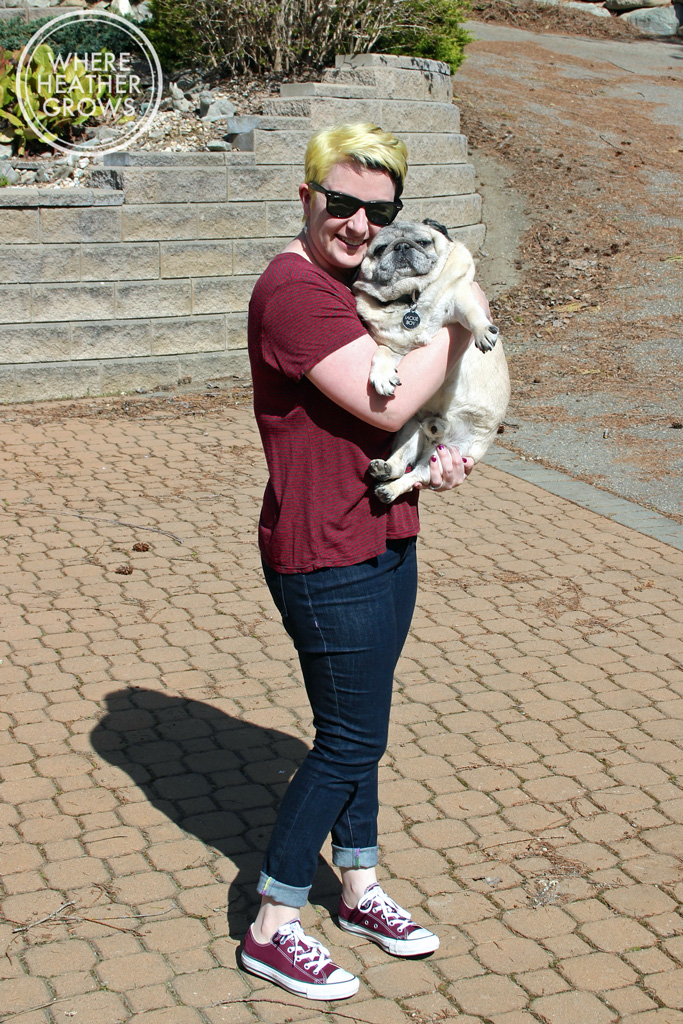
And of course no post of mine would be complete without some gratuitous pug butts:

Happy Sewing Everyone!
PS: One more thing (seriously, can this post get any longer?), would anyone be interested in a Tips for Sewing Jeans post from me? I know there are a number of those out there already, but I have sewn 8 pairs now, which means I have learned some things about construction a long the way, and sometimes its good to hear things from different points of view. Anyway, let me know what you think, I'm happy either way.