A few weeks ago, Gillian over at Crafting A Rainbow, issued a little challenge to the sewing blogging community: a sewing dare. Just like Truth or Dare at a girlie sleepover, but without the truth and probably less humiliating than some of the things my adolescent friends came up with. Anyway, Gillian specifies that the sewing dare should be something challenging and out of your comfort zone, but still fun. I asked Gillian to give me a dare, and after a bit of thinking, she decided that a good dare for me would be to sew outerwear of some sort. She's good! This was the perfect challenge for me as I have wanted to take a stab at sewing (and lining) a jacket, but have been too chicken to do it. This was just the push that I needed.
After a lot of humming and hawing, I finally settled on one of Papercut Patterns' latest releases: the Waver Jacket.  To be completely honest, I wasn't overly enthused with the sample of this pattern on Papercut's website. It looks very lab coatish, but I decided to look past the sample and use the line drawings to visualize a nice spring/fall jacket. Because I was looking for a lighter jacket, I decided to go with the short, drawstring version of the Waver (although I may end up giving the other version a go in a more wintery fabric - it looks quite cute too).
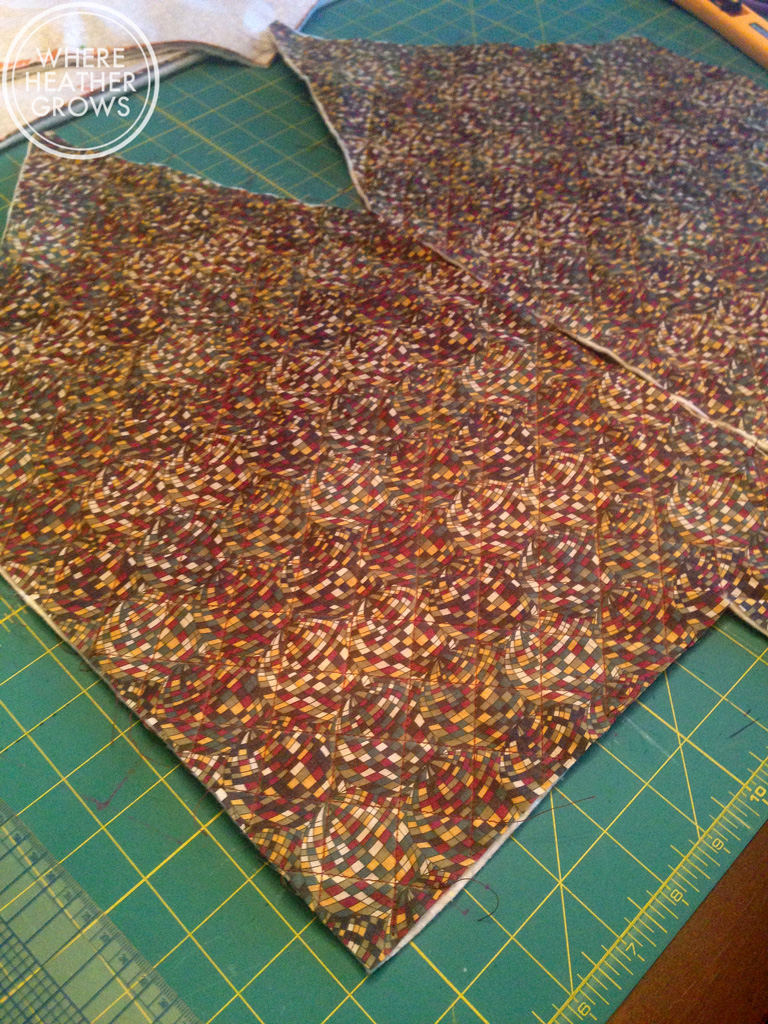
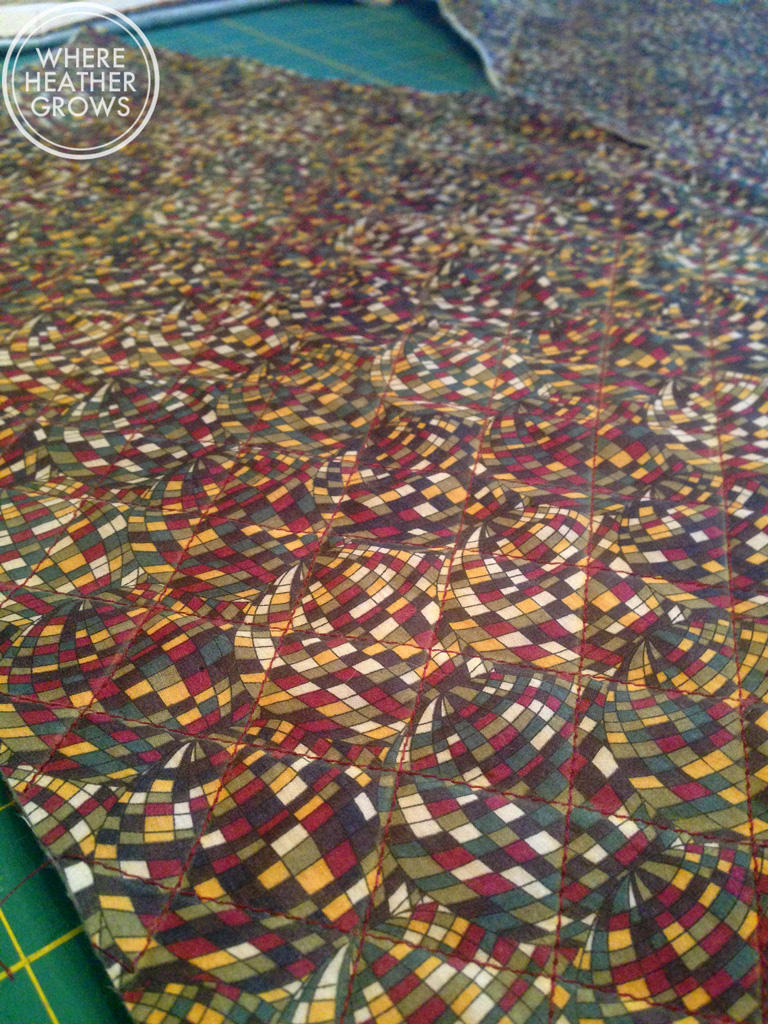
 I had some really nice cotton twill in my stash that I bought locally, and I thought it would work perfectly for this pattern. I've never worked with twill before and it's actually really nice to work with - a lot like denim. This stuff is the perfect weight for a jacket, and I can't really describe it, but it has this kind of natural smell to it. It's not a bad smell, just a distinctive smell, kind of like raw denim. It reminds me of my Dad for some reason. I think maybe he had twill coveralls for working in the garage or a twill jacket or something, because every time I smell this fabric I feel really nostalgic for my Dad. I always find it so interesting that a smell can bring back a really clear memory, or even just a familiar feeling. But anyway, I digress, back to the jacket.
 The pdf pattern went together really quickly, and easily ( I really should by stock in Scotch Tape). The only other Papercut pattern I've used is the Rigel Bomber, and I had the hardcopy for that. I am pleased to say that the pdf, was just as nice to work with as their beautifully packaged paper patterns. And there's nothing like the instant gratification of a downloadable pattern. The instructions are very clear and have nice diagrams too.
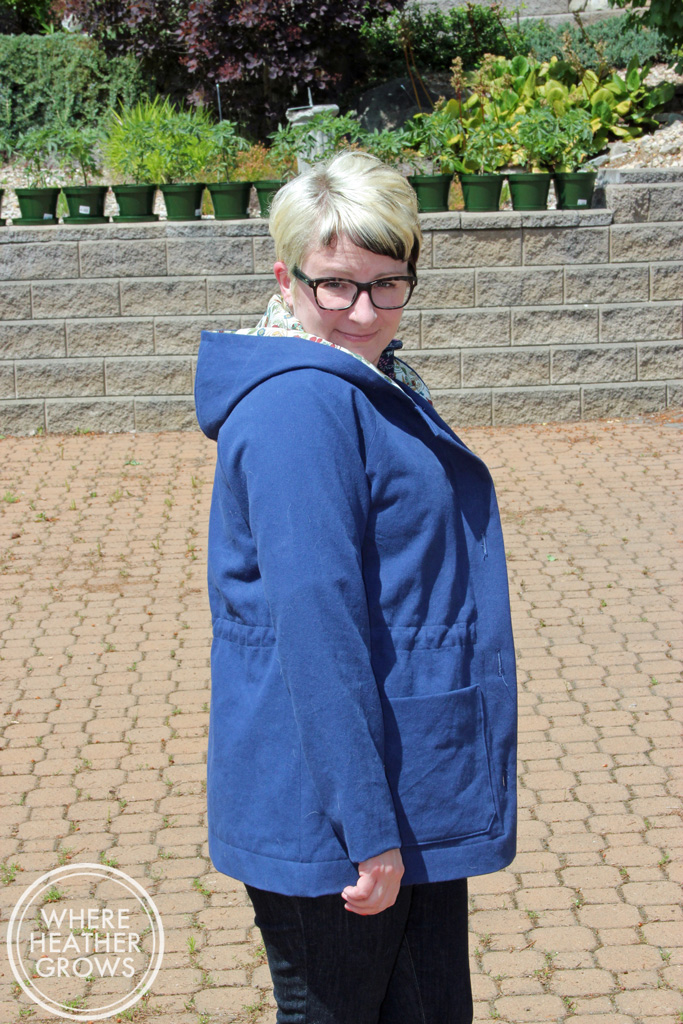
 I chose my size based on Papercut's sizing chart (the medium), but once I had the shell made and tried on, I realized that it was HUGE! Like a massive tent - I'm not kidding! I quickly asked my Instabuddies (I am such an instagram junkie and I love the little community of friends I've got going on there - so great for sewing questions and support), and most people that answered my call mentioned that Papercut Patterns tend to fit on the larger side. D'oh! Maybe I should have asked that question before I started. I ended up increasing the side seam and sleeve seam allowances by a whole inch! That seemed to work so I did the same thing with the lining pieces. Next time I make this coat (and I am sure there will be a next time) I will probably size down to a small or even (GASP!) an extra-small. I'll take the time to measure the pattern pieces and decide from there.
 I think that the trickiest part of making this jacket was "bagging" the lining. The instructions that came with the pattern are really good, but I really wanted to machine sew the lining to the jacket at the sleeves too. The pattern instructs you to hand sew that part, but I hate hand sewing, so I hit up Google to see if there was another way. And of course there was. I used Jen's tutorial, and it worked out really nicely, although I was sweating while I was doing it. I still had to do a little bit of hand sewing to stitch up the opening you need to leave to turn the jacket through, but that was pretty minimal.
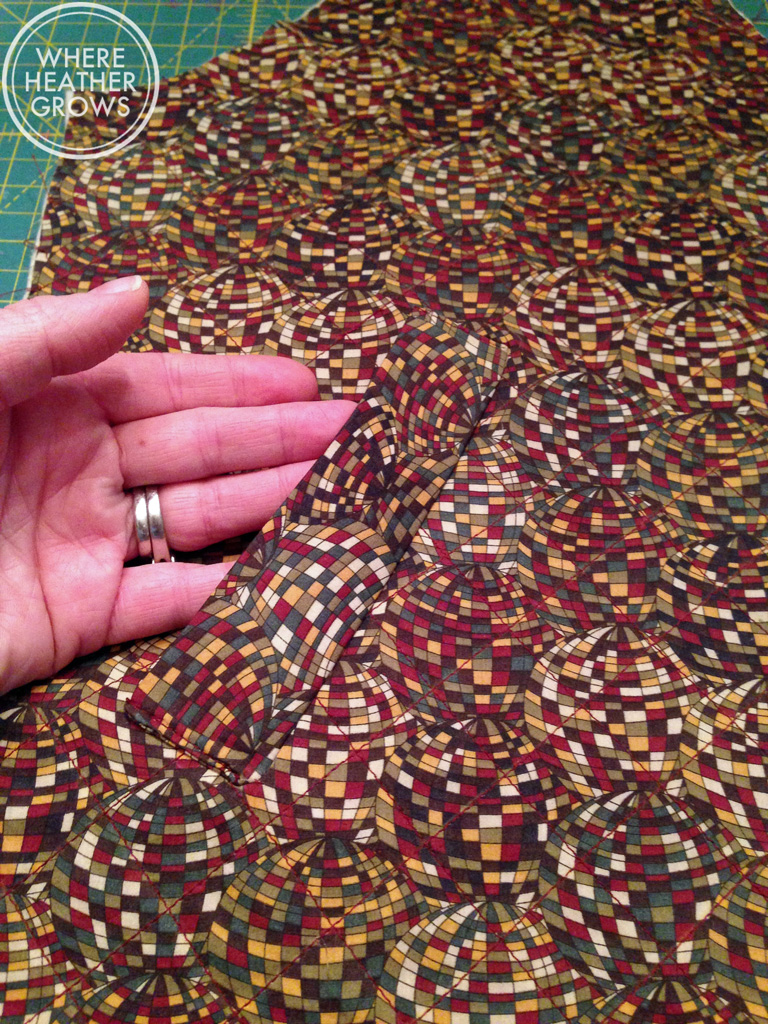
 I used a Liberty lawn I had in my stash for the lining and it feels amazing, plus I think it goes really well with the blue outer fabric. As you can see, I don't have toggles for the inner drawstring yet. I just haven't been able to find any that I like, but I will. For now, I just cinched the drawstring and tied it in a knot. Not overly professional and it doesn't work quite as well as the proper toggles will, but for now no one really sees it, so I'm okay with that.
 The construction of this jacket was straightforward and quite speedy. I think that aside from figuring out the lining bit, it didn't take me much longer than making an Archer. Gotta love those raglan sleeves - so much quicker than set in sleeves. Anyway, while the size isn't perfect I am really happy with the finished product and I am looking forward to wearing it a lot. I made a couple of minor sewing mistakes with this jacket (my seam ripper really is my most used sewing tool) as this was my first run through, but I expect things will go smoother next time around.
I wasn't completely sure this jacket was going to suit me right up until I finished it. I tried it on for John before I put the buttons on, and we were both like, "eh, it's okay...". But once I cinched up the waist and added the buttons we both changed our tunes. It's amazing how such a small thing can totally change the look of the jacket.
This jacket makes me really happy and has rekindled my love for Papercut. I now really want to make another (more attractive and properly fitting) Rigel bomber, as well as try out some of their other patterns too. Plus, this jacket reminds me that I am part of such a great community of sewing bloggers, and Instagram sewers, and I love that! You guys are so great!!
Anyway, thank you Gillian so much for the dare, it was a lot of fun, and I learned a lot too!
Have you participated in this daring challenge, if not would you like to? Gillian set the end date as May 31st (I'm squeezing in just under the wire) but I highly doubt that is set in stone. So if you'd like a dare, just ask. Thanks for reading along, I hope you are enjoying your weekend!