Hello my friends! I have been trying to write this post for quite awhile now, but I just haven't been feelin' it. I just can't seem to get into writing mode lately. My sewing mojo is alive and well, I have been sewing up a storm, but I just can't get my head into writing gear. Anyway, I have loads of projects to share with you, but I haven't really photographed any of them. The weather has been either way too sunshine-y for good photos or it's been raining. Plus I tried a new face cream and cleanser about a week ago, and I had a really bad reaction so I haven't feeling very photogenic especially not in front of my DSLR. Anyway, my skin is finally starting to settle down, so I'll try to get some posts in this week. Note to self, change is bad. Anyway, that's what's up with me, now let's get down to business. I know that there are already a number of posts out there with tips for sewing jeans, but I felt like after making a number of pairs I should add my two cents. For myself, sometimes I can read the same tip written by a few different people, but it doesn't click until the writing makes sense to me, and I find that everyone has a different perspective, so I like having a few different articles out there to refer to. So here we go with mine:
- Topstitching Thread - try different weights and colours, and don't be afraid to try different brands. I love the Gutterman denim topstitching thread that you can find at JoAnn's or Fabricland, but there aren't a ton of colours available. I ended up chatting with the lady who sold me my Pfaff about it, and she suggested a heavyweight cotton quilting thread (Sulky 12wt.). It comes it tons of different colours and my machine loves it. It sews really well and I don't struggle to make bar tacks or button holes with it, plus it comes in variegated rainbow so you gotta love that! I have also tried the Coats & Clark denim thread and had lots of luck with it too. I should also mention that I use navy thread in my bobbin, or sometimes I use the Gutterman denim thread that is a little bit lighter weight than the topstitching thread and it works really well too. Also, bear in mind that you may have to play with your machine's tension, so it's a good idea to have your machine's manual handy and try some test stitches before you start.

- Needles - I have found that a dedicated topstitching needle works the best. And I try to use a new one for each pair of jeans I make. I have tried sewing jeans with a denim needle, and a larger universal needle, but neither seem to work as well as a proper topstitching needle. So if you are finding that you are having troubles, changing your needle is an easy thing to try.

- For beautiful looking topstitching, lengthen your stitch - at first I really didn't want to do that. I don't know why, but I just thought a 3.5-4mm stitch looked way too long. But after making a of couple pairs now, I know it's not. It might look weird at first when you are sewing, but once you have your jeans constructed, and you put those bad boys on, a longer stitch length looks better. Check out a pair of RTW jeans, and compare. Once you have your machine set to where you want it for topstitching and your stitches look the way you want them too, take a quick cellphone pic of your settings. It's an easy and quick way to refer back to your settings. When you are going back and forth with changing thread, or maybe you are sewing over a few days or weeks, you know exactly where everything was set. Maybe it's just me, but I've forgotten exactly what length I've set my machine to, and then I've had to waste time figuring it out. It's also nice to do for your bar tack stitch setting too.
- Slow down - This is something I am constantly working on with pretty much everything I sew. Sometimes I just get into "must finish this right now" mode, and I put the pedal to the metal, and zoom away. With topstitching, you really need to take your time to be accurate and straight. My sewing machine has an option to slow the speed down, so when I'm making jeans, I always turn the speed down.
- I think one of the trickiest parts of sewing jeans, is topstitching the fly front. I have found that if I mark my lines with chalk (or whatever removable marking tool you would normally use), and then start from the centre front at the bottom, things go more smoothly for me. I don't know if it's because I get the curve out of the way, right away, or if it allows me to see better. But starting from the bottom seems to garner the best result for me. Don't be afraid to play around with the direction of things and find what works best for you. Oh and really try to make sure you catch that fly facing underneath too, that helps things to stay in place better when you wear the jeans.
- Bar Tacks - I am lucky enough to have a machine that actually has a bar tack stitch (although it doesn't always work as smoothly as I would like), but if you don't, a tight zig zag stitch is usually what's recommended. Recently I have discovered that a really narrow satin stitch works really well too. I really like how it looks and it's really strong. I used it for all the bar tacks on my last pair of jeans, and it worked really well.
- Interfacing - do you really need it? There is a bit of a debate about whether or not you really need interfacing for denim. I have tried it both ways, and my finding: use it! I like to use a lightweight interfacing so things don't get too bulky, but you should probably judge it by the weight of your denim. For my Cone Mills denim pair I used a really lightweight interfacing, but for my Girl Charlee denim pair, I used a medium weight interfacing. It helps everything maintain structure and it keeps your waistband from stretching out too much.
- I always sew my back legs together, do the middle lines of topstitching and then attach my pockets. This allows me to use the topstitching lines to place my pockets evenly and then things look a bit more centred. If you attach your pockets first, I find one always looks slightly off, or too close to the centre.

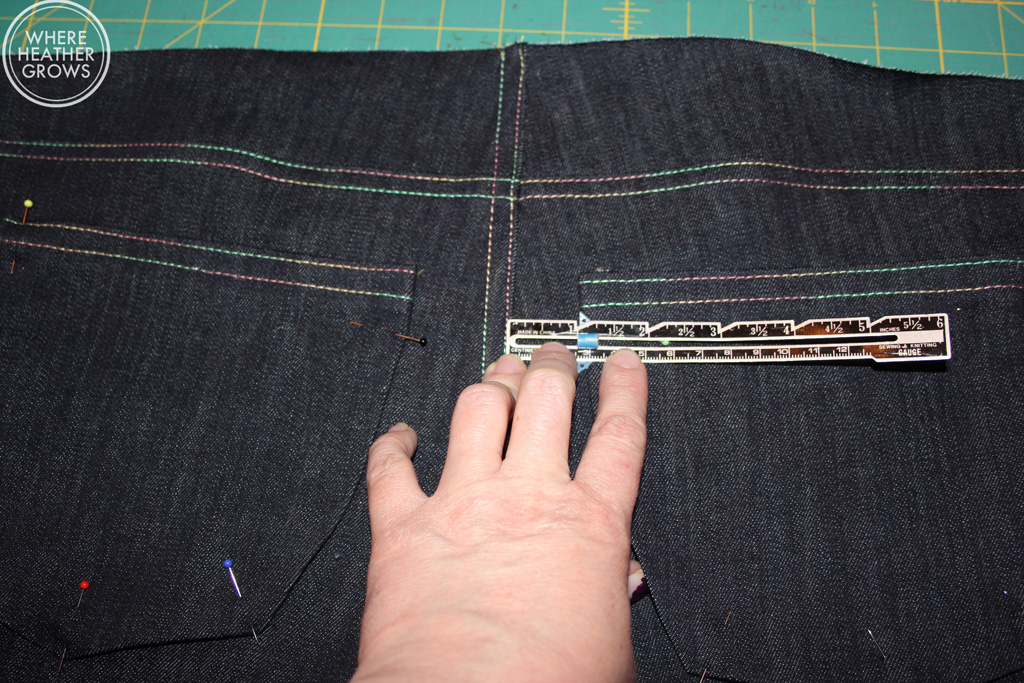
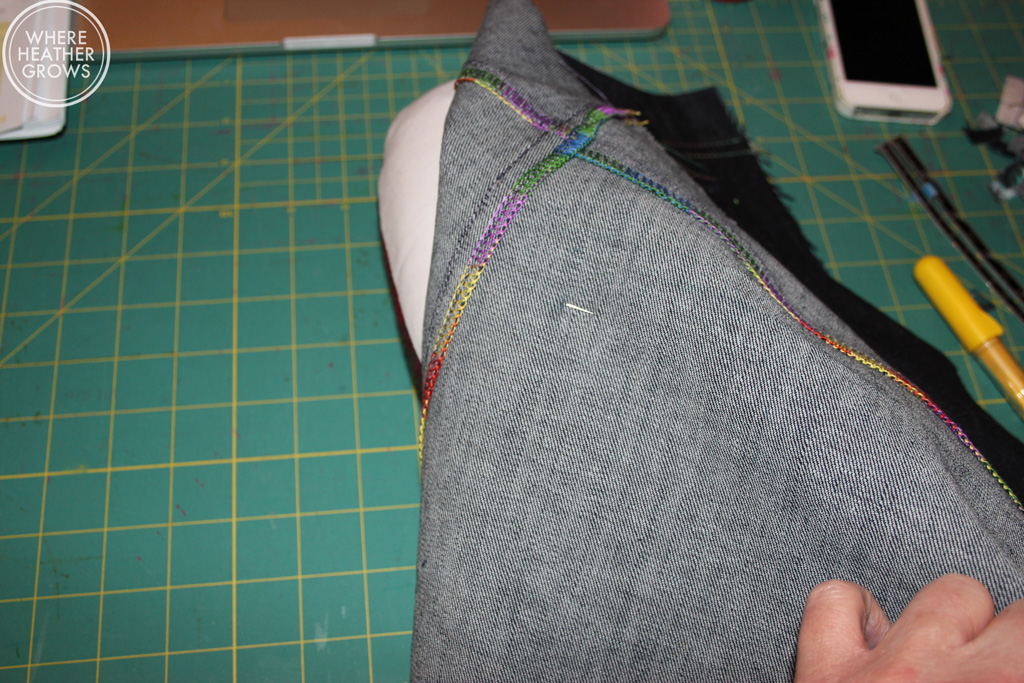
- I also use my tailor's ham to pin the pockets in place before I stitch them on. I find that because they will be against a curve when you wear the jeans, positioning them on a curve before you sew them helps them to lay better when the jeans are finished.

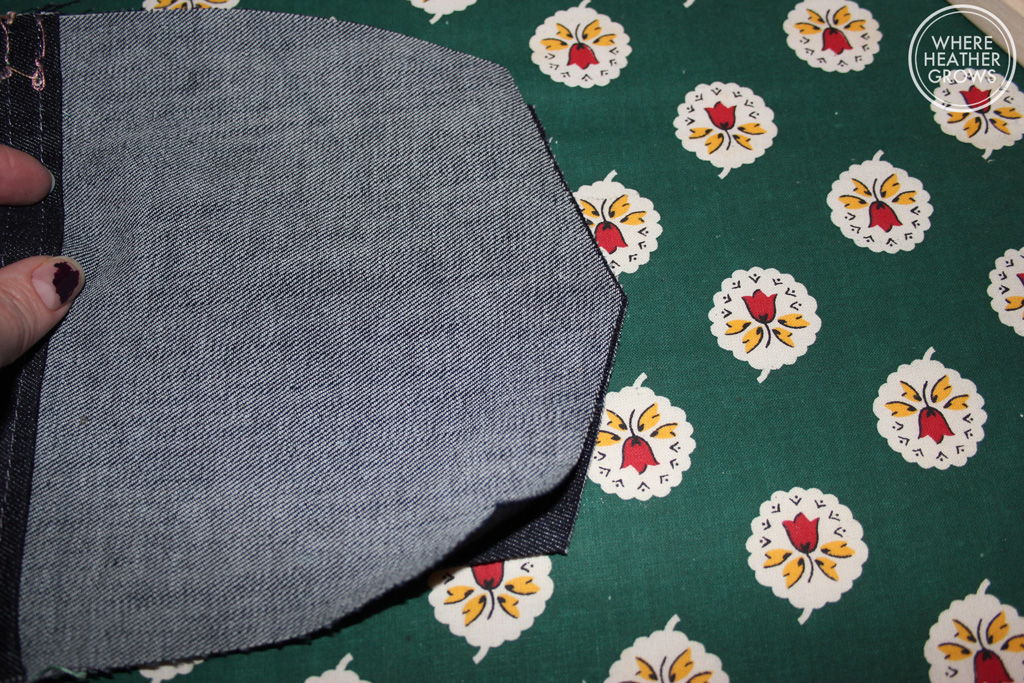
- And while we are on the subject of pockets, when I am pressing the edges in, I usually eyeball it (Gasp!), but I always line the two pockets up to make sure they are exactly the same. So I fold and press one pocket and then put it underneath the other one as a guide. Does that make sense? Here are some photos so you can see what I mean:

- Another thing I like to do is I lengthen the belt loops a little (about 1/2" to 3/4" each) and attach them before attaching the waistband. I feel like it just gives them a little more strength, especially if you are someone like me who habitually uses them to pull up her jeans. I'm not entirely sure if it really does add strength, but it makes me feel better so that's how I do it. Here's what it looks like:

So you sew them to the pants, then you attach the waistband, and finish off the belt loops.


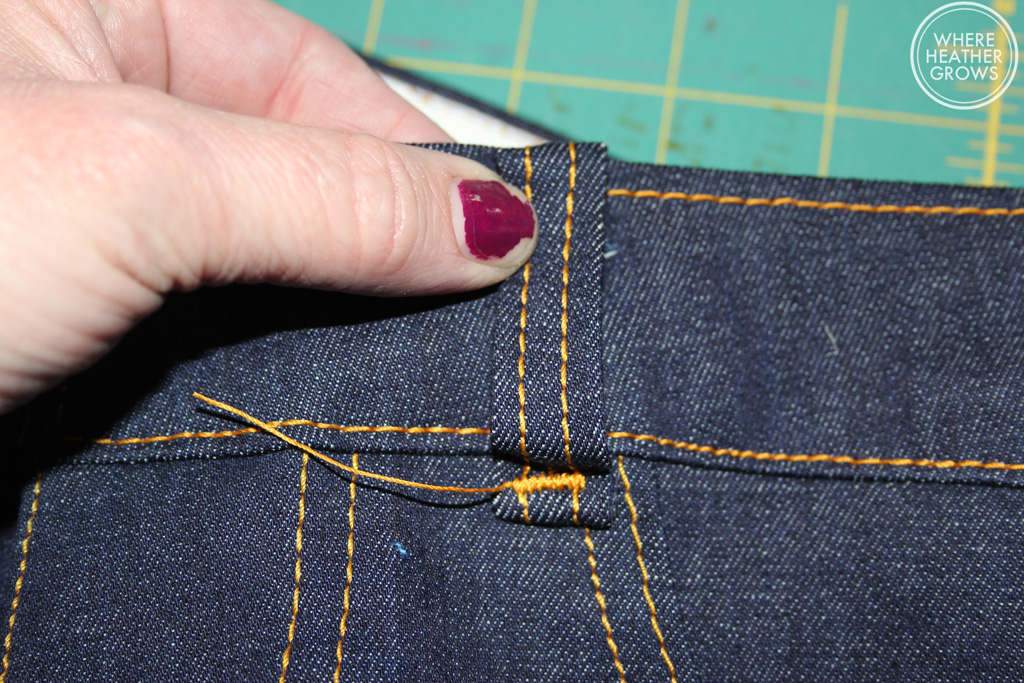
If you find that your belt loops are too long, you can always trim them off at this point.
- And finally, one more thing: sometimes when you are topstitching especially at the corner of the waistband, your machine can kind of "eat" your fabric or the feed dogs don't quite feed it properly, and normally you might pull your threads to get things moving (like at the beginning of stitching a seam), but in this case you won't have those threads to pull. So what can you do? Take a separate needle and thread, and thread it through your fabric near the corner, and use that to pull things along. Then you can just remove it, when you are done. You can totally get away with this with denim, but I wouldn't try it with delicate fabrics. Here are some pictures that I hope make this a bit clearer for you - I'm just using a scrap of fabric with some test stitches on it, but I think you can see what I'm doing:


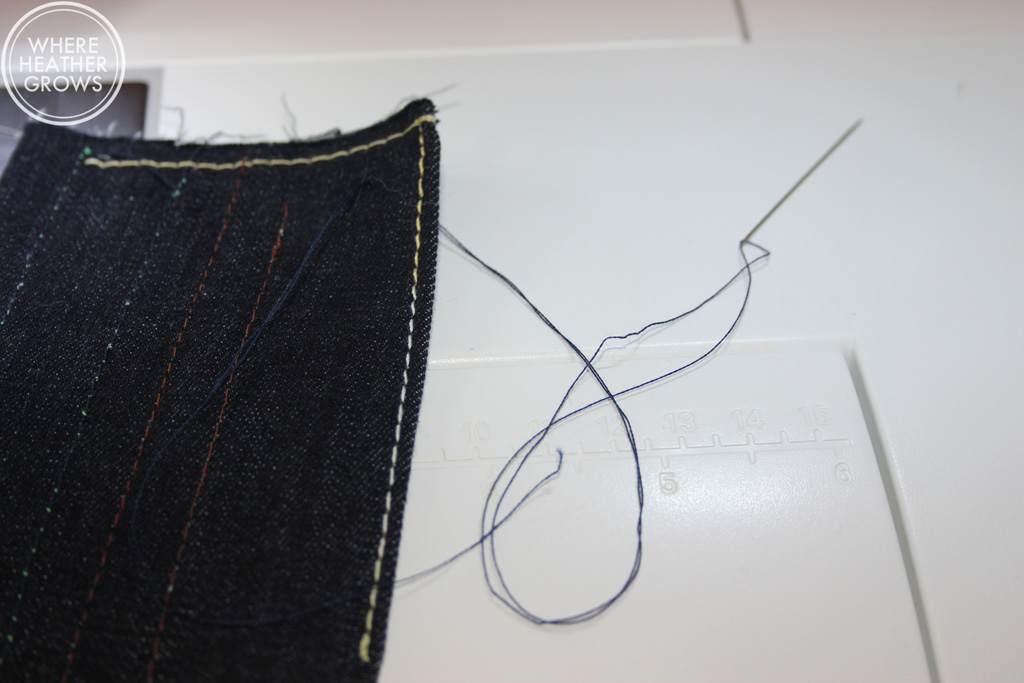
Does that make sense? You are just using that thread to pull or guide the fabric so it doesn't get eaten by your machine.
So there you have it, my tips for sewing jeans. I hope you take away at least one thing that might be helpful to you. I really want my blog to be helpful, as well as a place for me to share my projects and communicate with all of you lovelies. Anyway, if I come up with anything else that might be helpful when I make my next pair, I will be sure to let you know.
I hope your week is going well, and that you having lots of fun with the final days of Me Made May!
Have you made jeans yet? Do you have any tips to share? I would love to hear/read them if you do!